In this exercise, I experimented with the white balance features of the camera. After completing this exercise, it became pretty clear that the Auto setting on the camera is probably the most terrible mode you can use to capture good images, even though the definition for the Auto setting is:
“Completely automatic photography; the camera analyzes the scene and tries to choose settings to produce the best results”.
In the first photo, I set my camera on Auto and took a photo. Here’s the result:
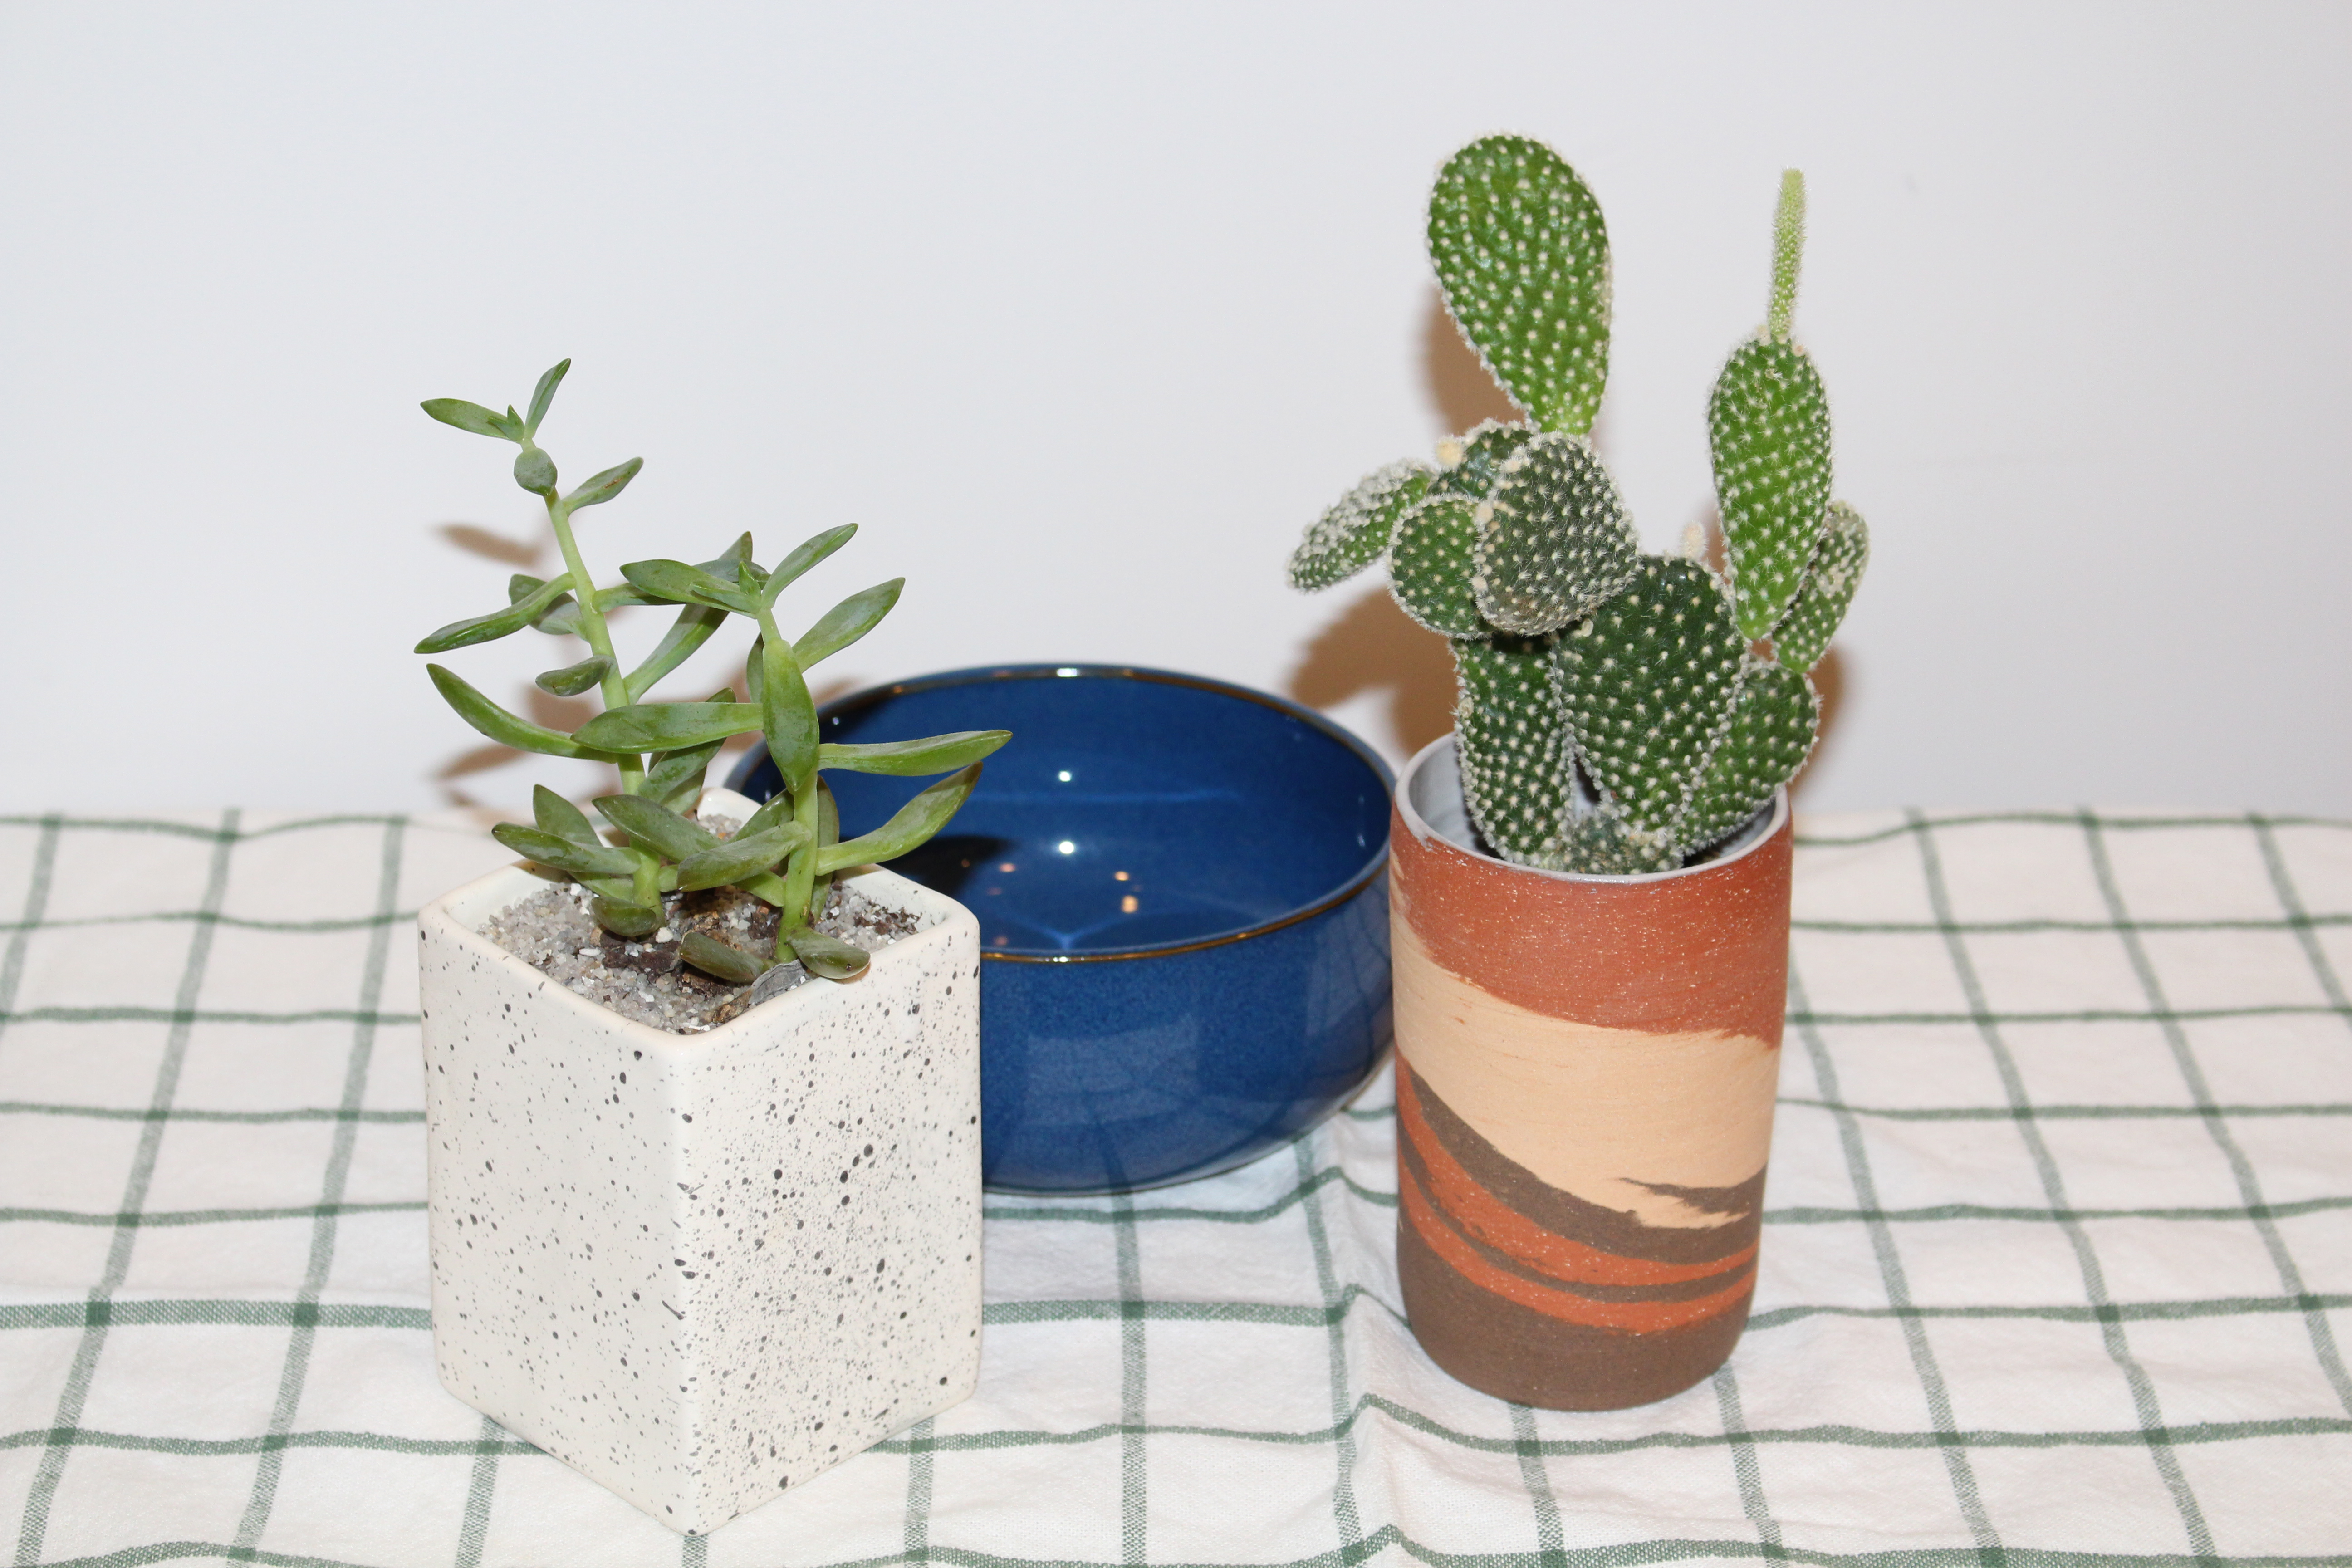
You might notice the flash was set off as part of the Auto settings, leading to a flat and awfully bright image.
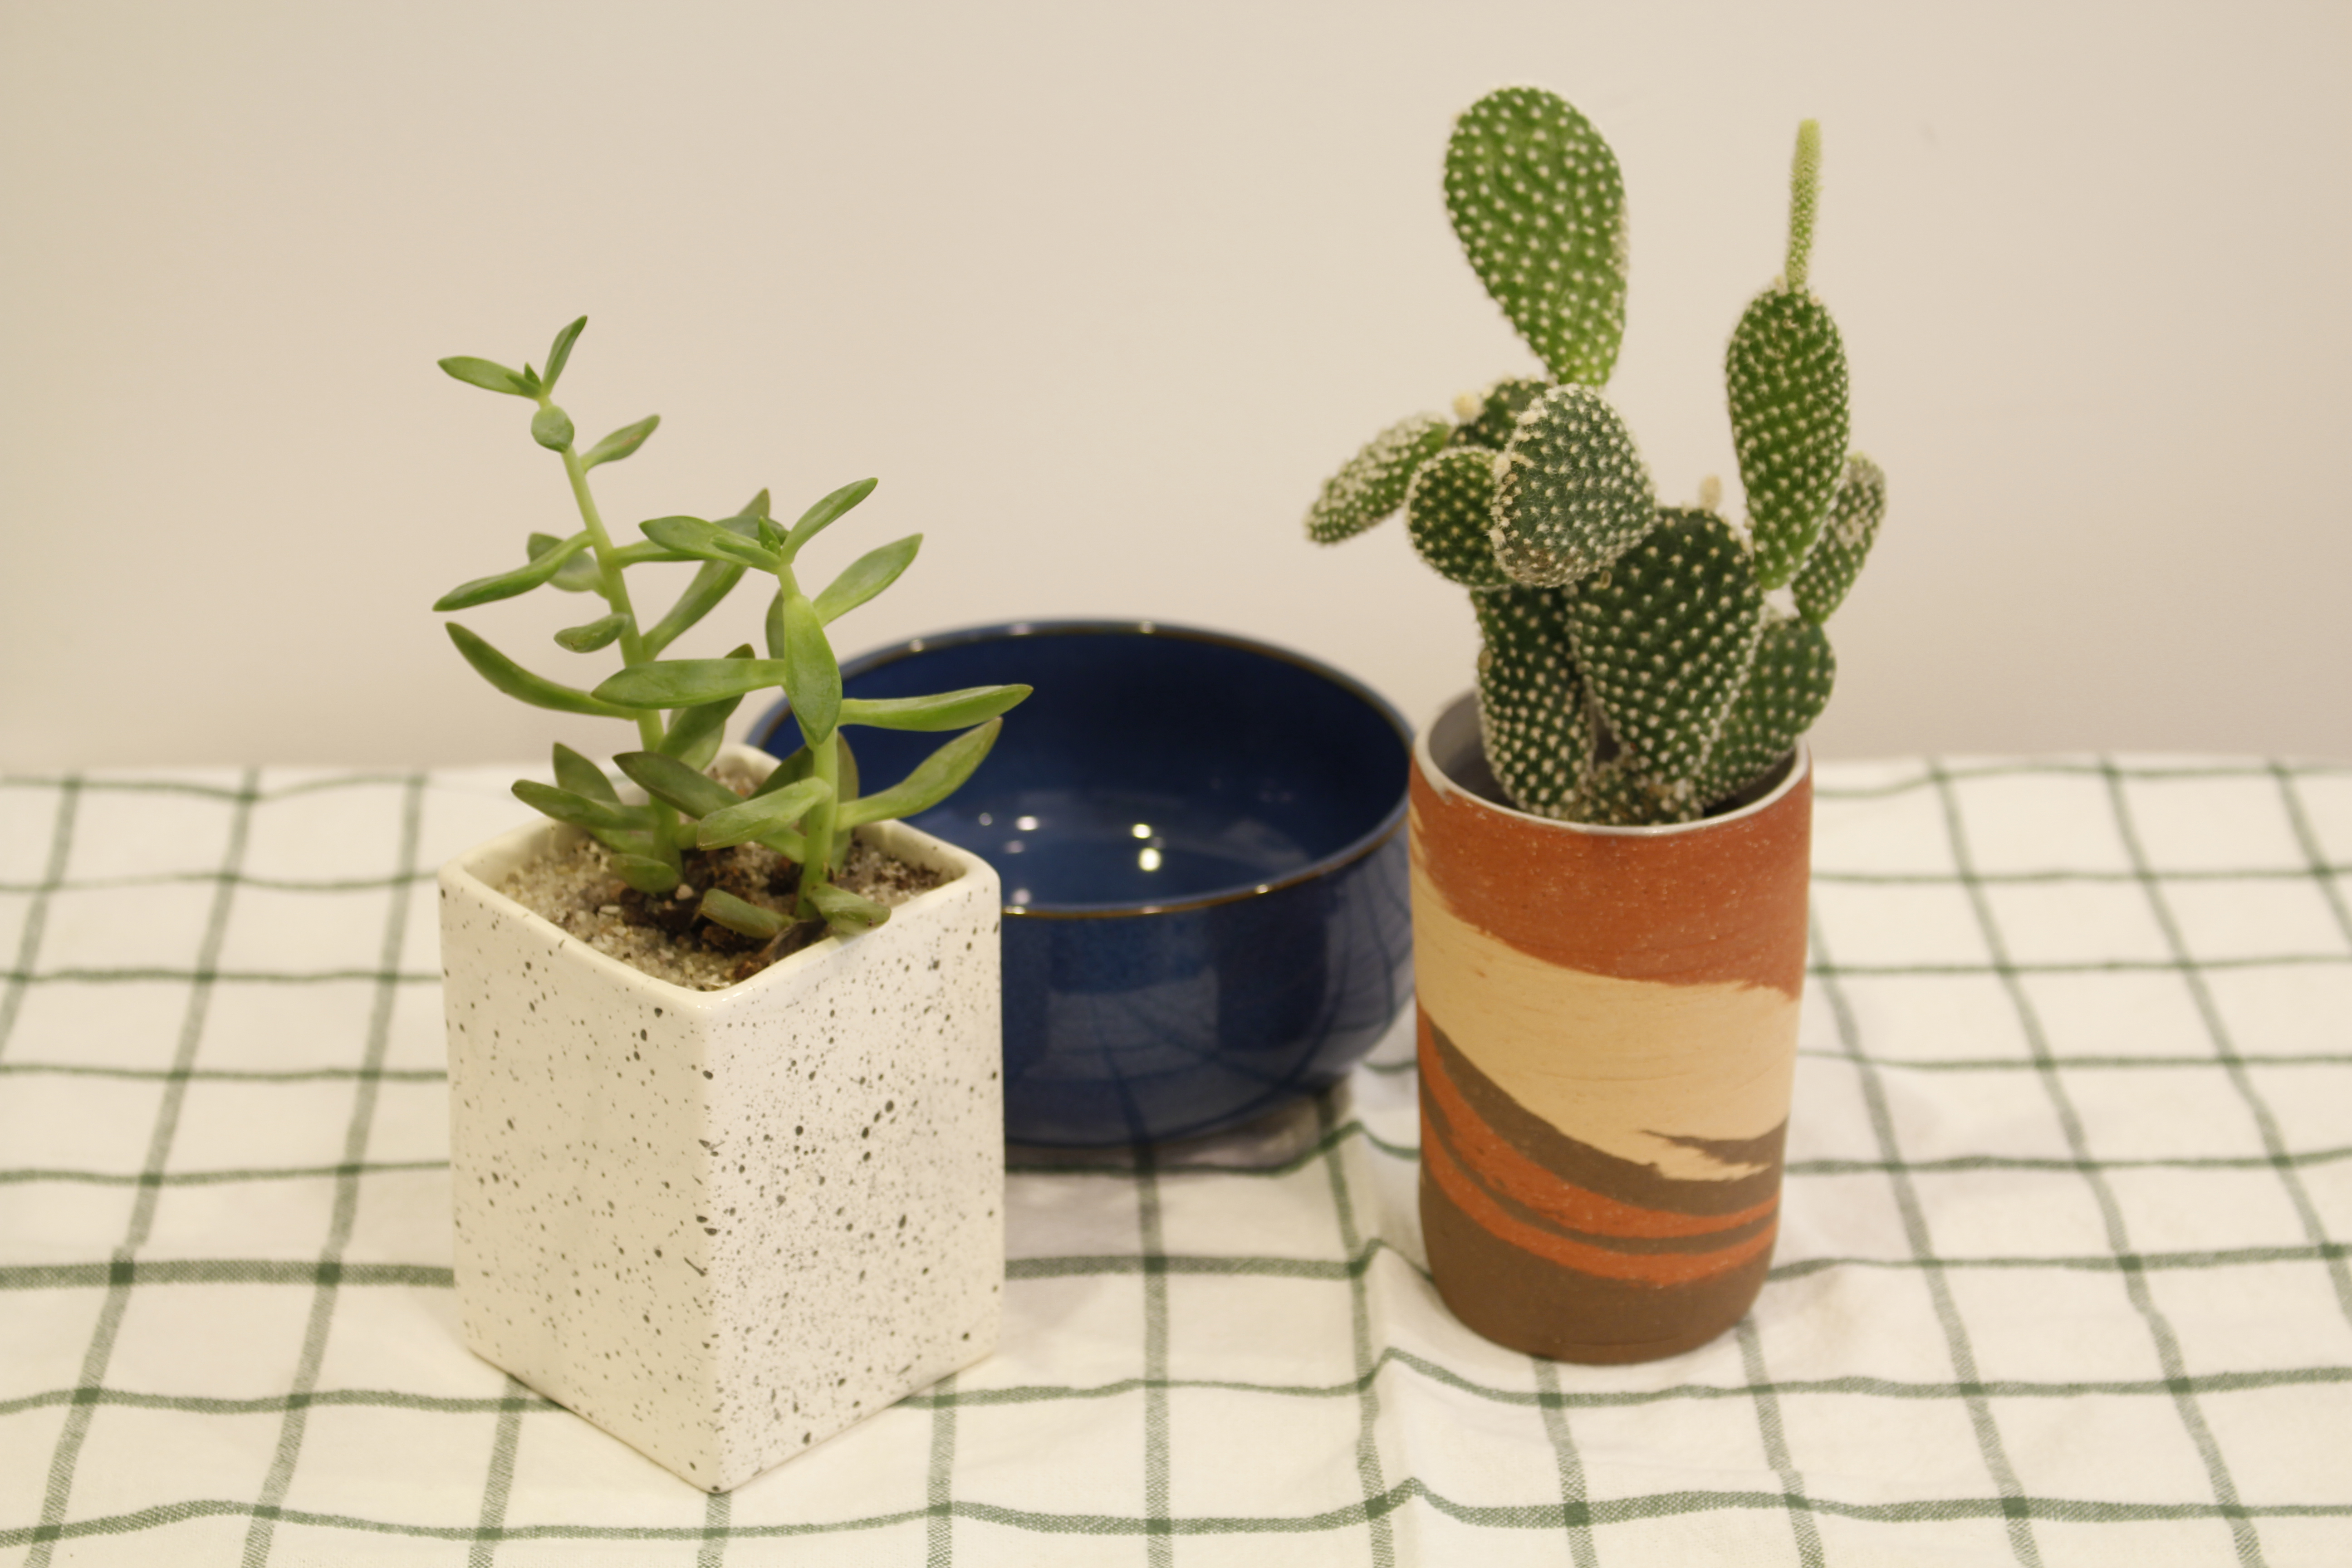
For the second photo, I turned the setting to Manual, and the white balance to Custom. I placed a grey card in front of the image, pressed half way, removed the grey card and shot the image. Here’s the result:

When comparing to the original composition, the colors here are pretty accurate.
In the third image I shot, I used the live histogram to view the threshold of brightness in my photo. The initial histogram didn’t show any values in 0 or 255 (at either end of the spectrum), however, the graph was fairly centered and I wanted there to be more rage of greys / brightness. So, in order to do so I slowed the shutterspeed, until the histogram spread upon more values. Here’s the result:
Although it’s very subtle, you may notice that this image has a bit more of a yellow tone compared to the previous image. I notice this difference, but I’m not sure of the reasoning behind it.