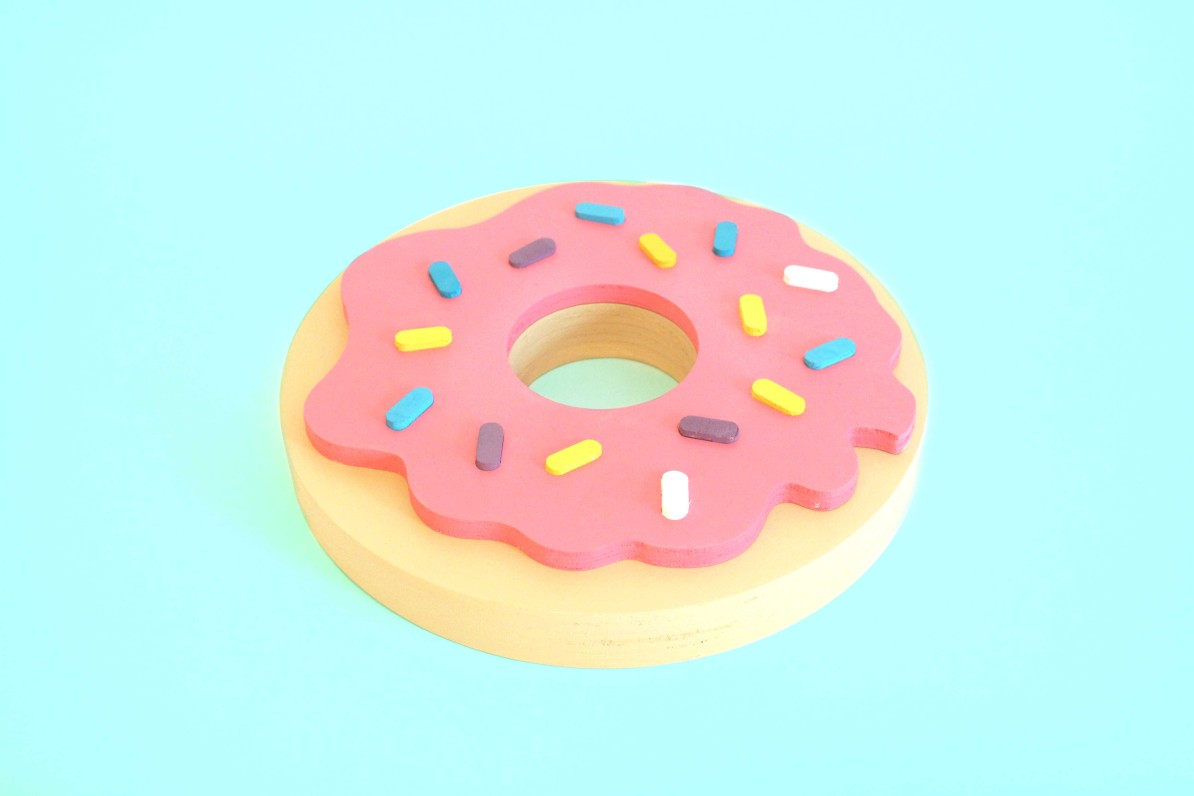
Last Friday, Ben showed us an example of a project done on the CNC machine. He kept referring to as a donut. This is what it looked like:
The more I kept hearing the word “donut”, the more I wanted to try to make one using the CNC machine. And here’s how I did just that.
Materials and Programs
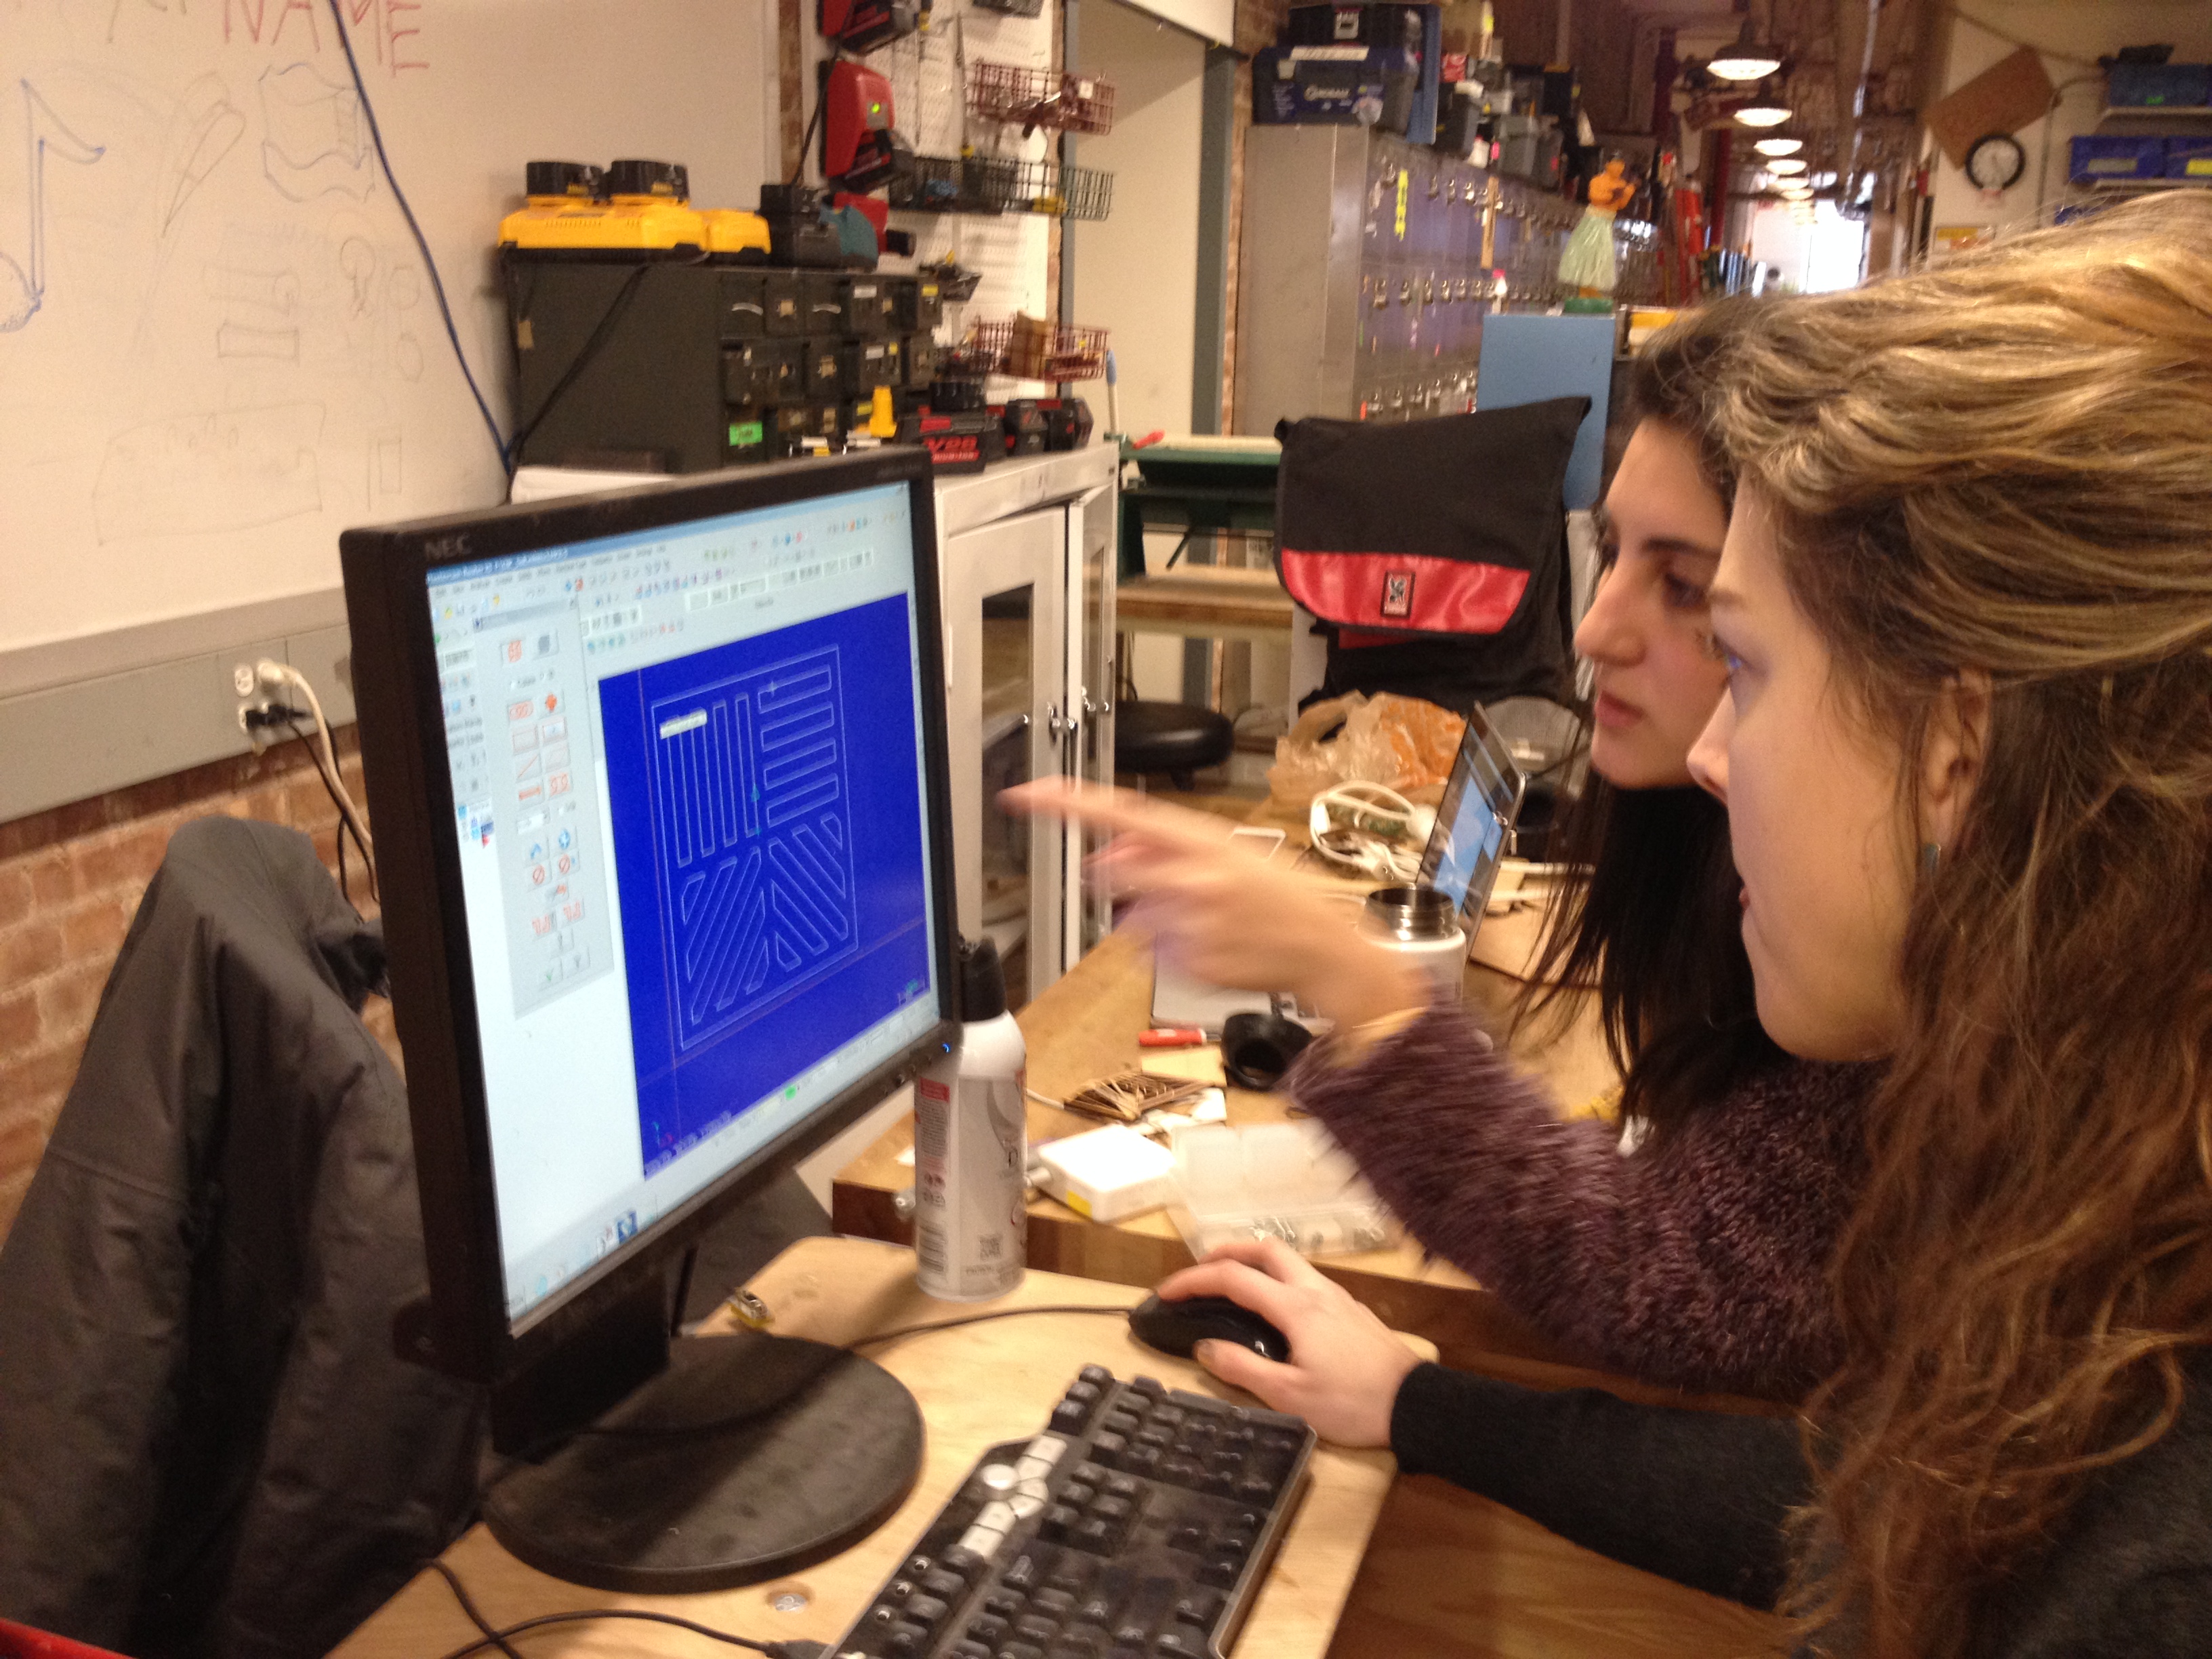
Before materials, I just want to mention that it’s great to work on this kind of stuff with friends — especially if the is a new area (like it is for me). I’ve been working with Maya Tal and Ainsley O’Connell these past few weeks and it’s been great!
So, back to materials. For this project we used plywood, a 1/4″ bit for the CNC, the CNC machine, and a bunch of new programs: Vectorworks (which is a Computer Aided Design = CAD program), MasterCam and the Techno CNC Interface. I’ll be completely honest, I don not like Vectorworks at all, and I have a hard time understanding why Illustrator can’t be used instead. It’s ok to use when drawing basic geometric shapes, but what if you want to create a squiggly, rounded shape (the icing of the donut)? Even when using a Wacom pen, and even though there’s a tool for drawing free-form shapes in the program, smooth, rounded lines just doesn’t seem to translate well at all on Vectorworks. So, for the icing shape of my donut, I imported an Illustrator DWG file and spent some good time cleaning it up so that Vectorworks would like it.
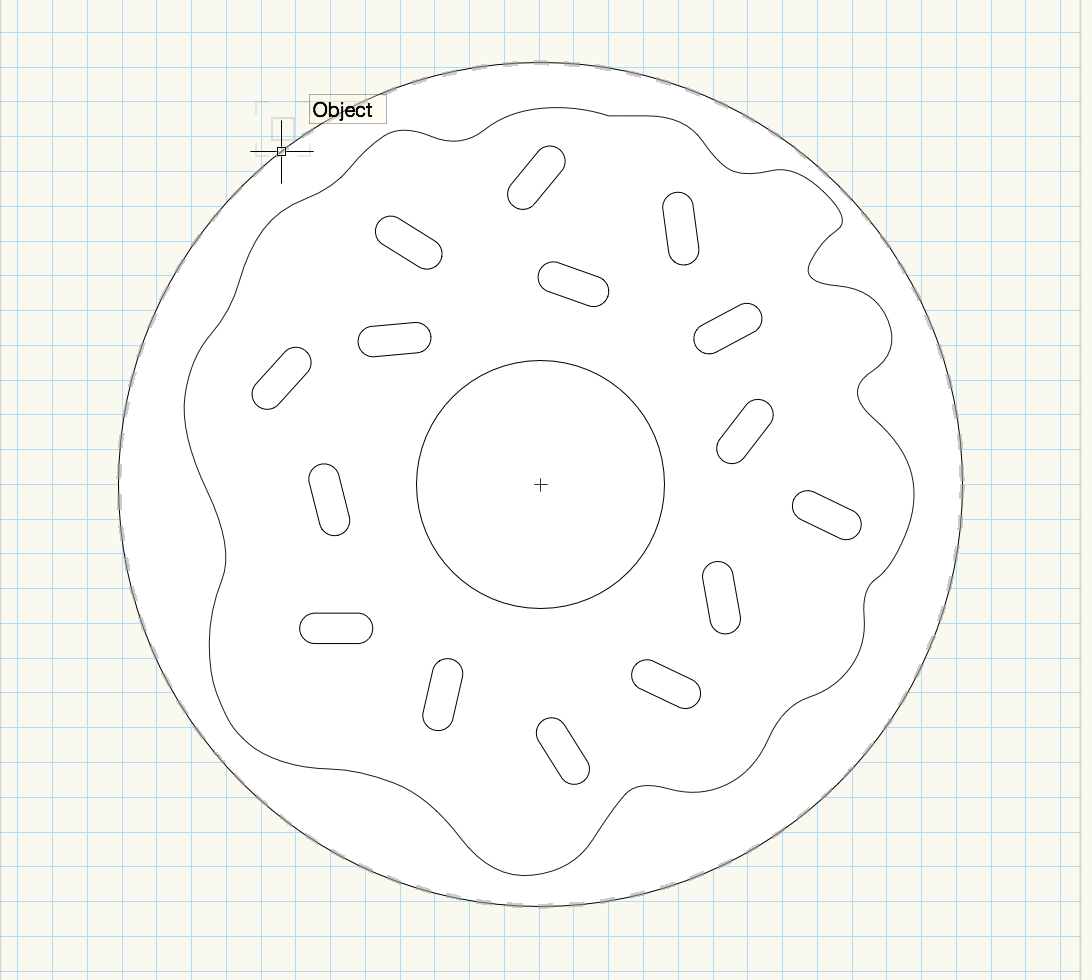
Once the files are completed in Vectorworks, they are exported and opened (on a PC!) on MasterCam. MasterCam is the program used for defining the width of the material, the bit size that will be used in the CNC machine, and the cut / pocket on the material. Setting the direction if the job on the contours is super critical, and there’s rule you must always remember:
Counter-clock wise → In
Clock wise → Out
Once the settings are all in, MasterCam will show you a quick animation of the job.
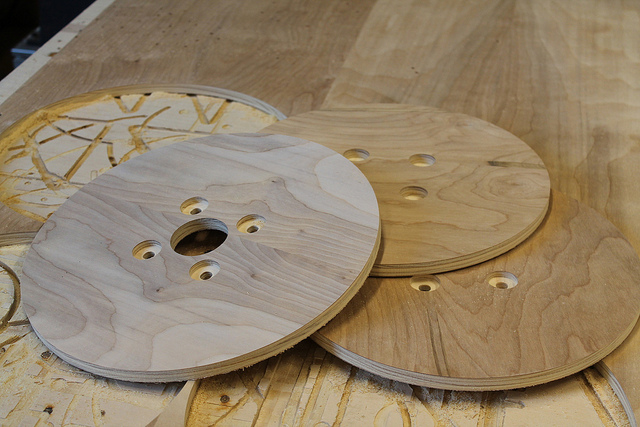
Finally, last destination before the actual CNC machine starts working — Techno CNC Interface. This is a pretty simple past, basically this is where you pull up the file you have prepared, and set the origin point for the CNC router to start it’s job. But, before even touching the computer here, we first needed to set up our material and mount it to the CNC bed.
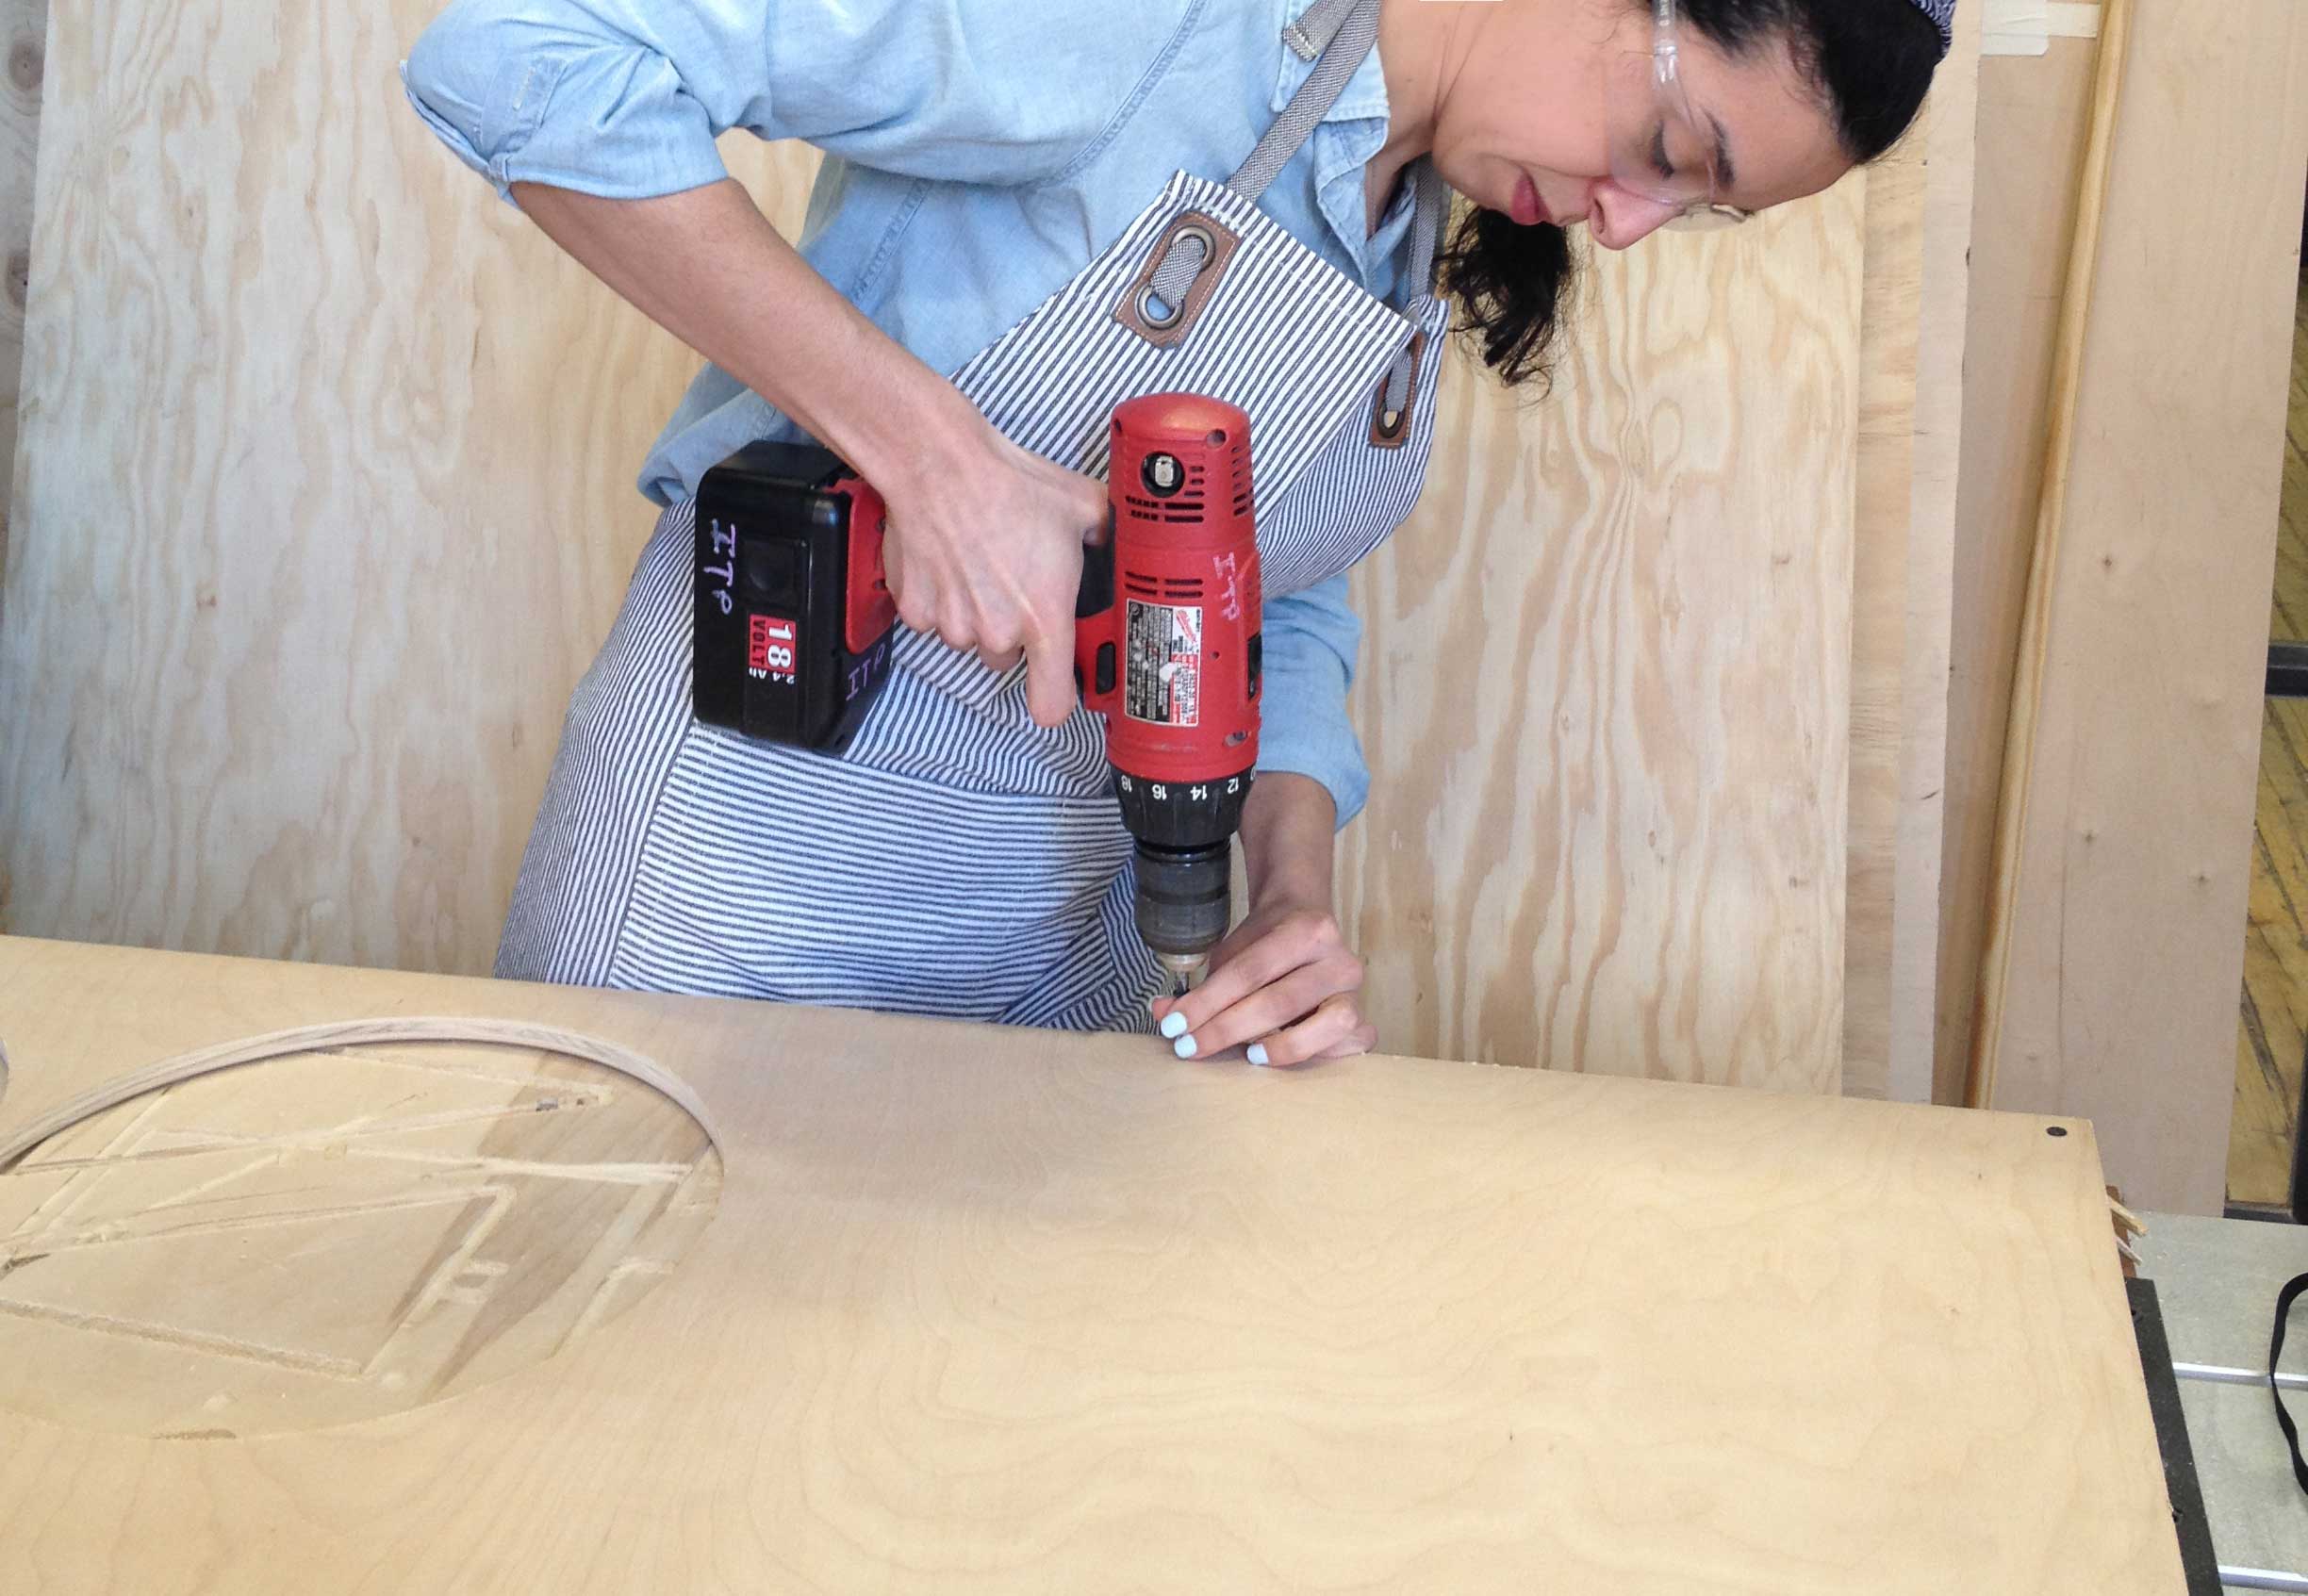
Once everything was mounted correctly and there were no loose areas, we could make those last setup commands and get the CNC machine running!
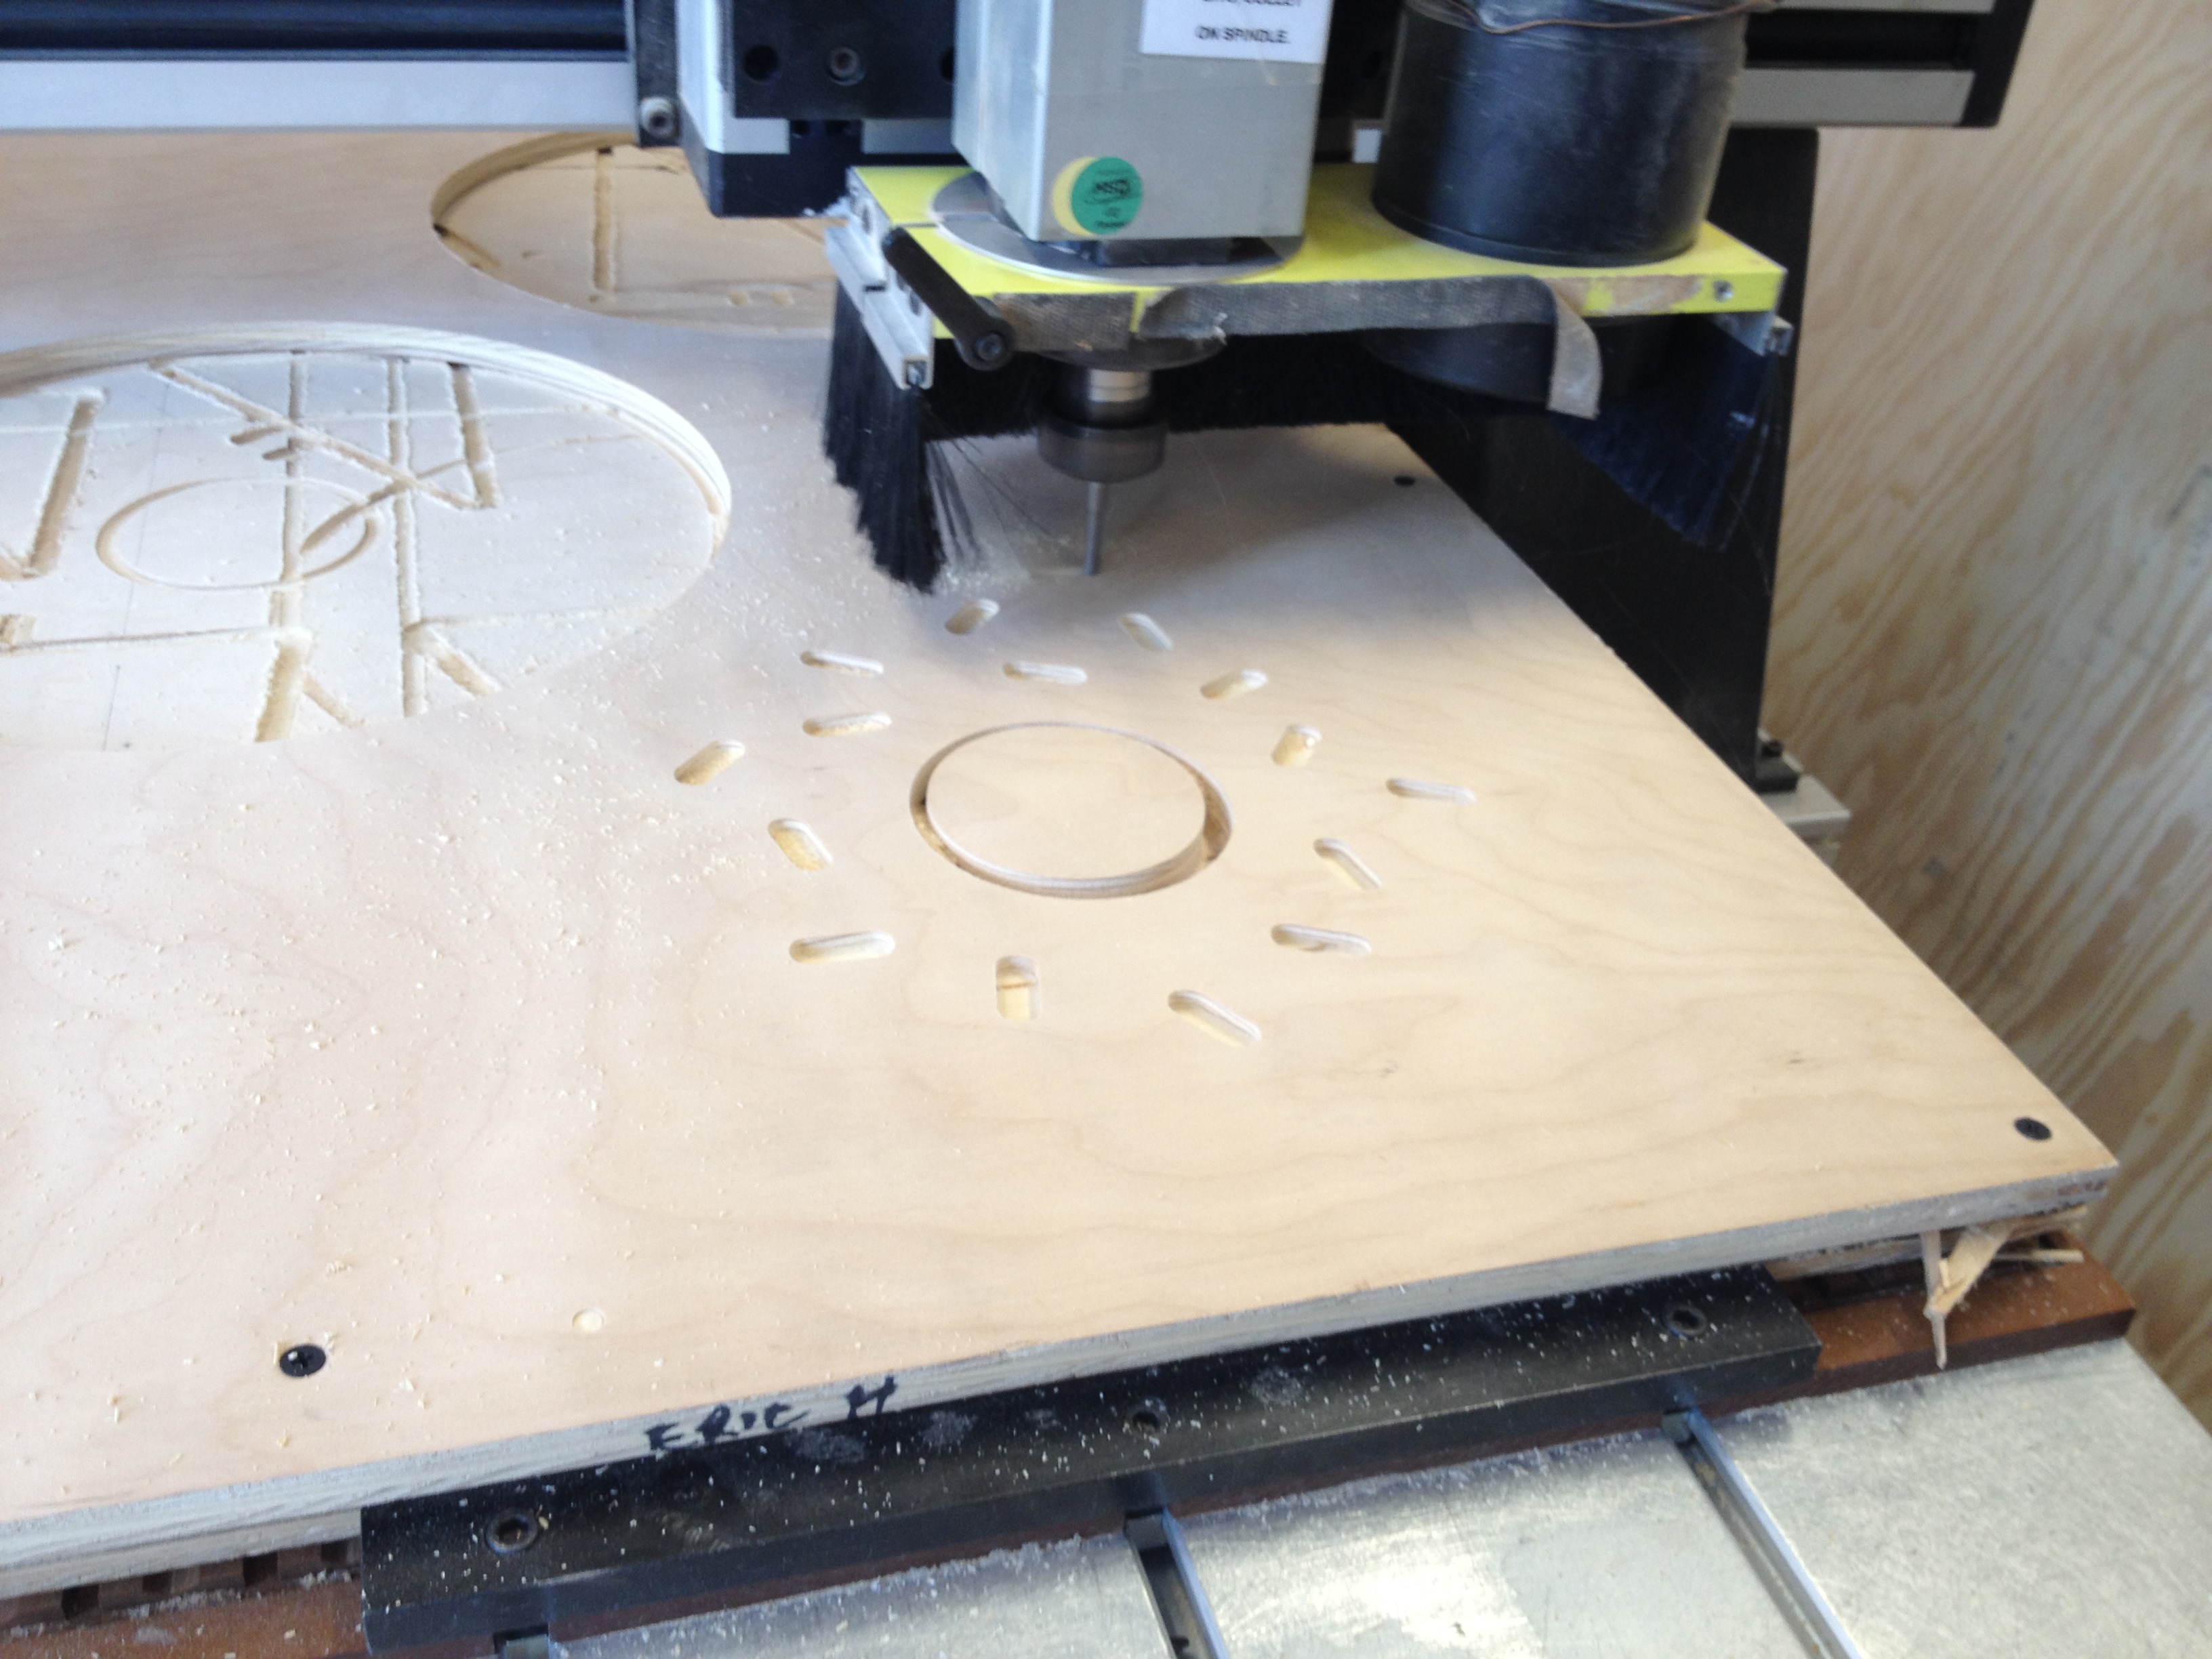
The CNC Monster Machine
This machine is nuts. I think the biggest surprise was how fast it is as opposed to The OtherMill from last week. Here’s the beast at work:

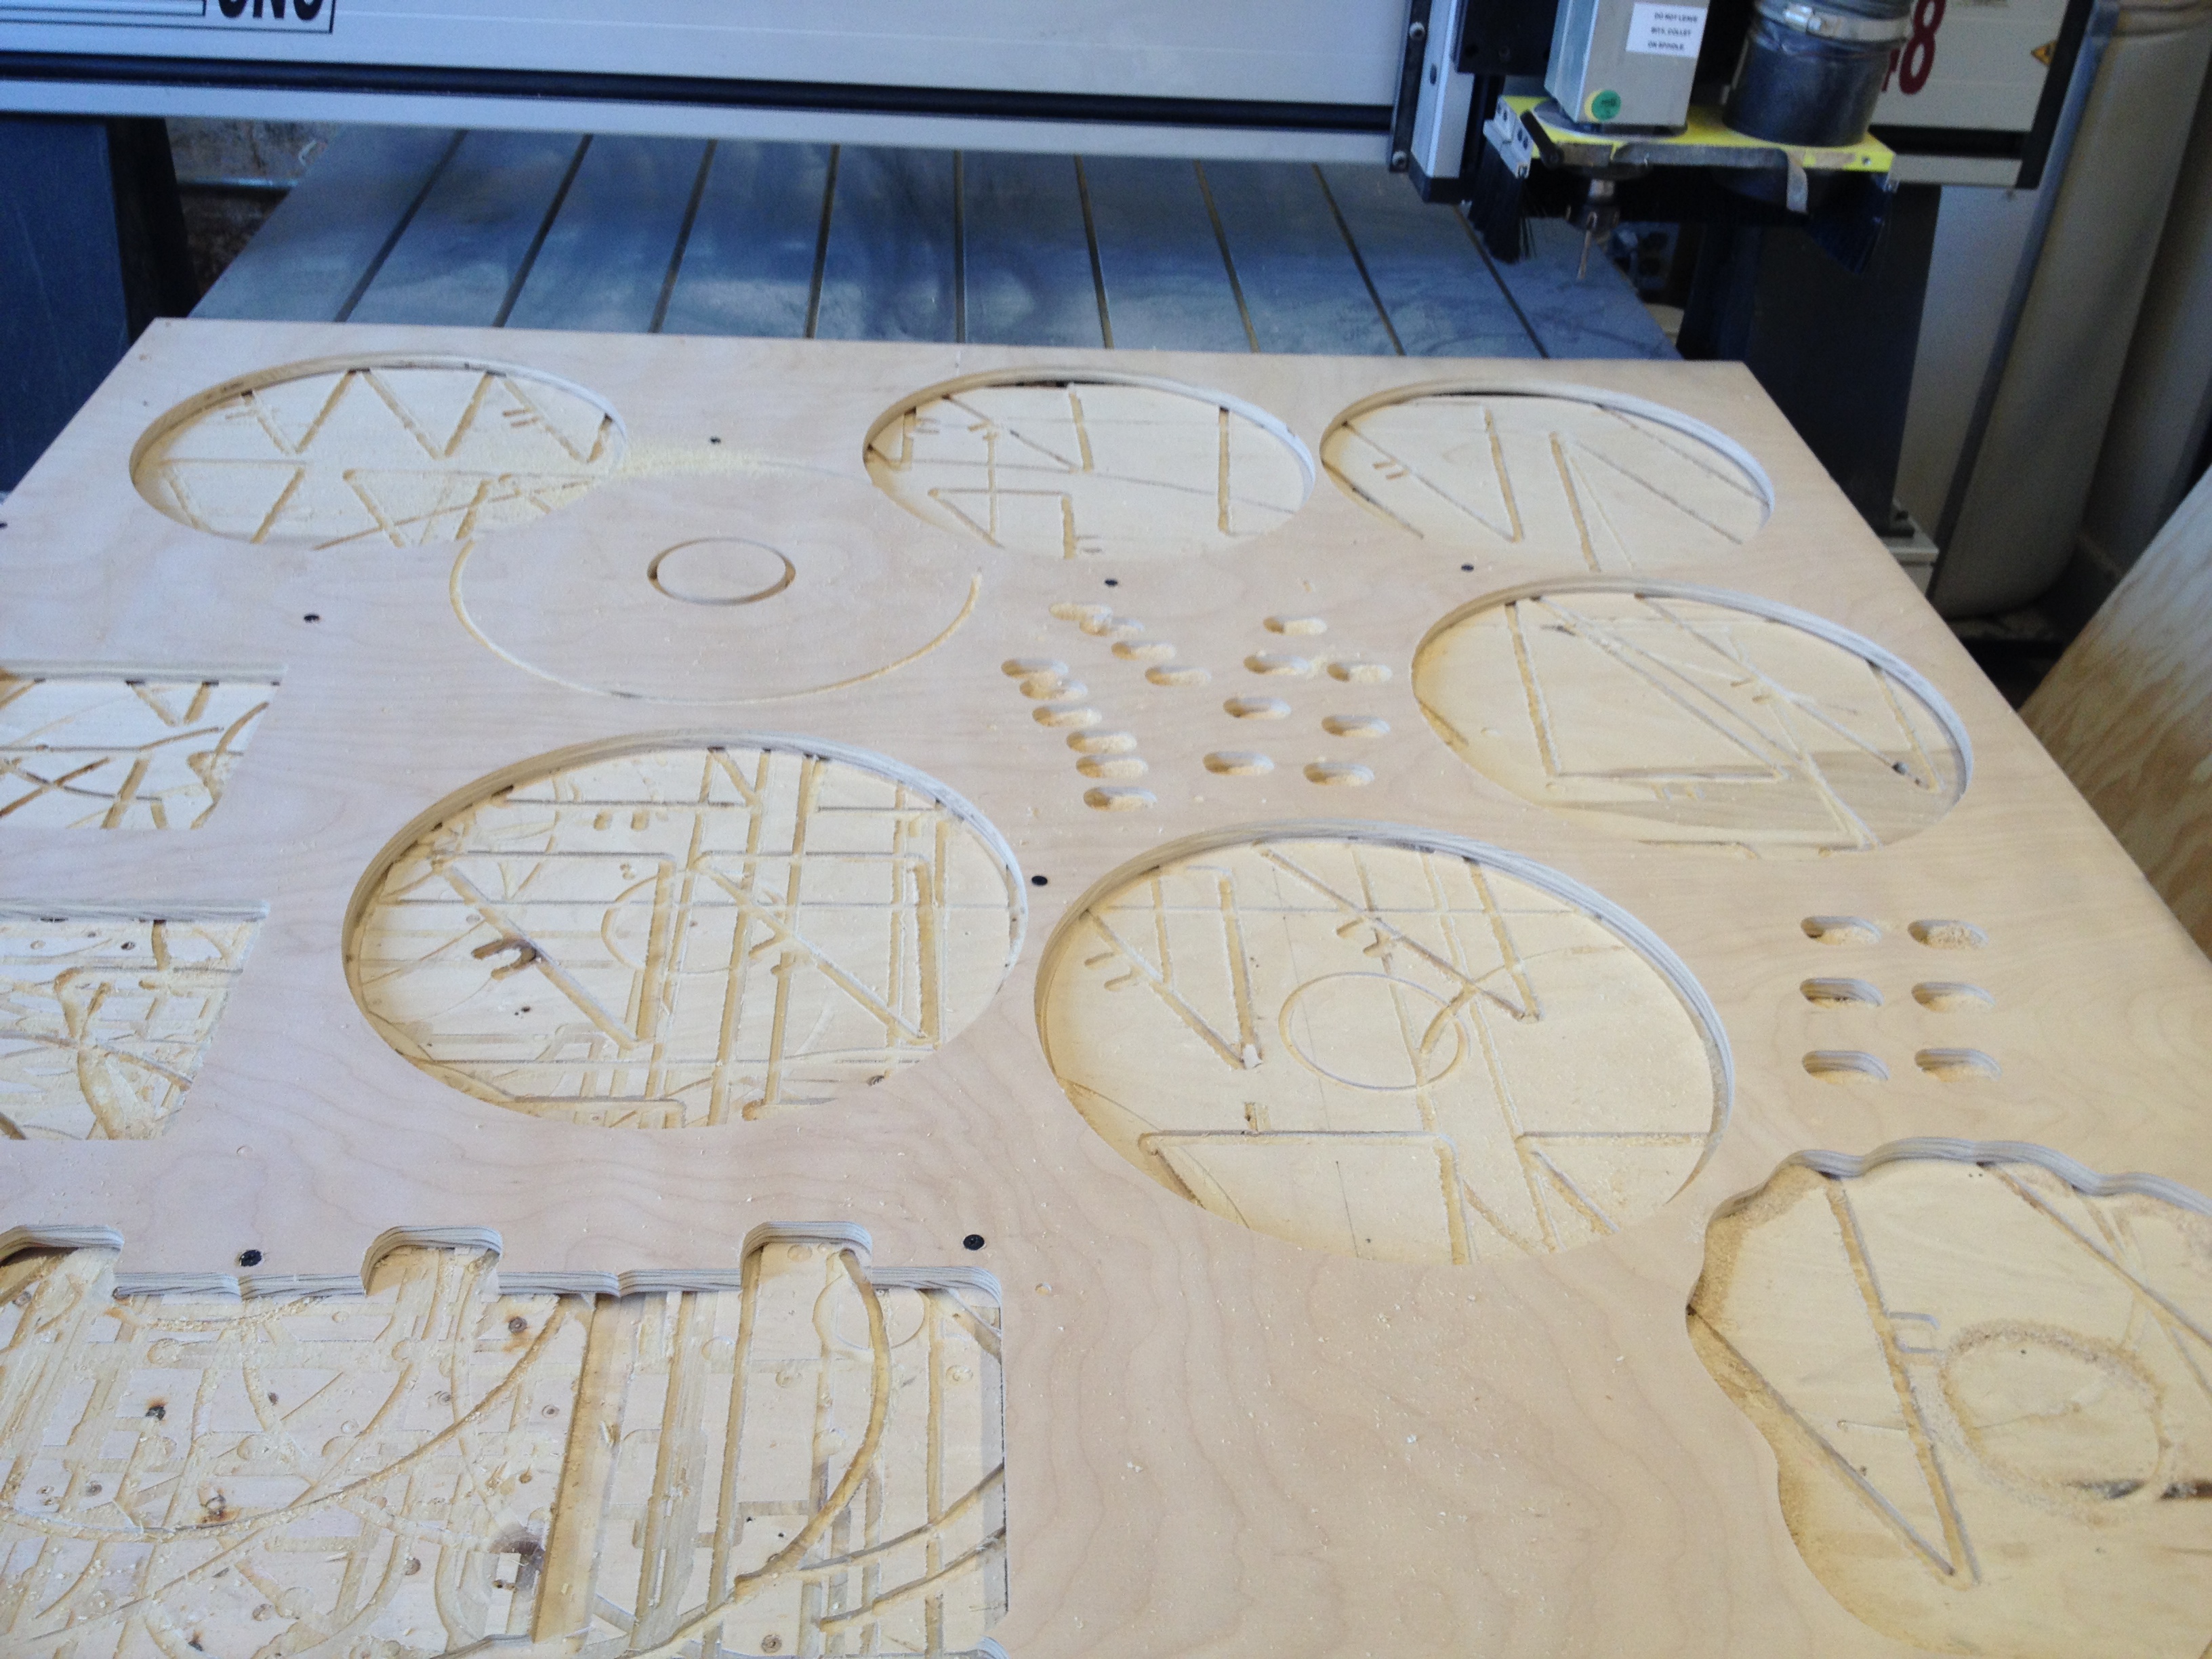
And here’s what I what I got after the CNC job was complete:
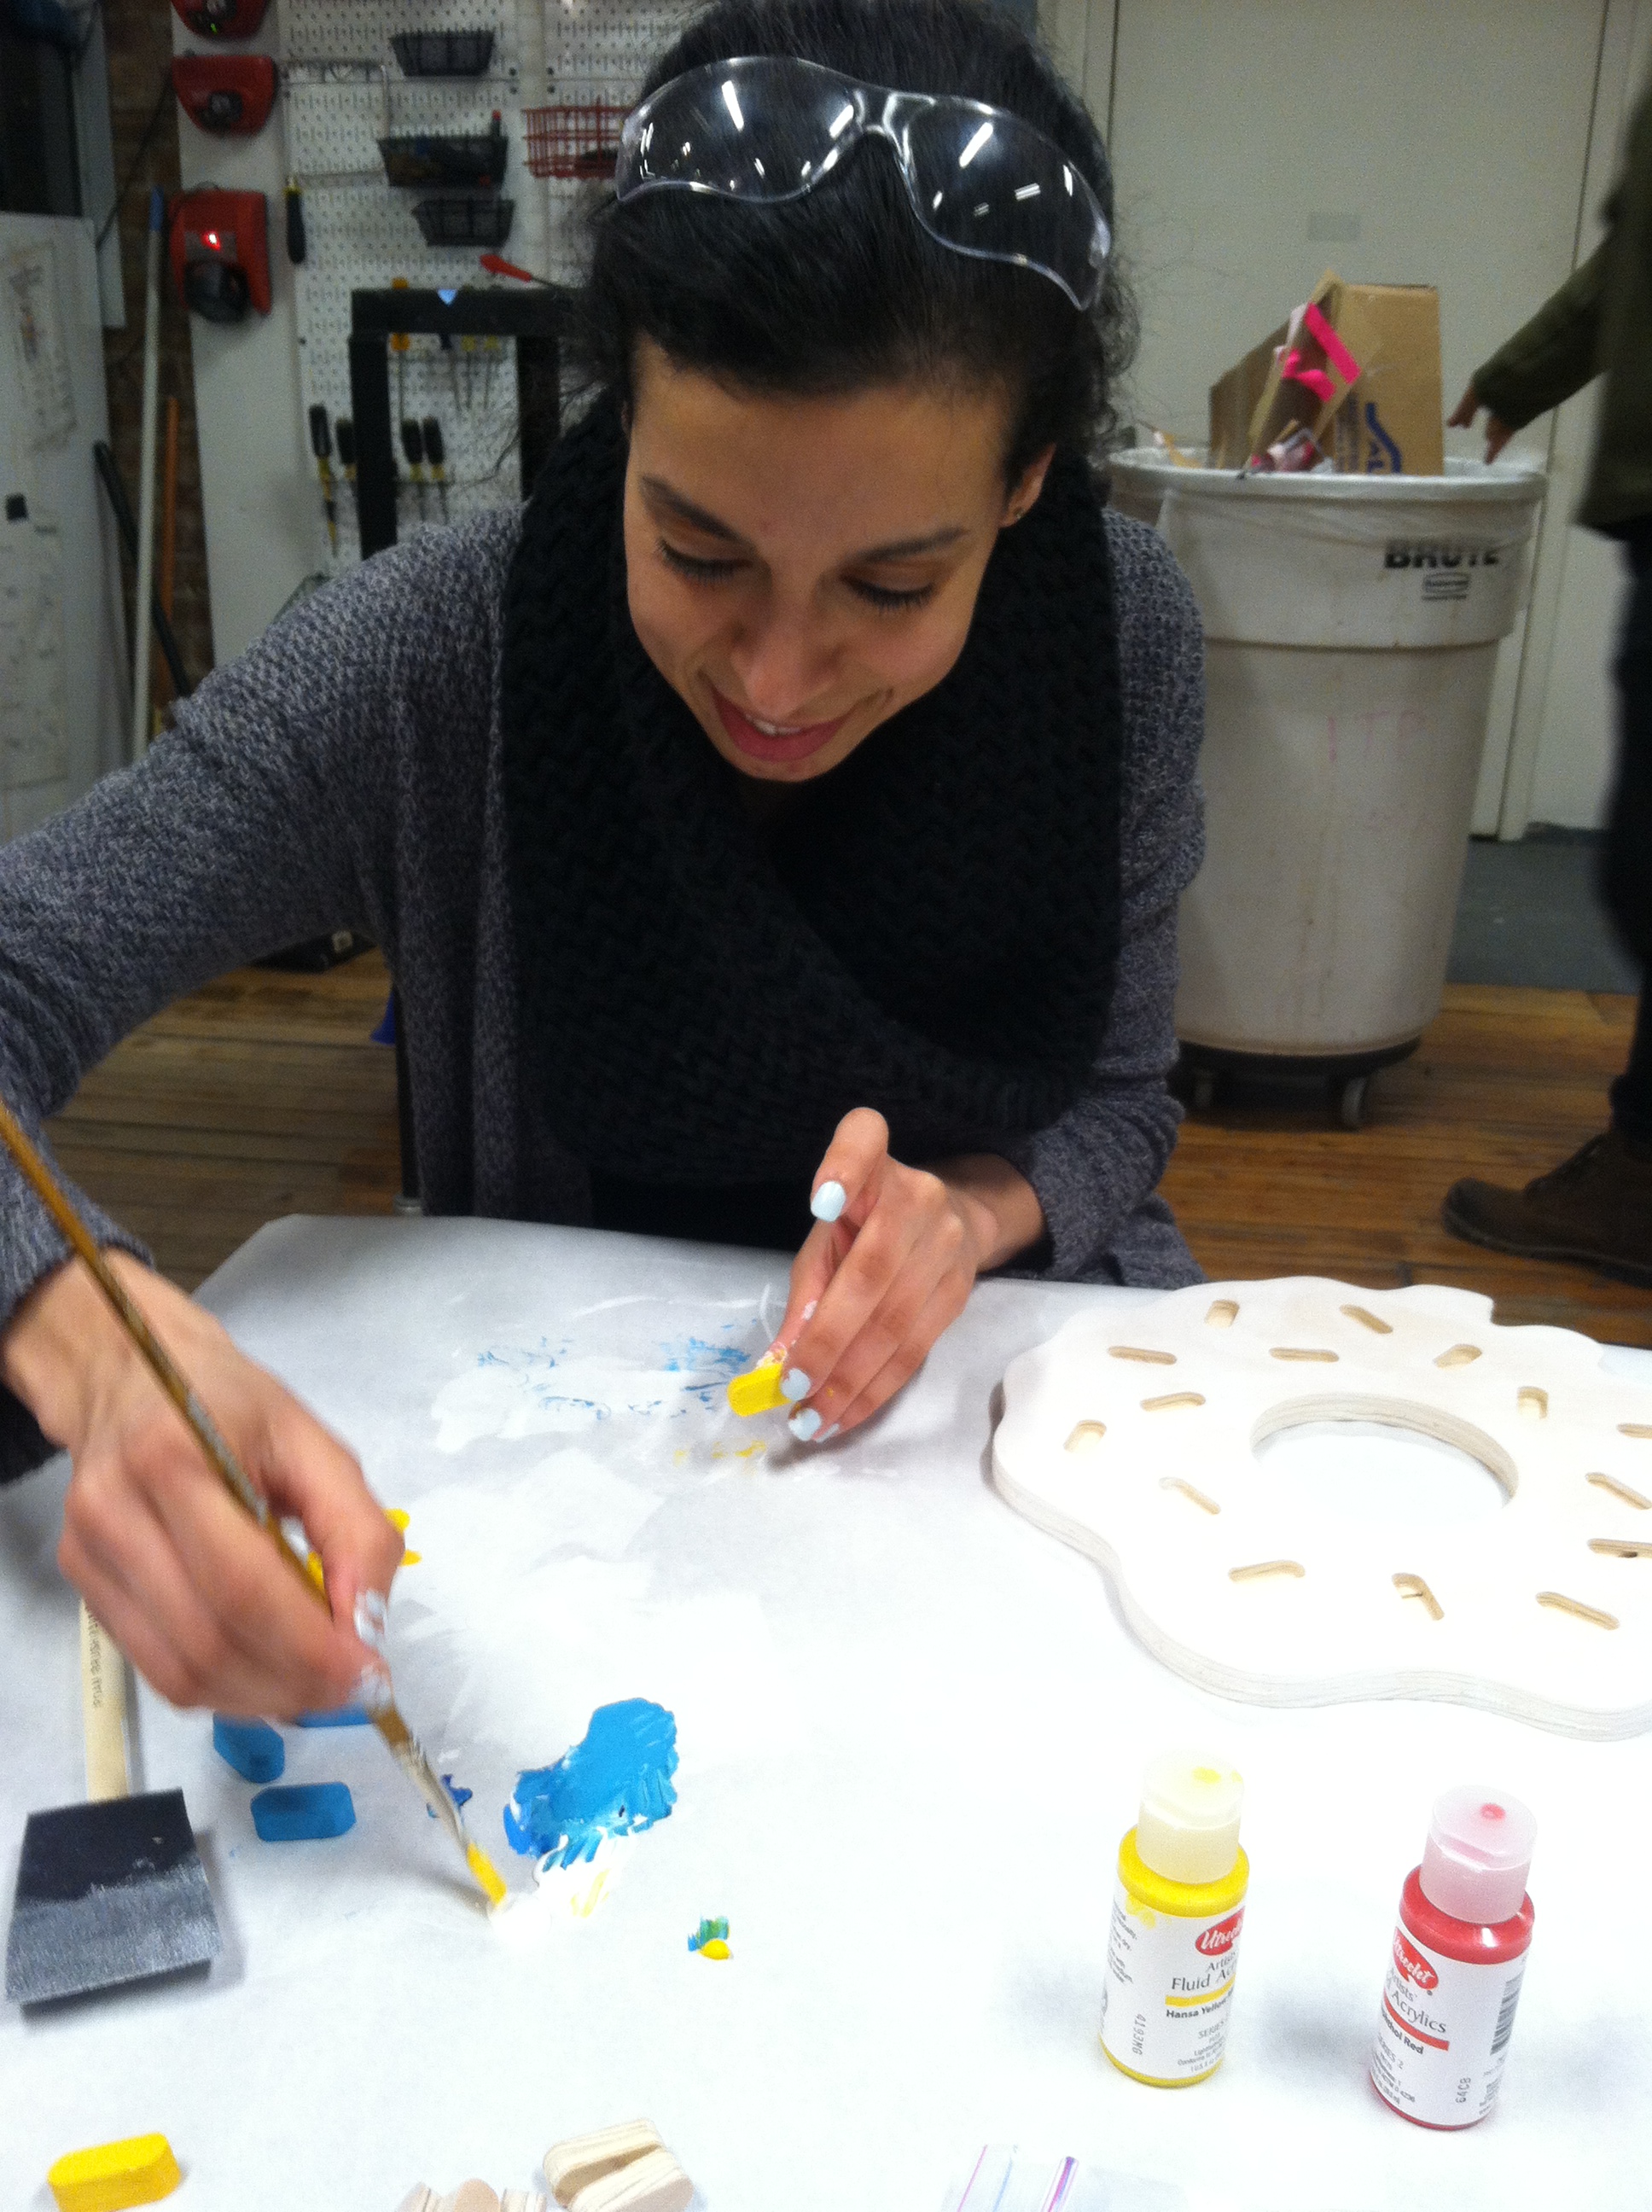
I was so happy with the results from the CNC, I didn’t think the result would look like this. From here there was only one thing to do — PAINT!
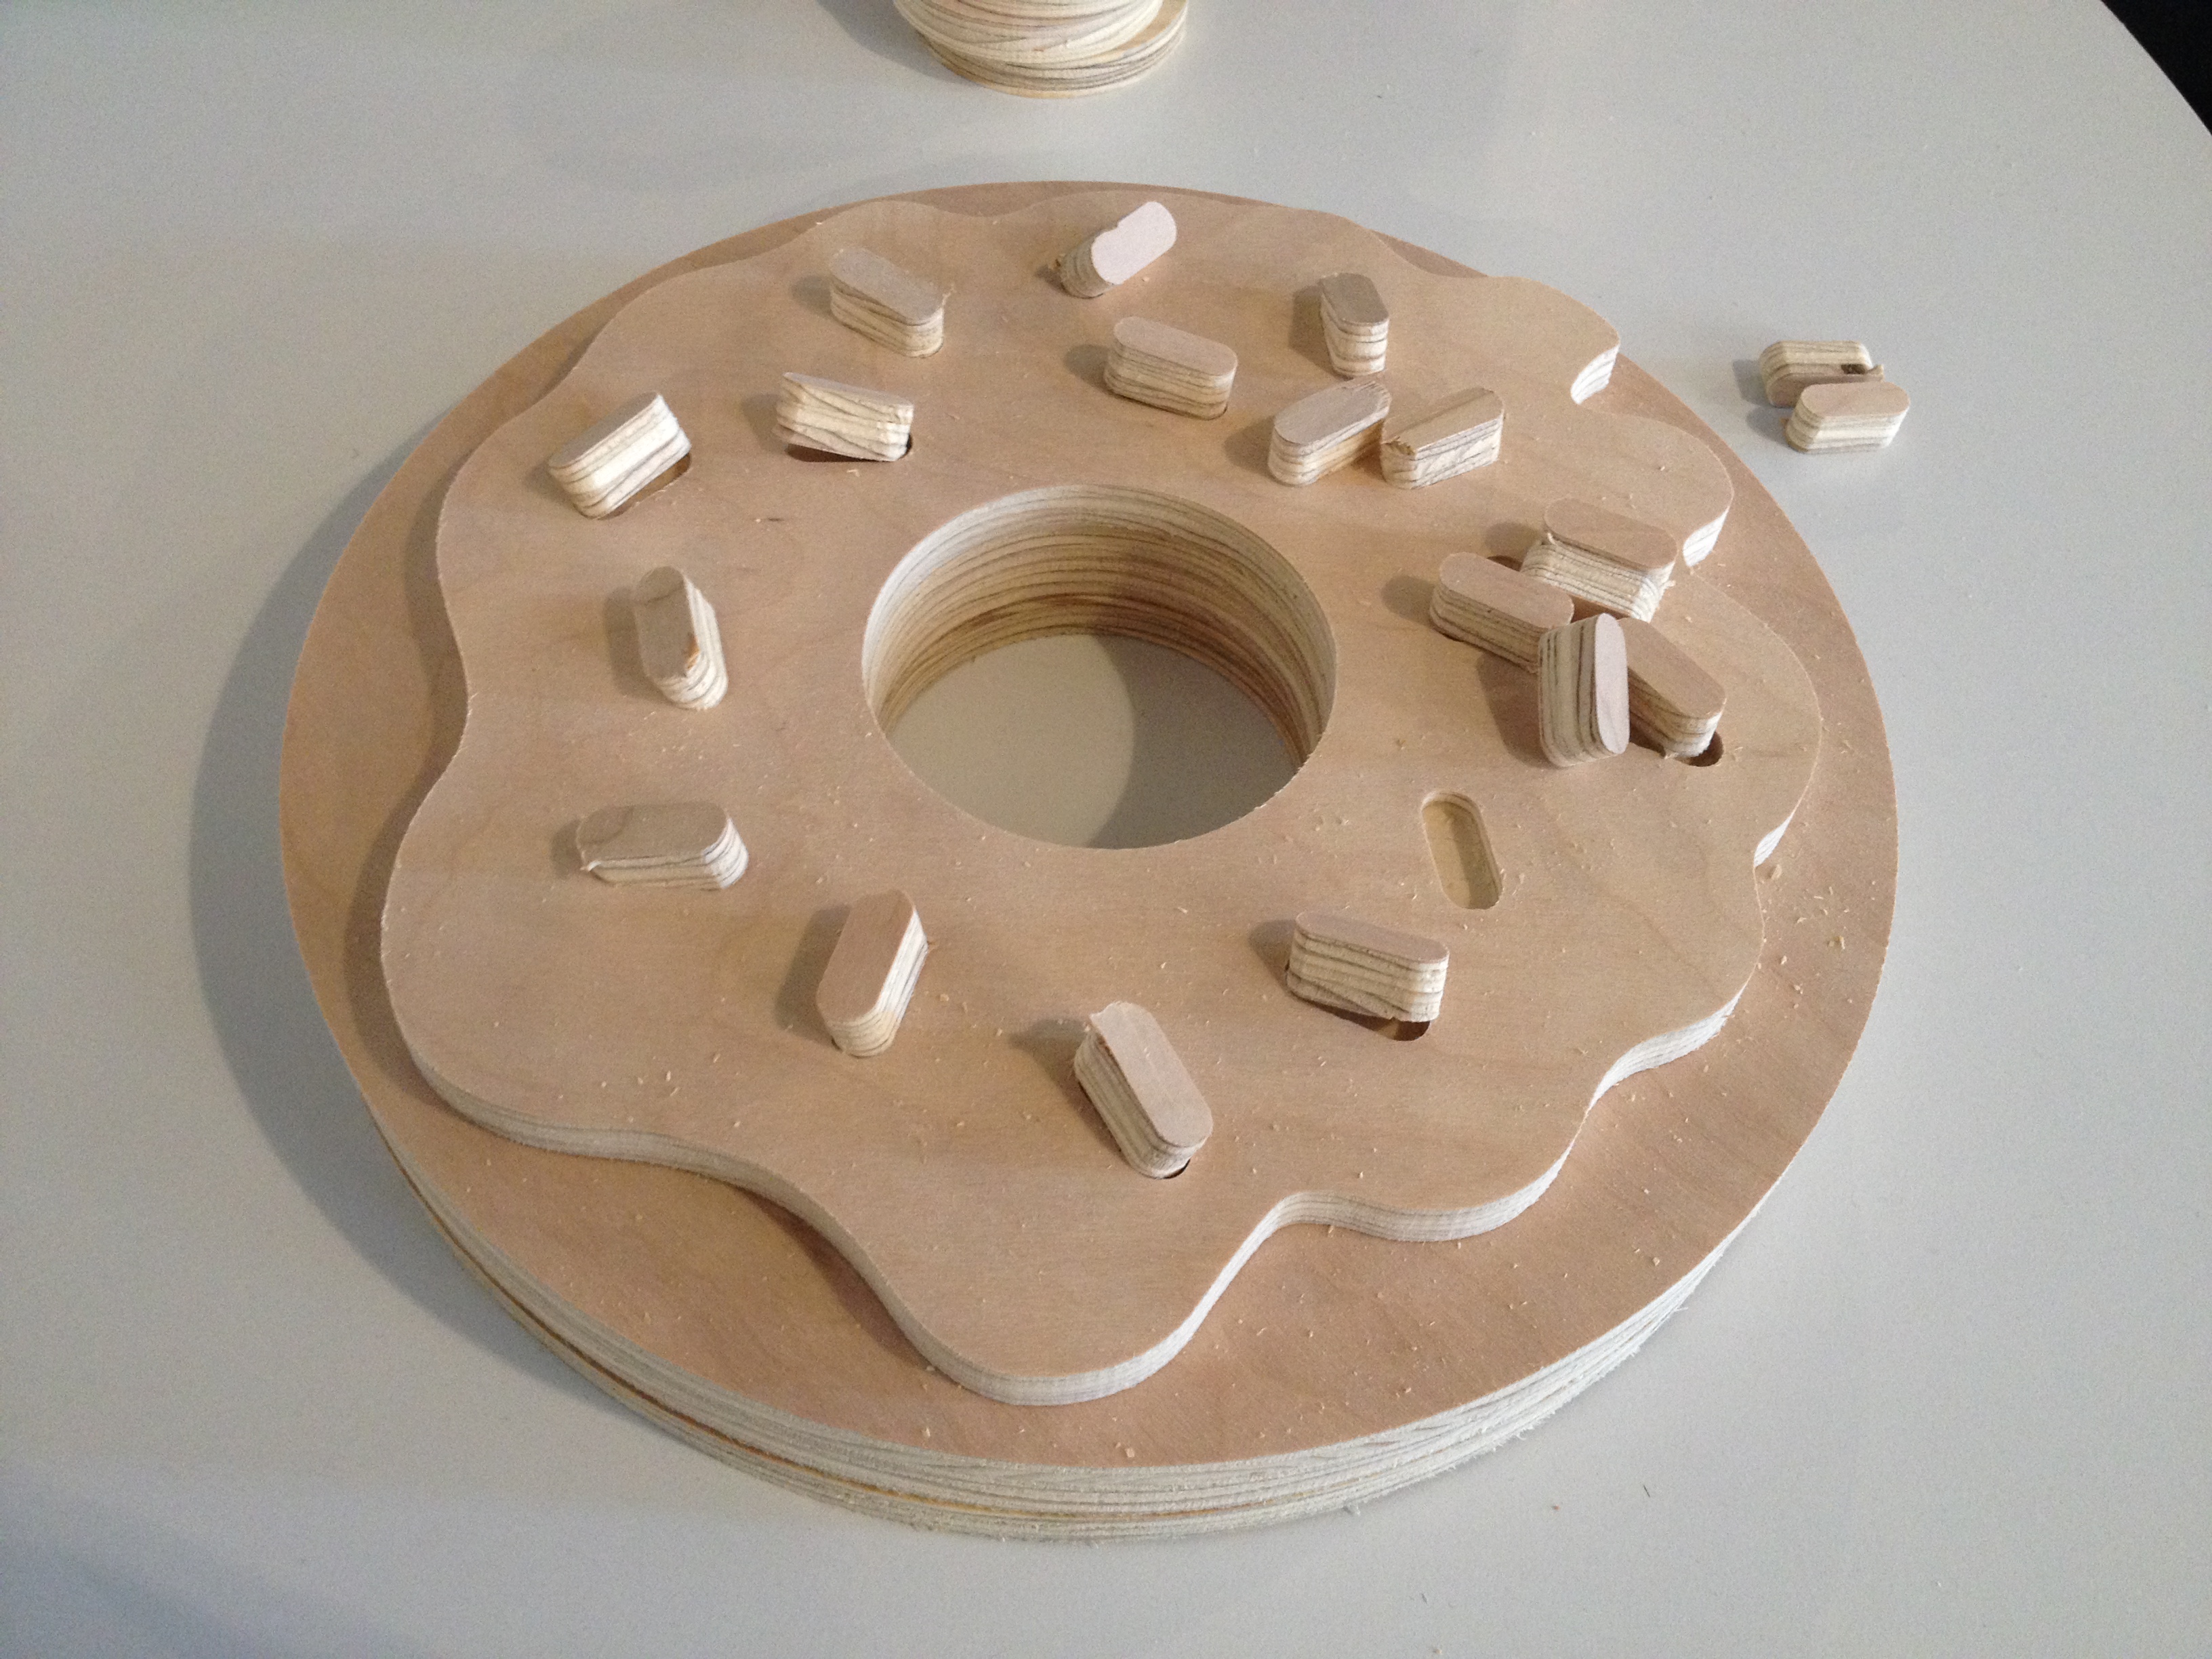
But again, before jumping to paint, there was a minor detail I had to take care of. The sprinkles didn’t fit perfectly into the pockets I made for them (I didn’t cut through the plywood completely, I left some material in order for the sprinkles to be a bit elevated). Ben suggested that go back to Vectorworks, make slight adjustments, and cut new sprinkles in the CNC. I should have listened. Instead, I thought that hand sanding them would be enough and that the acrylic paint layer wouldn’t be that significant. At the very end, I used a hand dremel to sand the edges of the bottom of the sprinkles, and had to hammer them in. Note to self: listen to the pros next time!
So, paint. This was a lot of fun. I picked up some primary acrylic colors down the block and started mixing them to get the cartoon-y colors I was looking for:
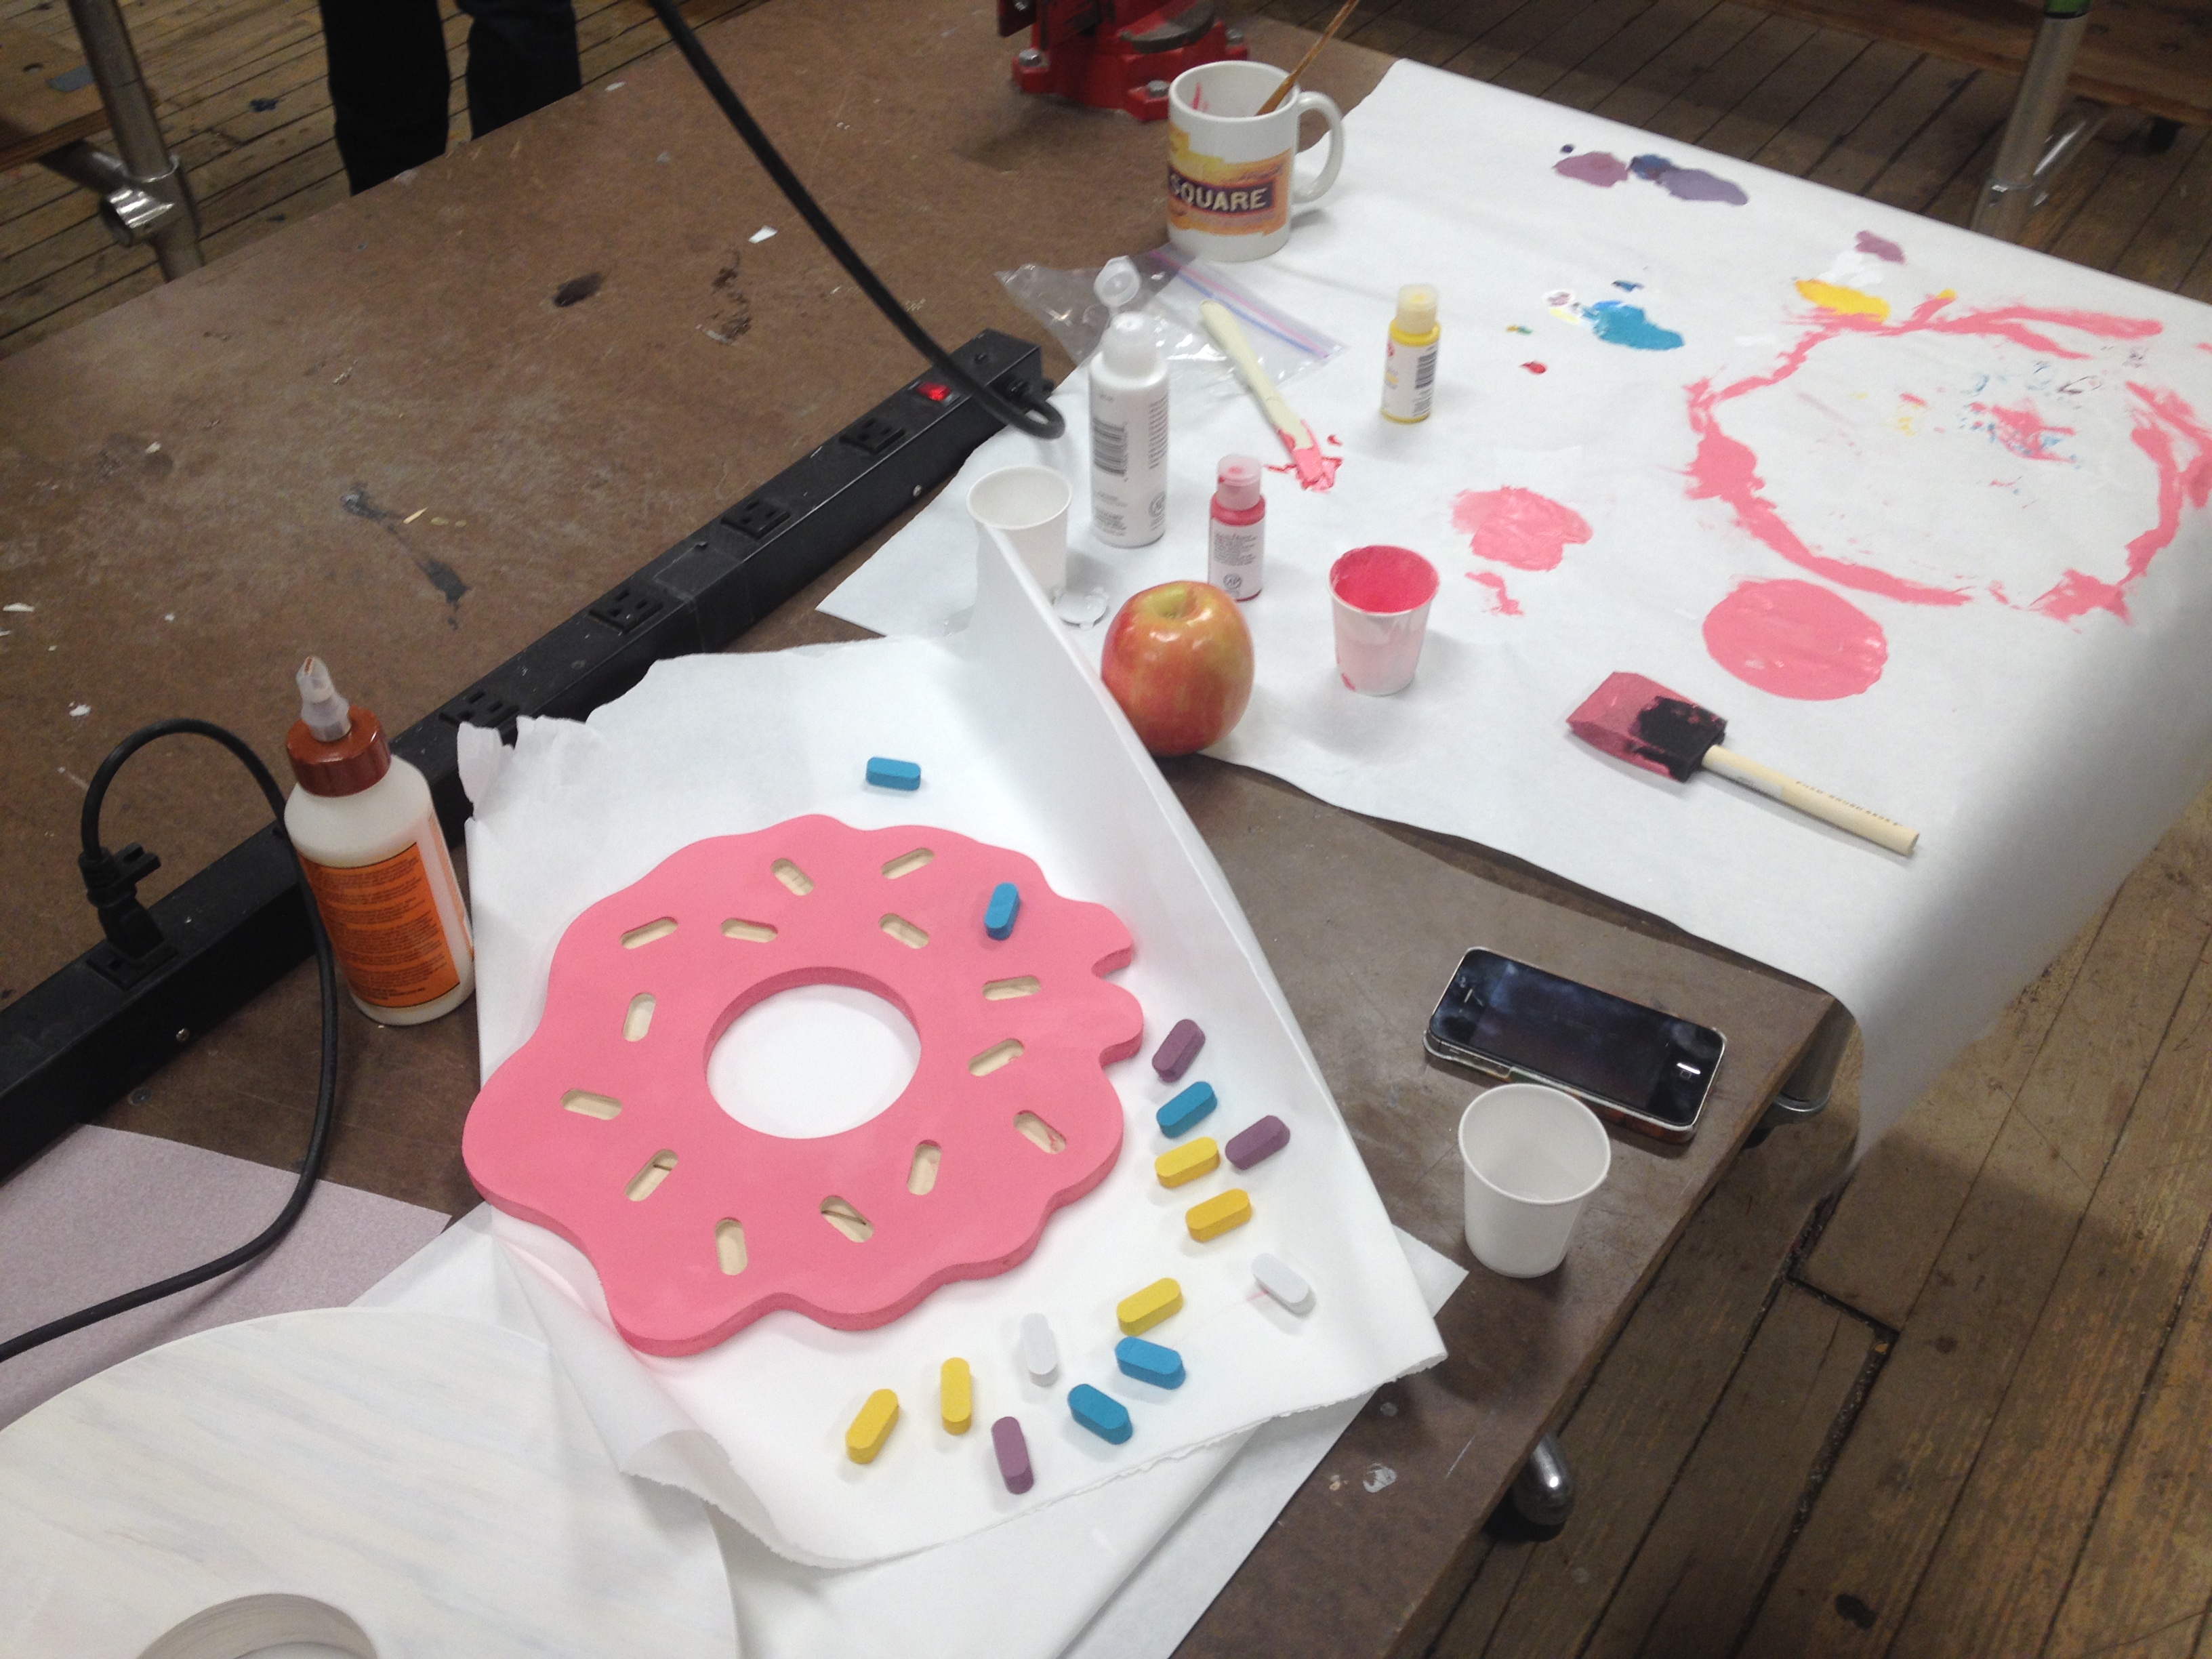
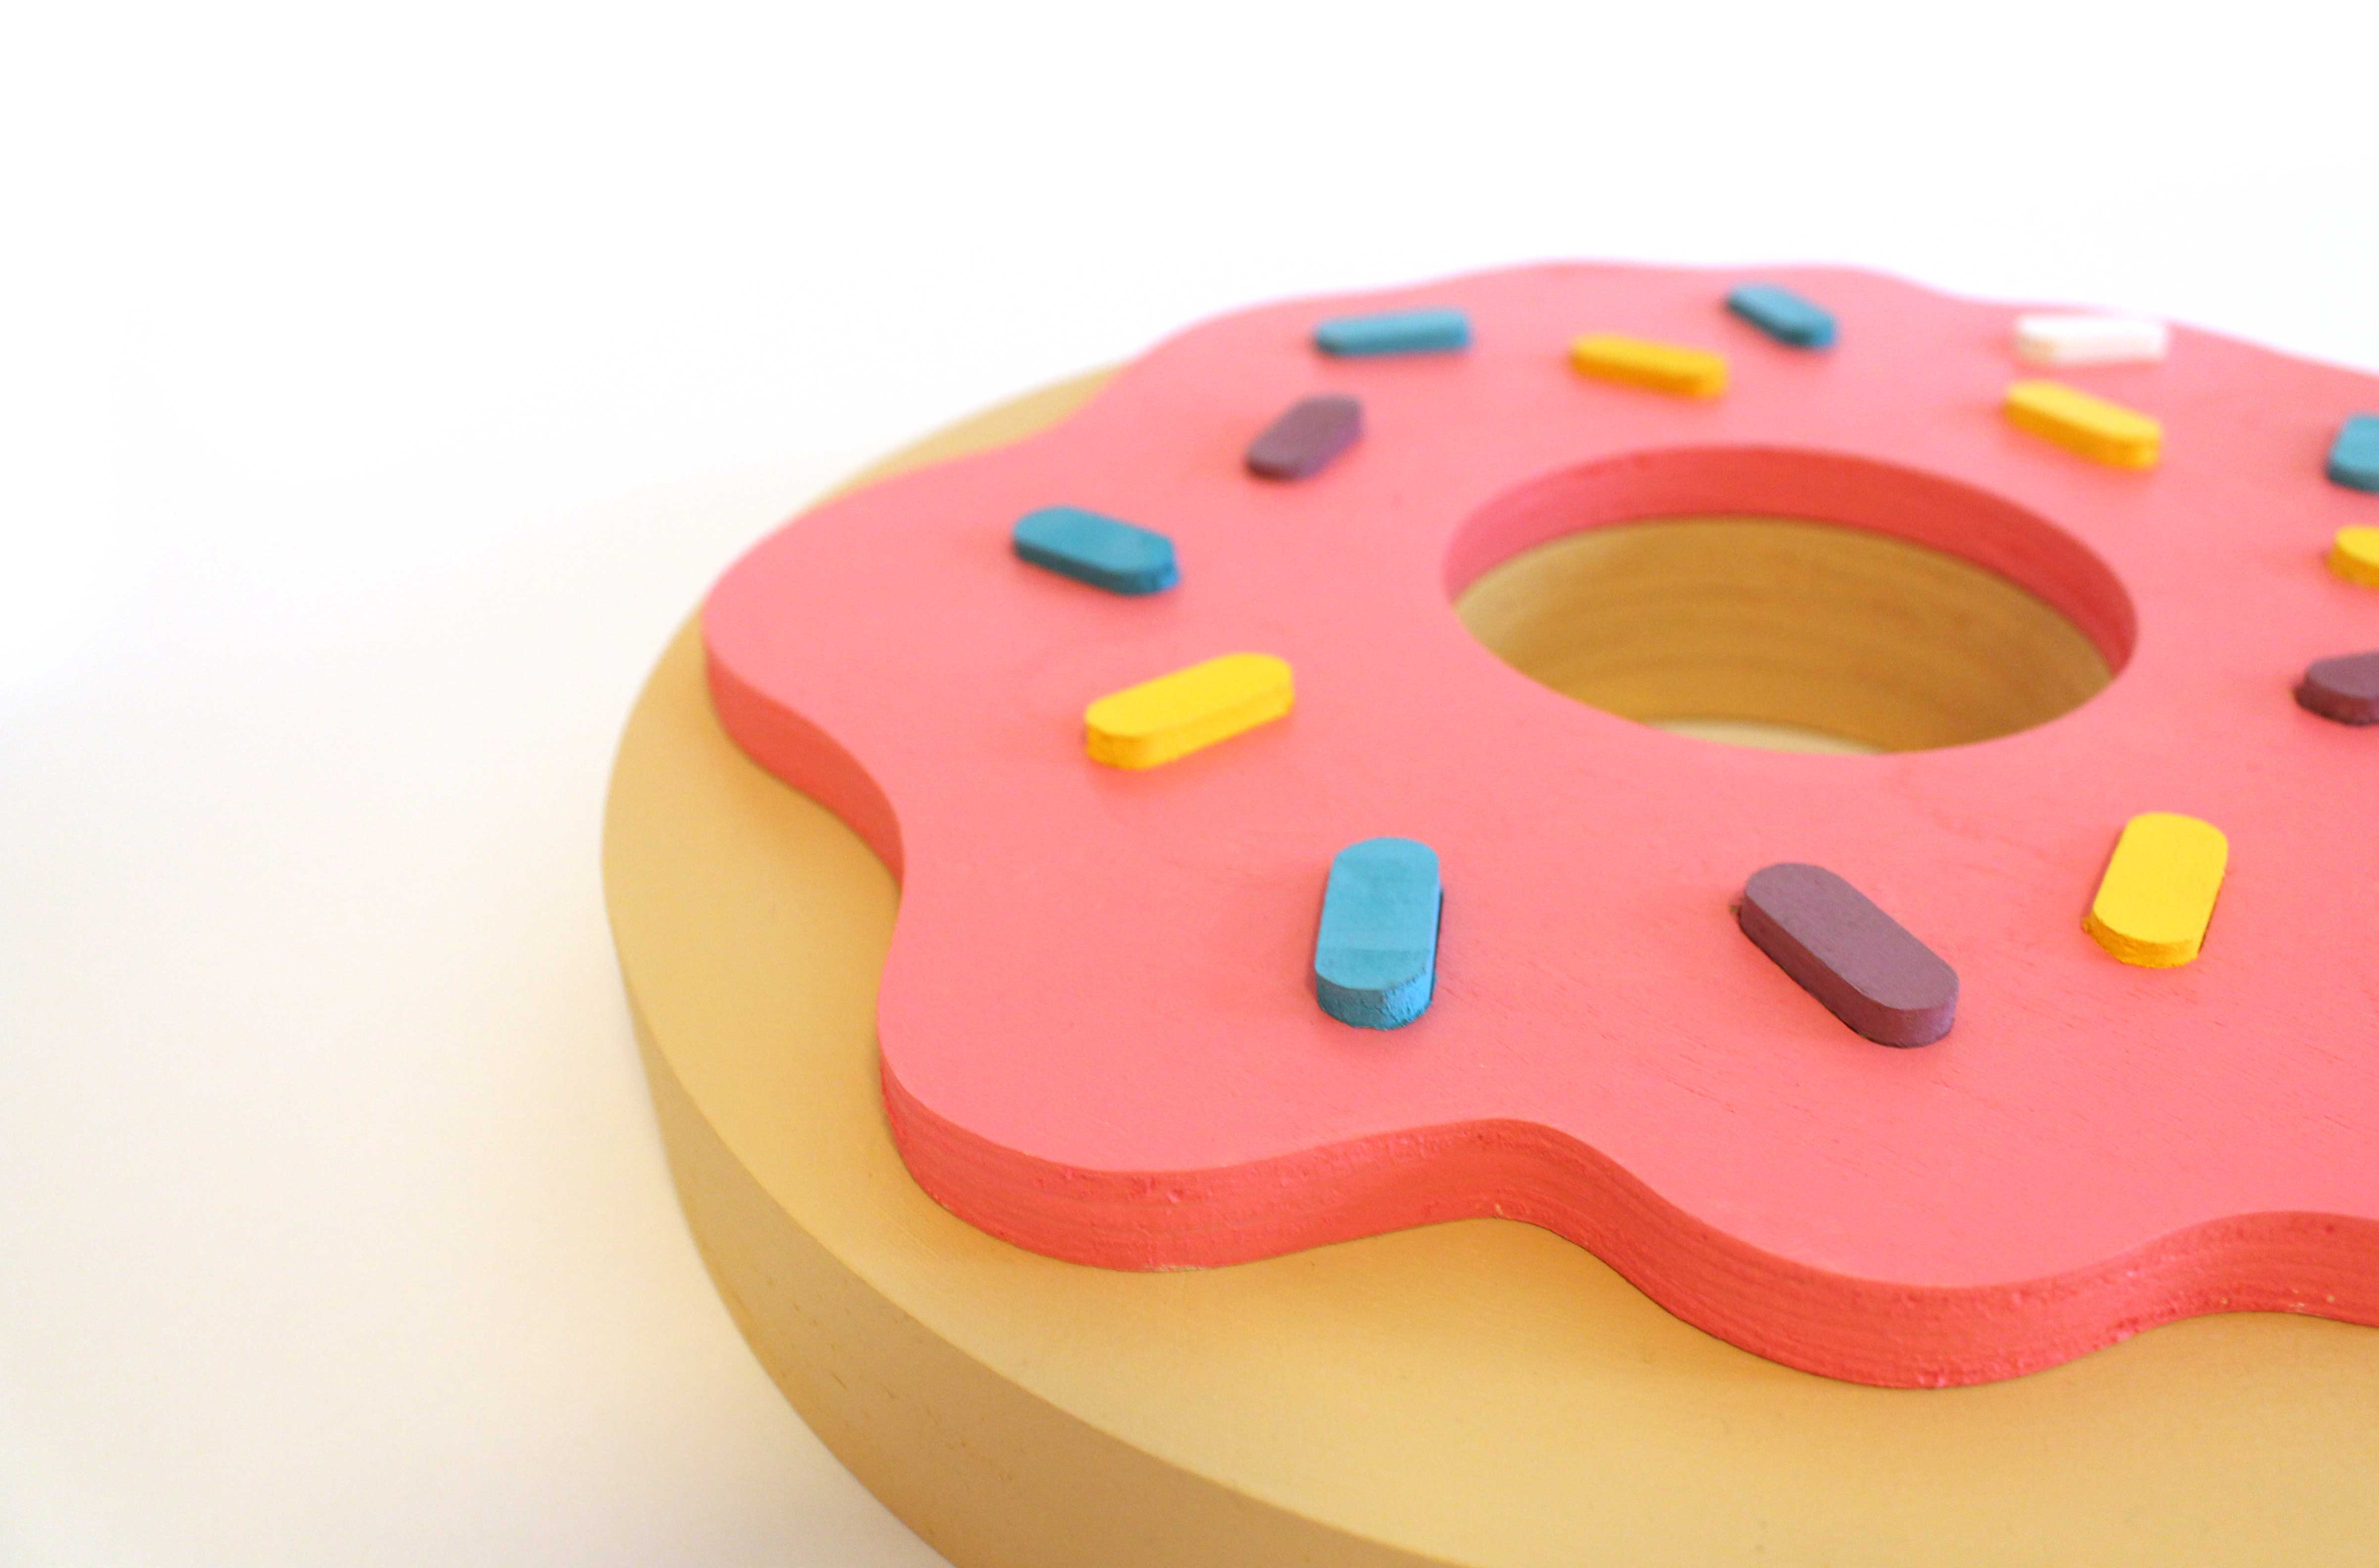
And with the help of some wood glue here and there, we have a donut!

1 Comment