
This week I became familiar with “The OtherMill”, which is essentially a mini CNC machine. The OtherMill is great for small, precision work, and can mill pretty tough materials such as aluminium (which is what I milled this week).
The Other Mill Became Ill
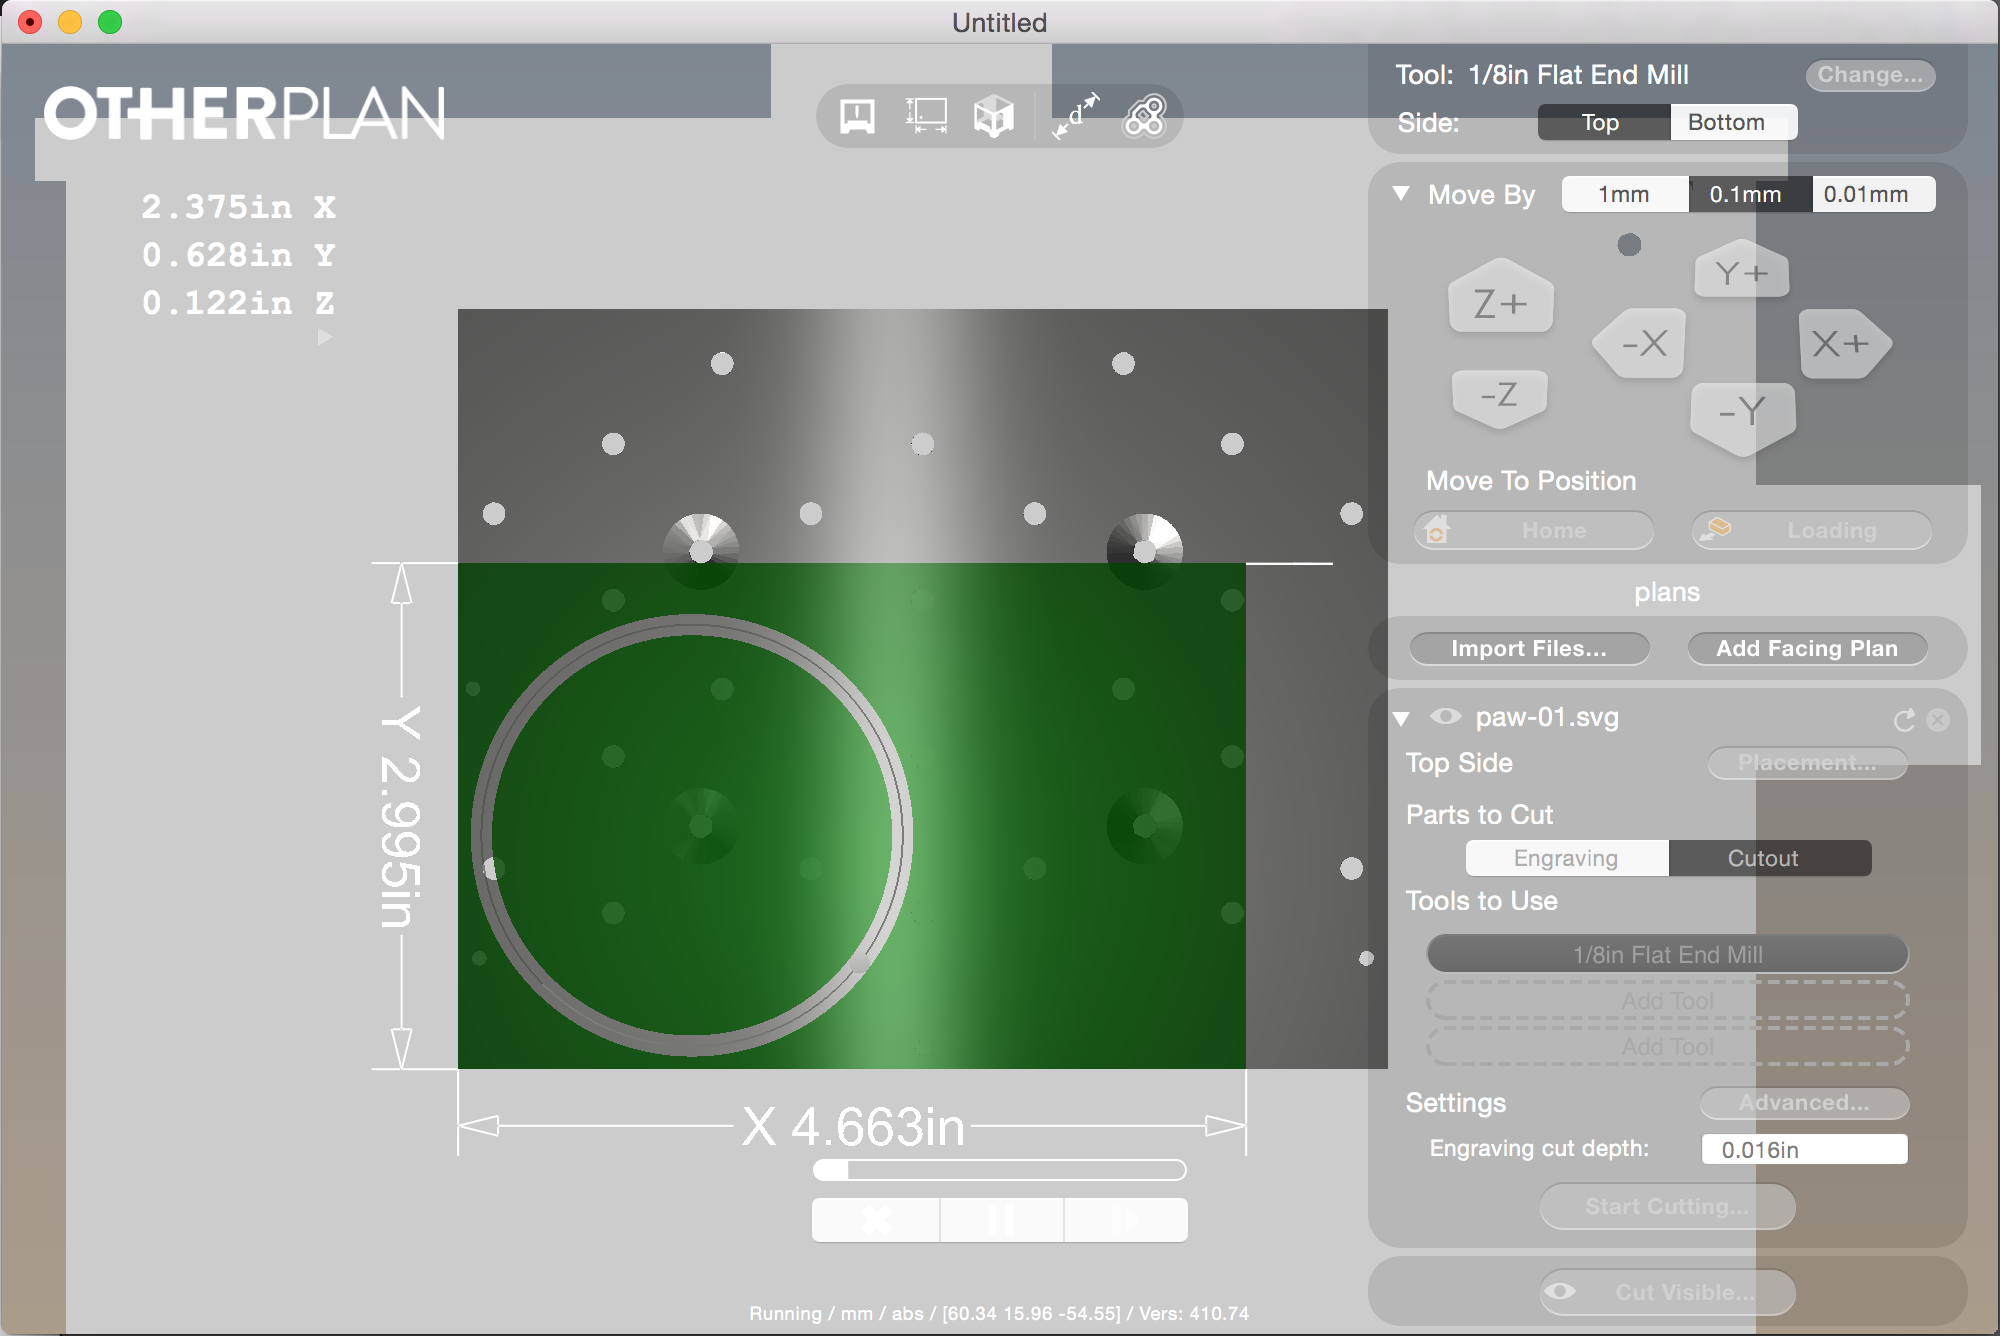
My first trial on the machine did not go so well. Before I describe what went wrong, I’ll give a quick overview on how the machine works. The OtherMill is a routing tool, so it works with bits. These bits engrave or cut the material that you load according to the SVG file that you send. You can also control the depth of engravement and play around with that, which I think is pretty neat. In order for this process to work, the machine has to “calibrate” the settings every time a new job is set. Part of this calibration includes making sure the actual bit knows the distance between it’s initial point and the material, otherwise, it will not be able to do the job.
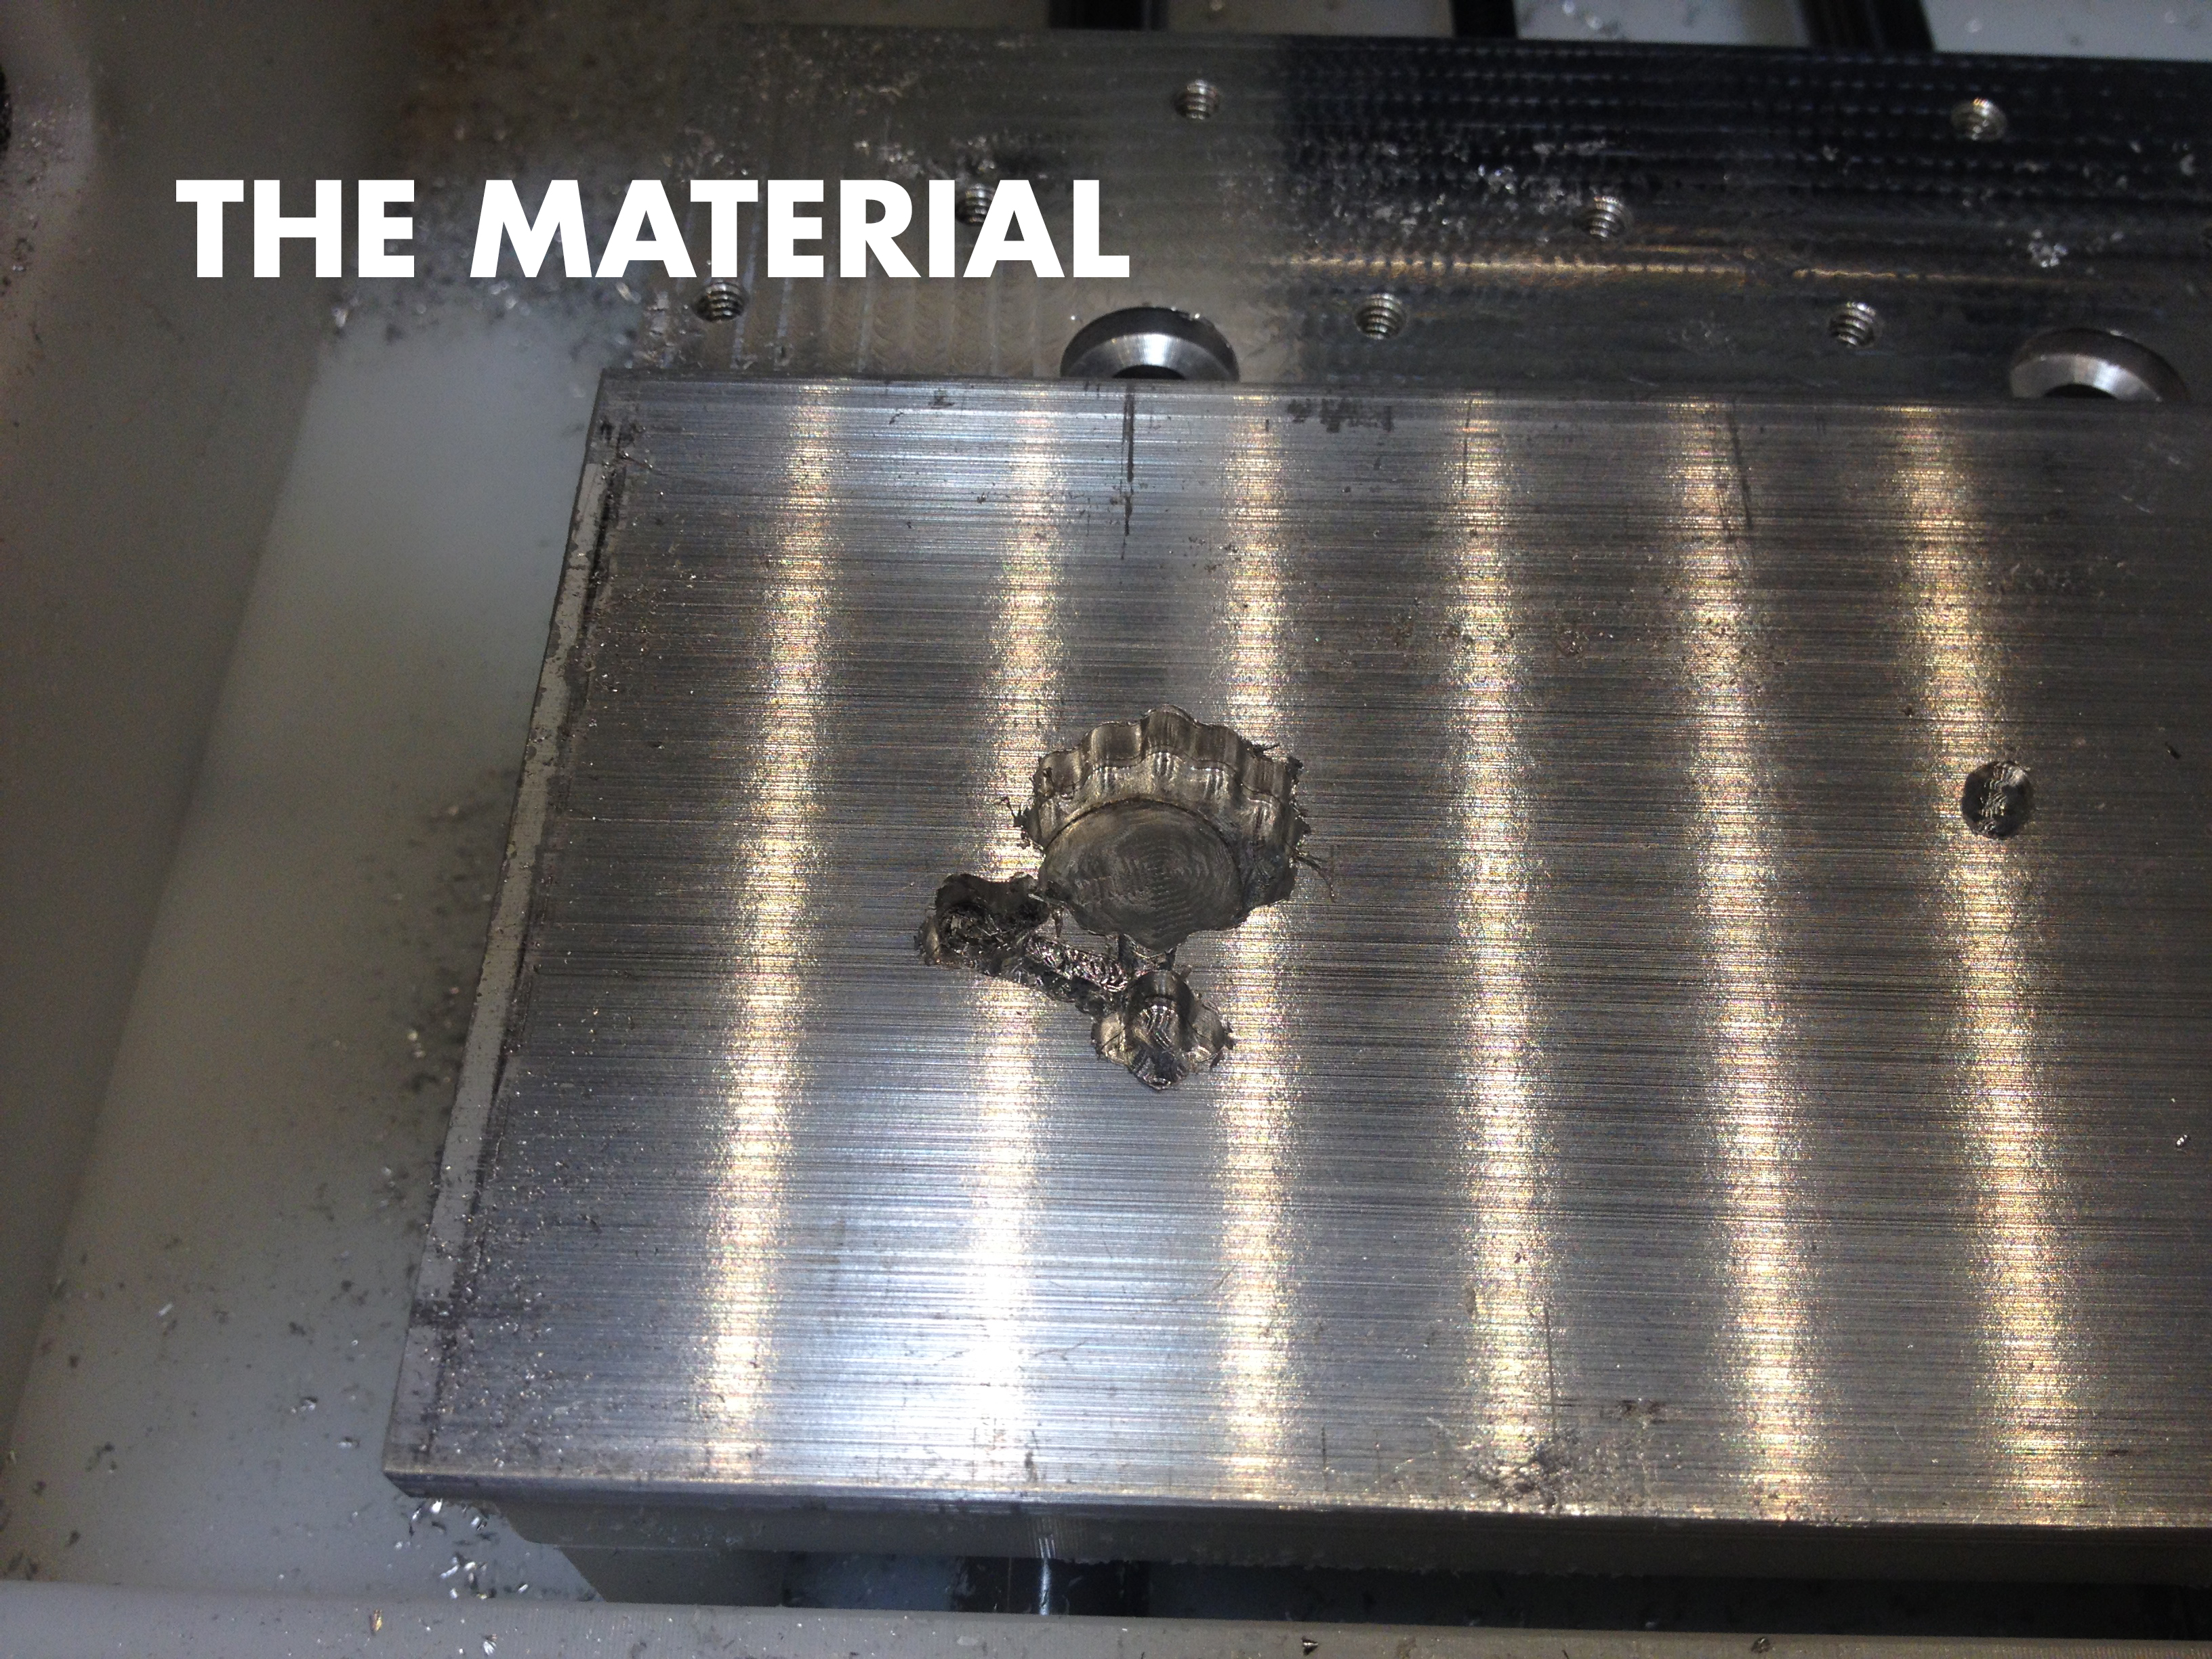
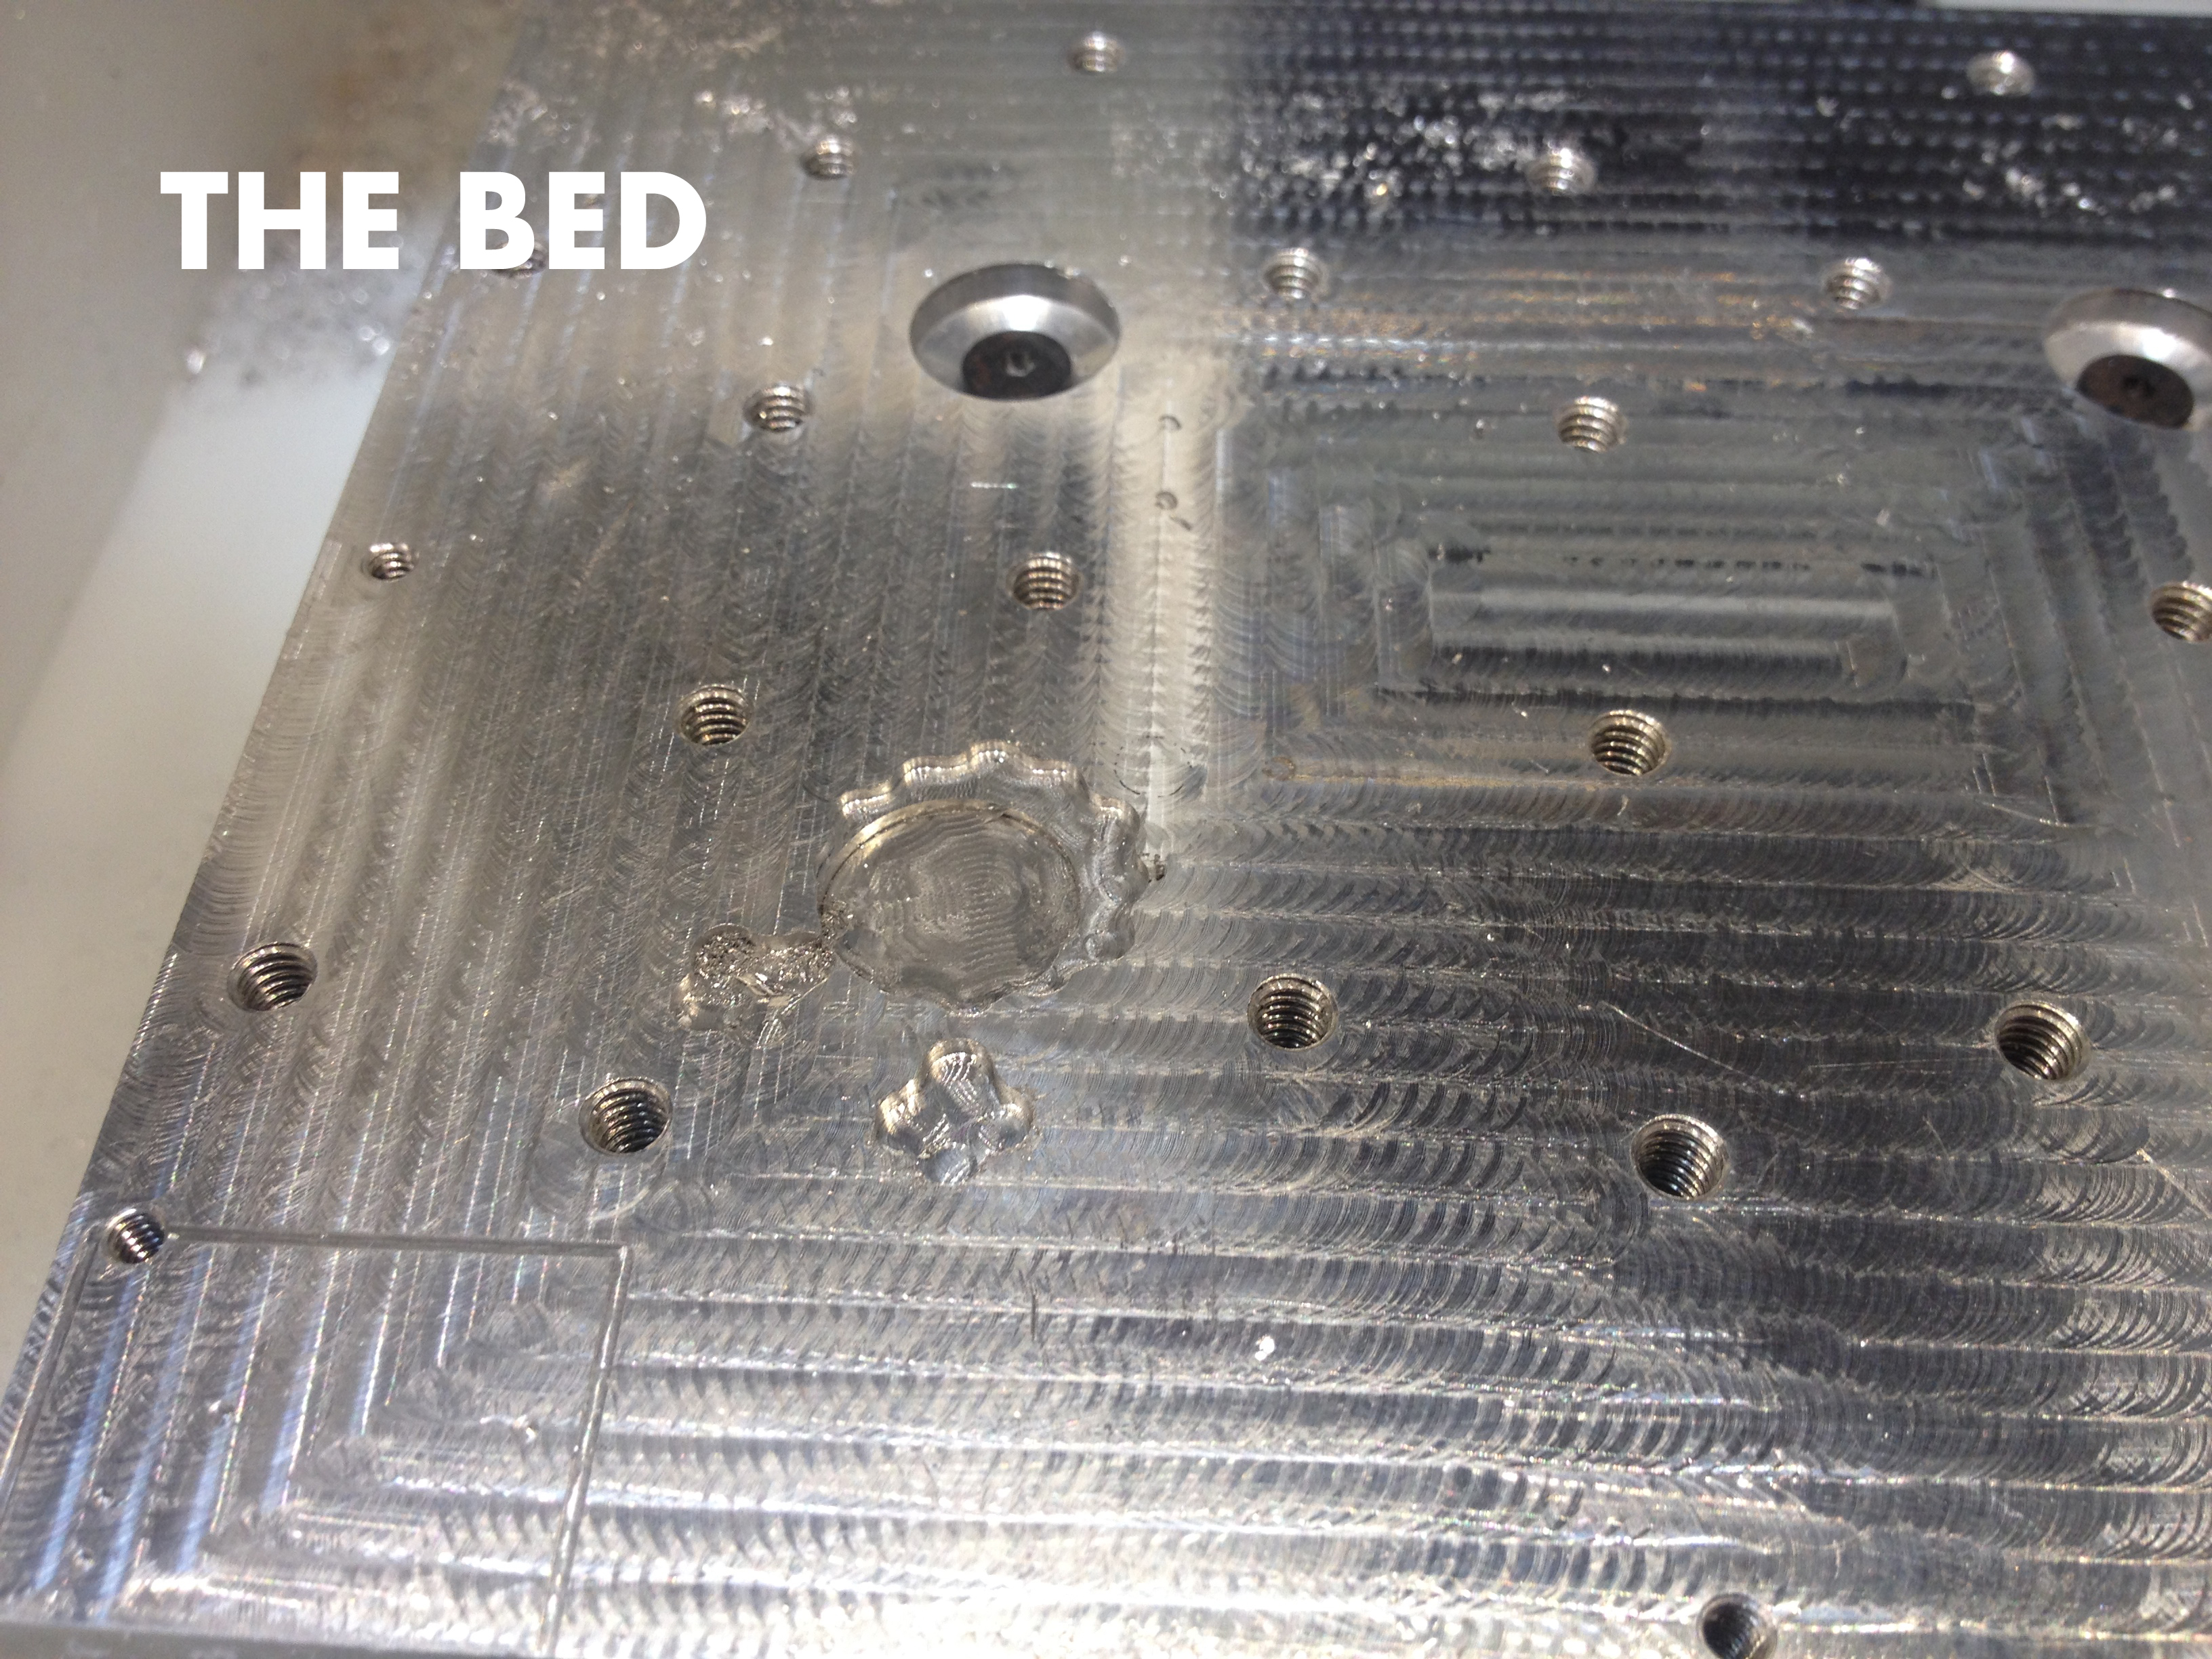
On my first round using The OtherMill, everything was indeed set up exactly the way it should have been, but, something interesting (and unfortunate) that happened was that during the actual milling, the bit itself start to slip a very tiny bit, creating a lag in the job. Here’s the thing about The OtherMill — if you start the job and set an engravement for 0.016in, it will do that engravement as far as it’s concerned. The OtherMill doesn’t know if the bit is lagging in the middle of the job, so you can imagine that this could consequently meaning that the engravement will be deeper than you had intended it to be in the first place. And that’s exactly what happened in my case; I set a cut, the bit slipped a tiny bit in the middle of the job, and as a result, started cutting the bed of the machine (once it had gone through the aluminium).
Second Trial: Successful Comeback
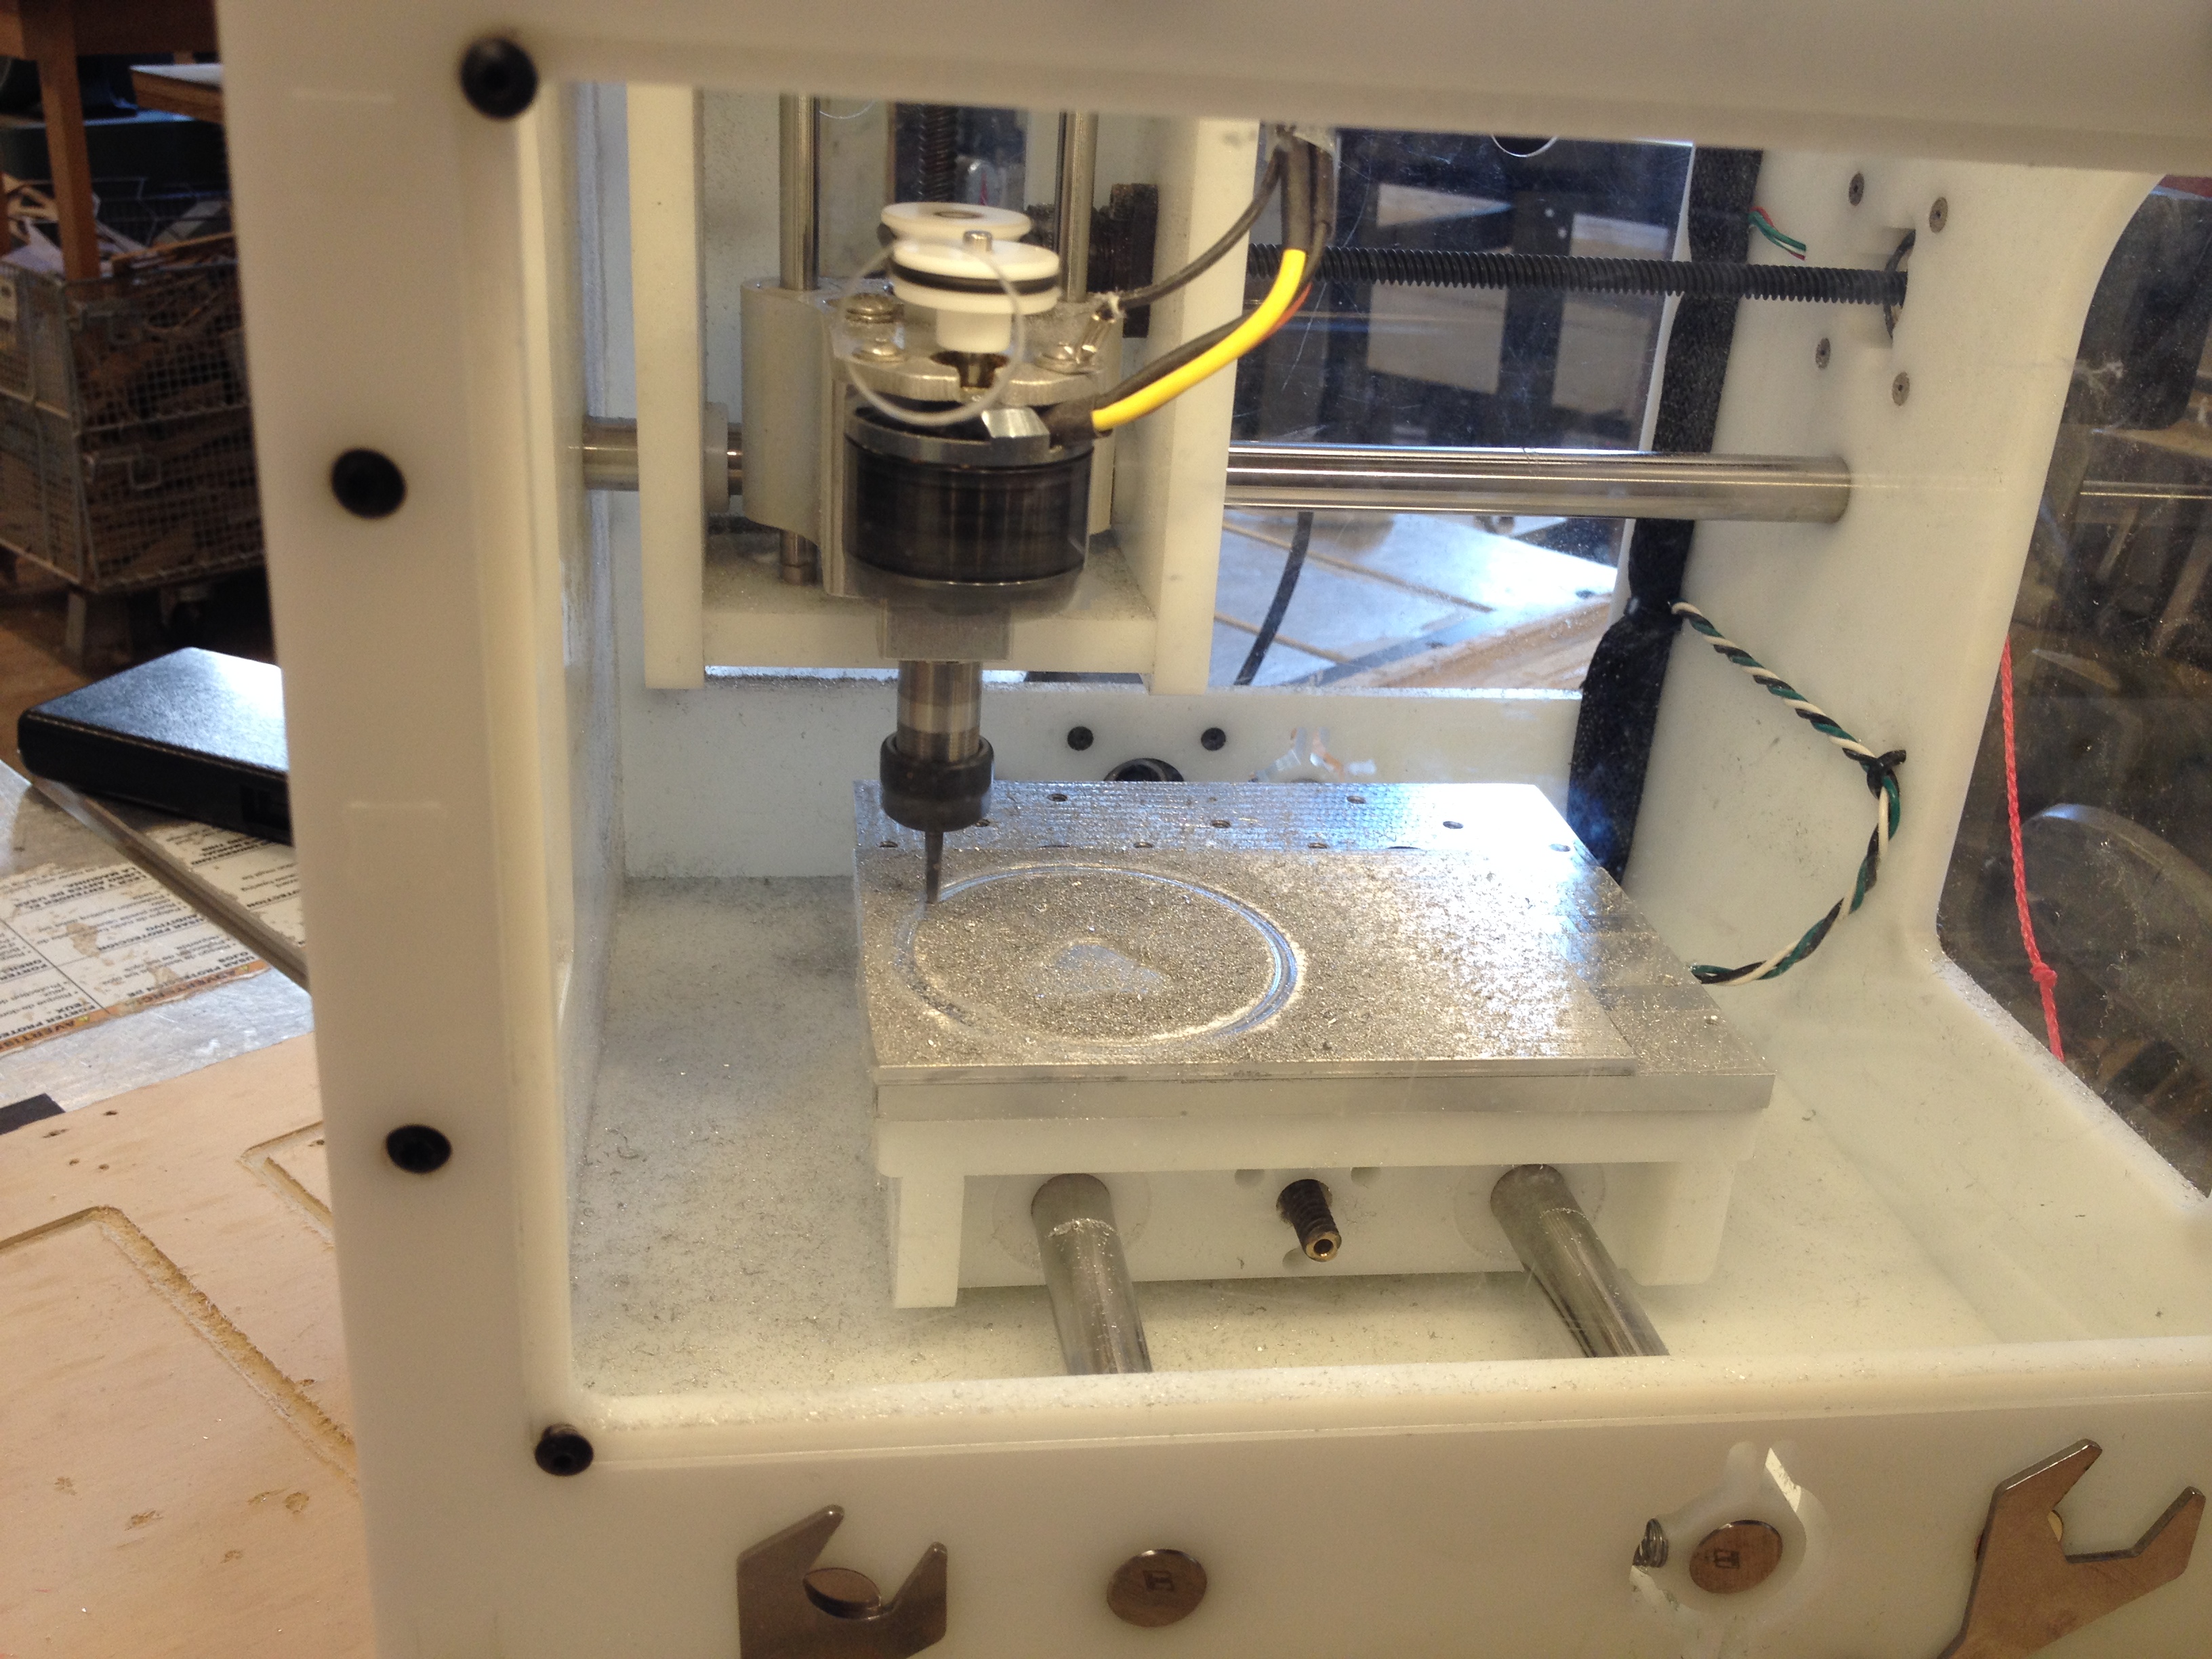
After getting a good understanding of how delicate and precise The OtherMill is, I was ready to get back on the horse and giving the milling a second try. I went through all the steps very carefully: measured my material, enforced it on the bed of the machine with double-sided tape, changed the drill bit, set it to the safety zone of the machine, uploaded my SVG file and was good to go. Something important I learned this time around is that if the job has a cut and an engravement, it’s probably better to do them in two separate rounds (which you can do by using the same file, and selecting “engrave”, wait for it to complete the job, and then select “cut”). Here’s the machine at work:
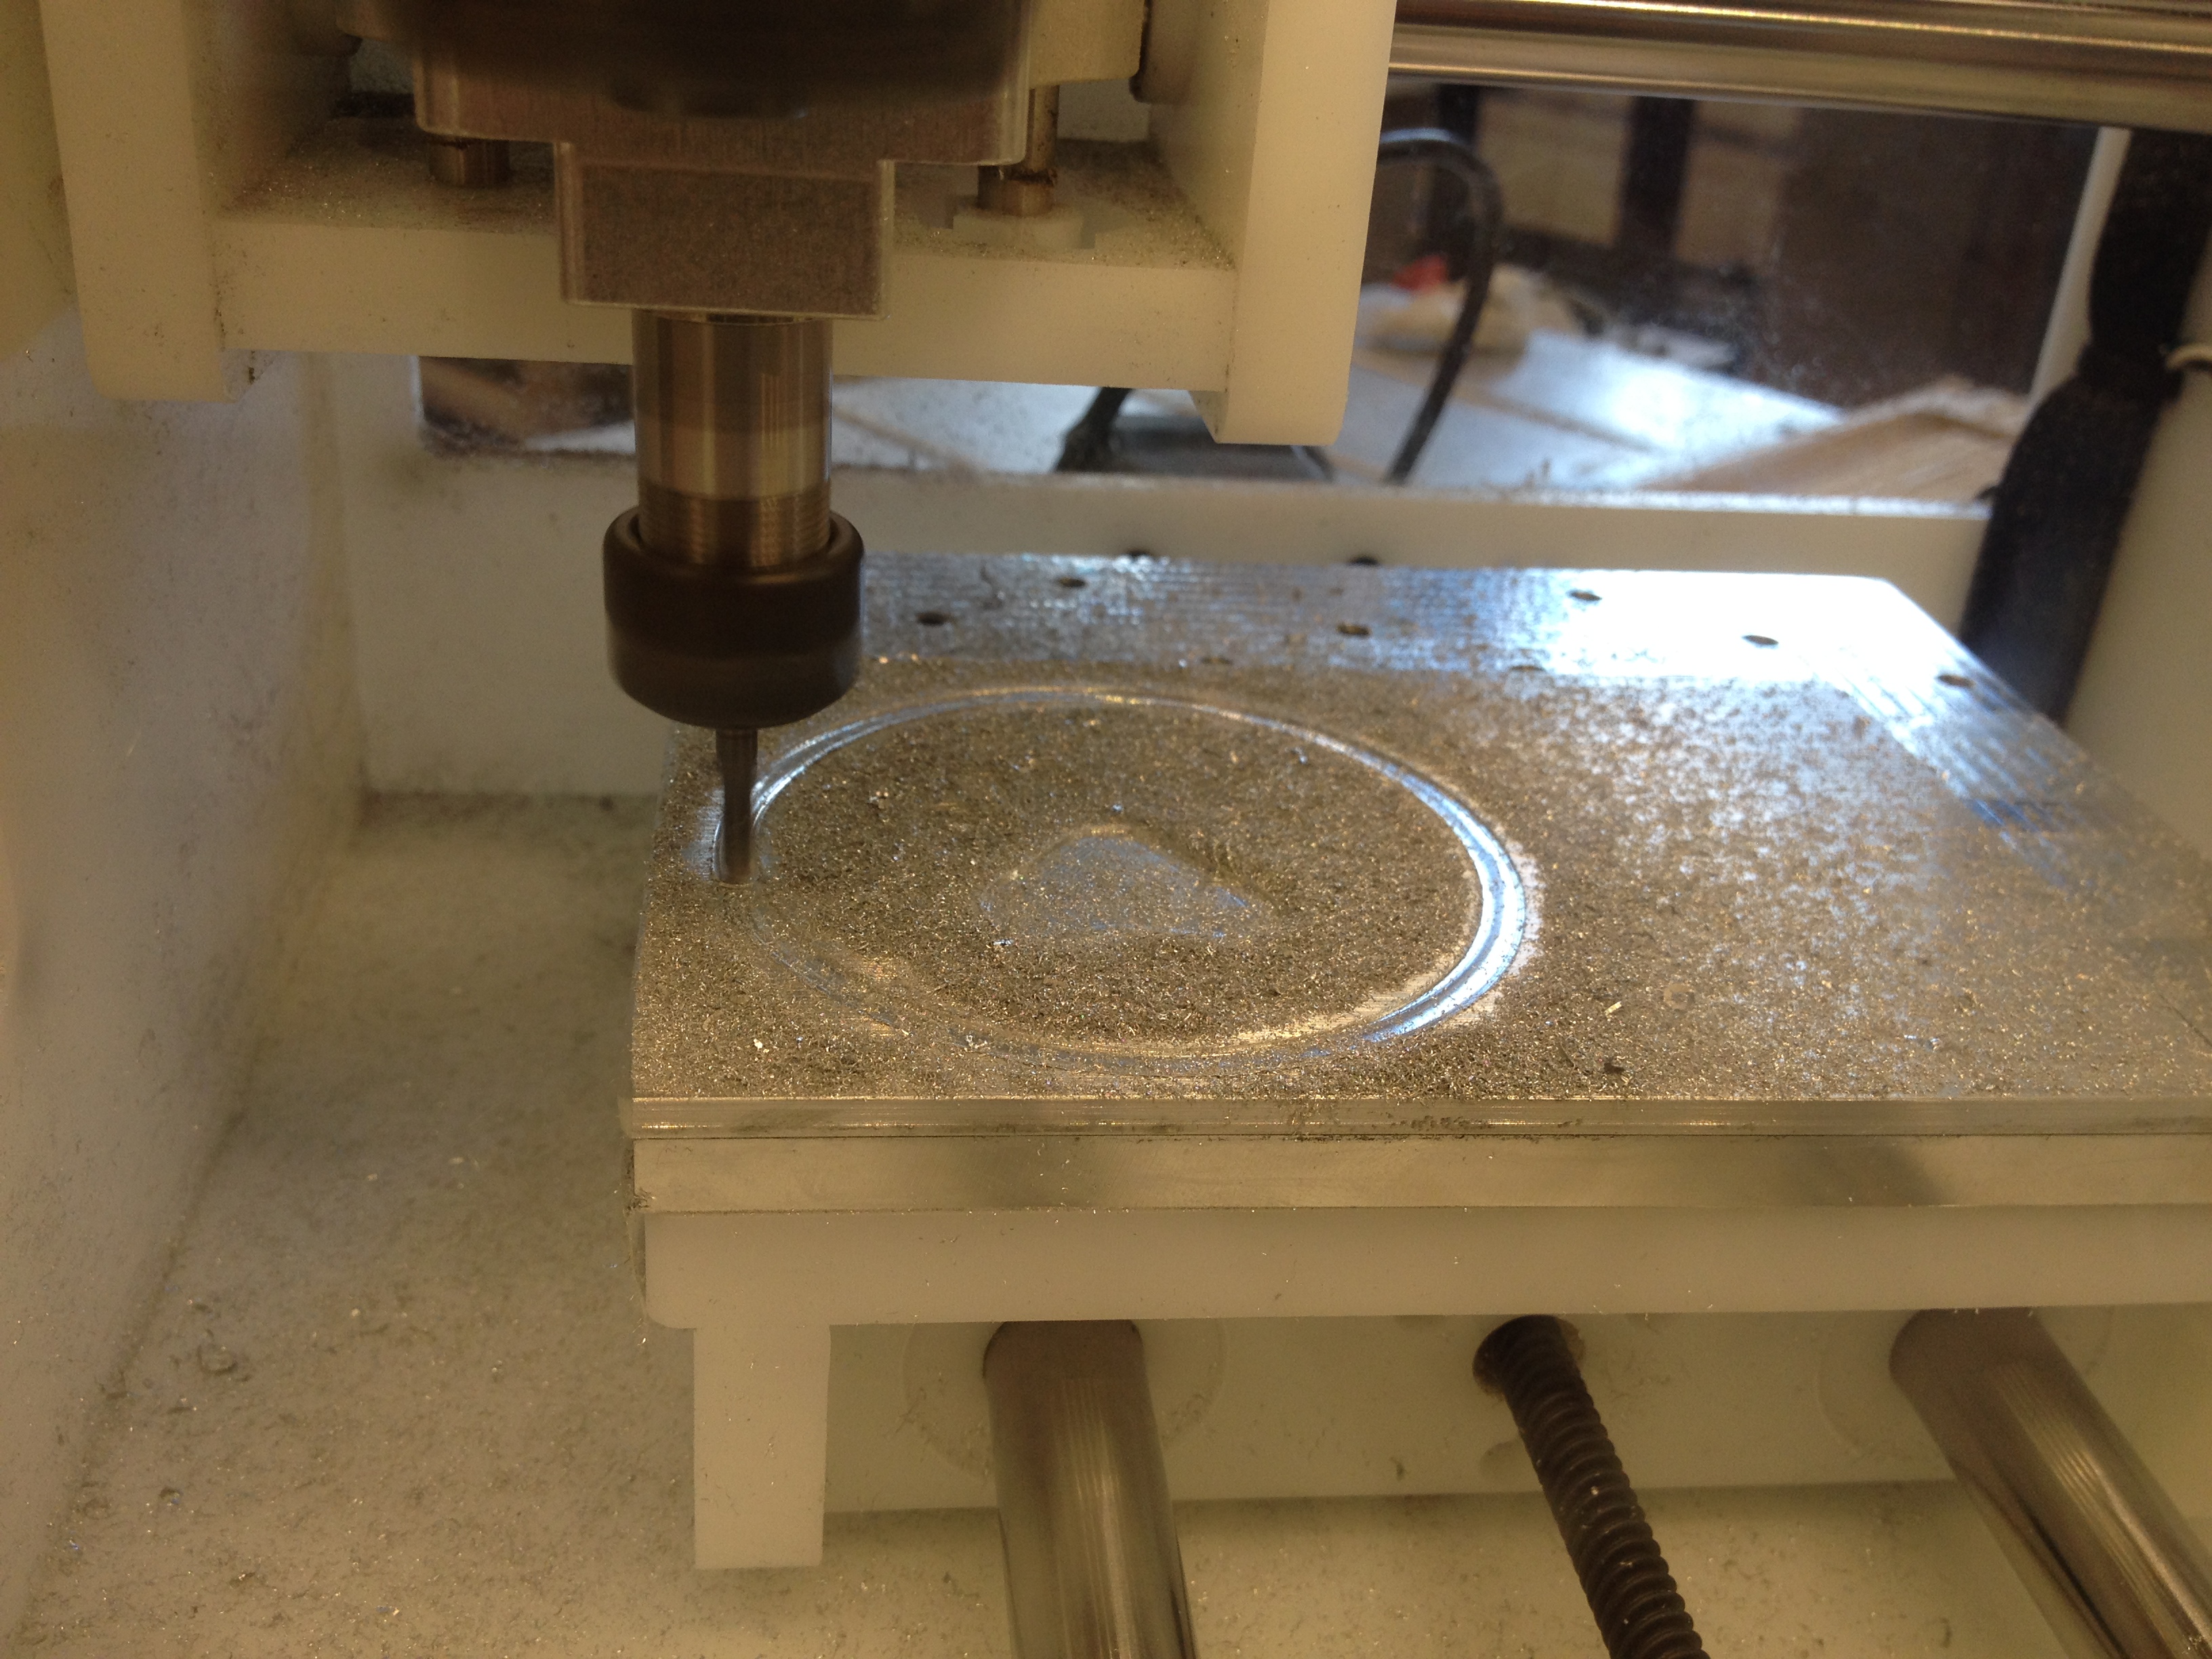
The OtherMill completes the cutting job leaving a hairline left of material, just enough to pop the shape out
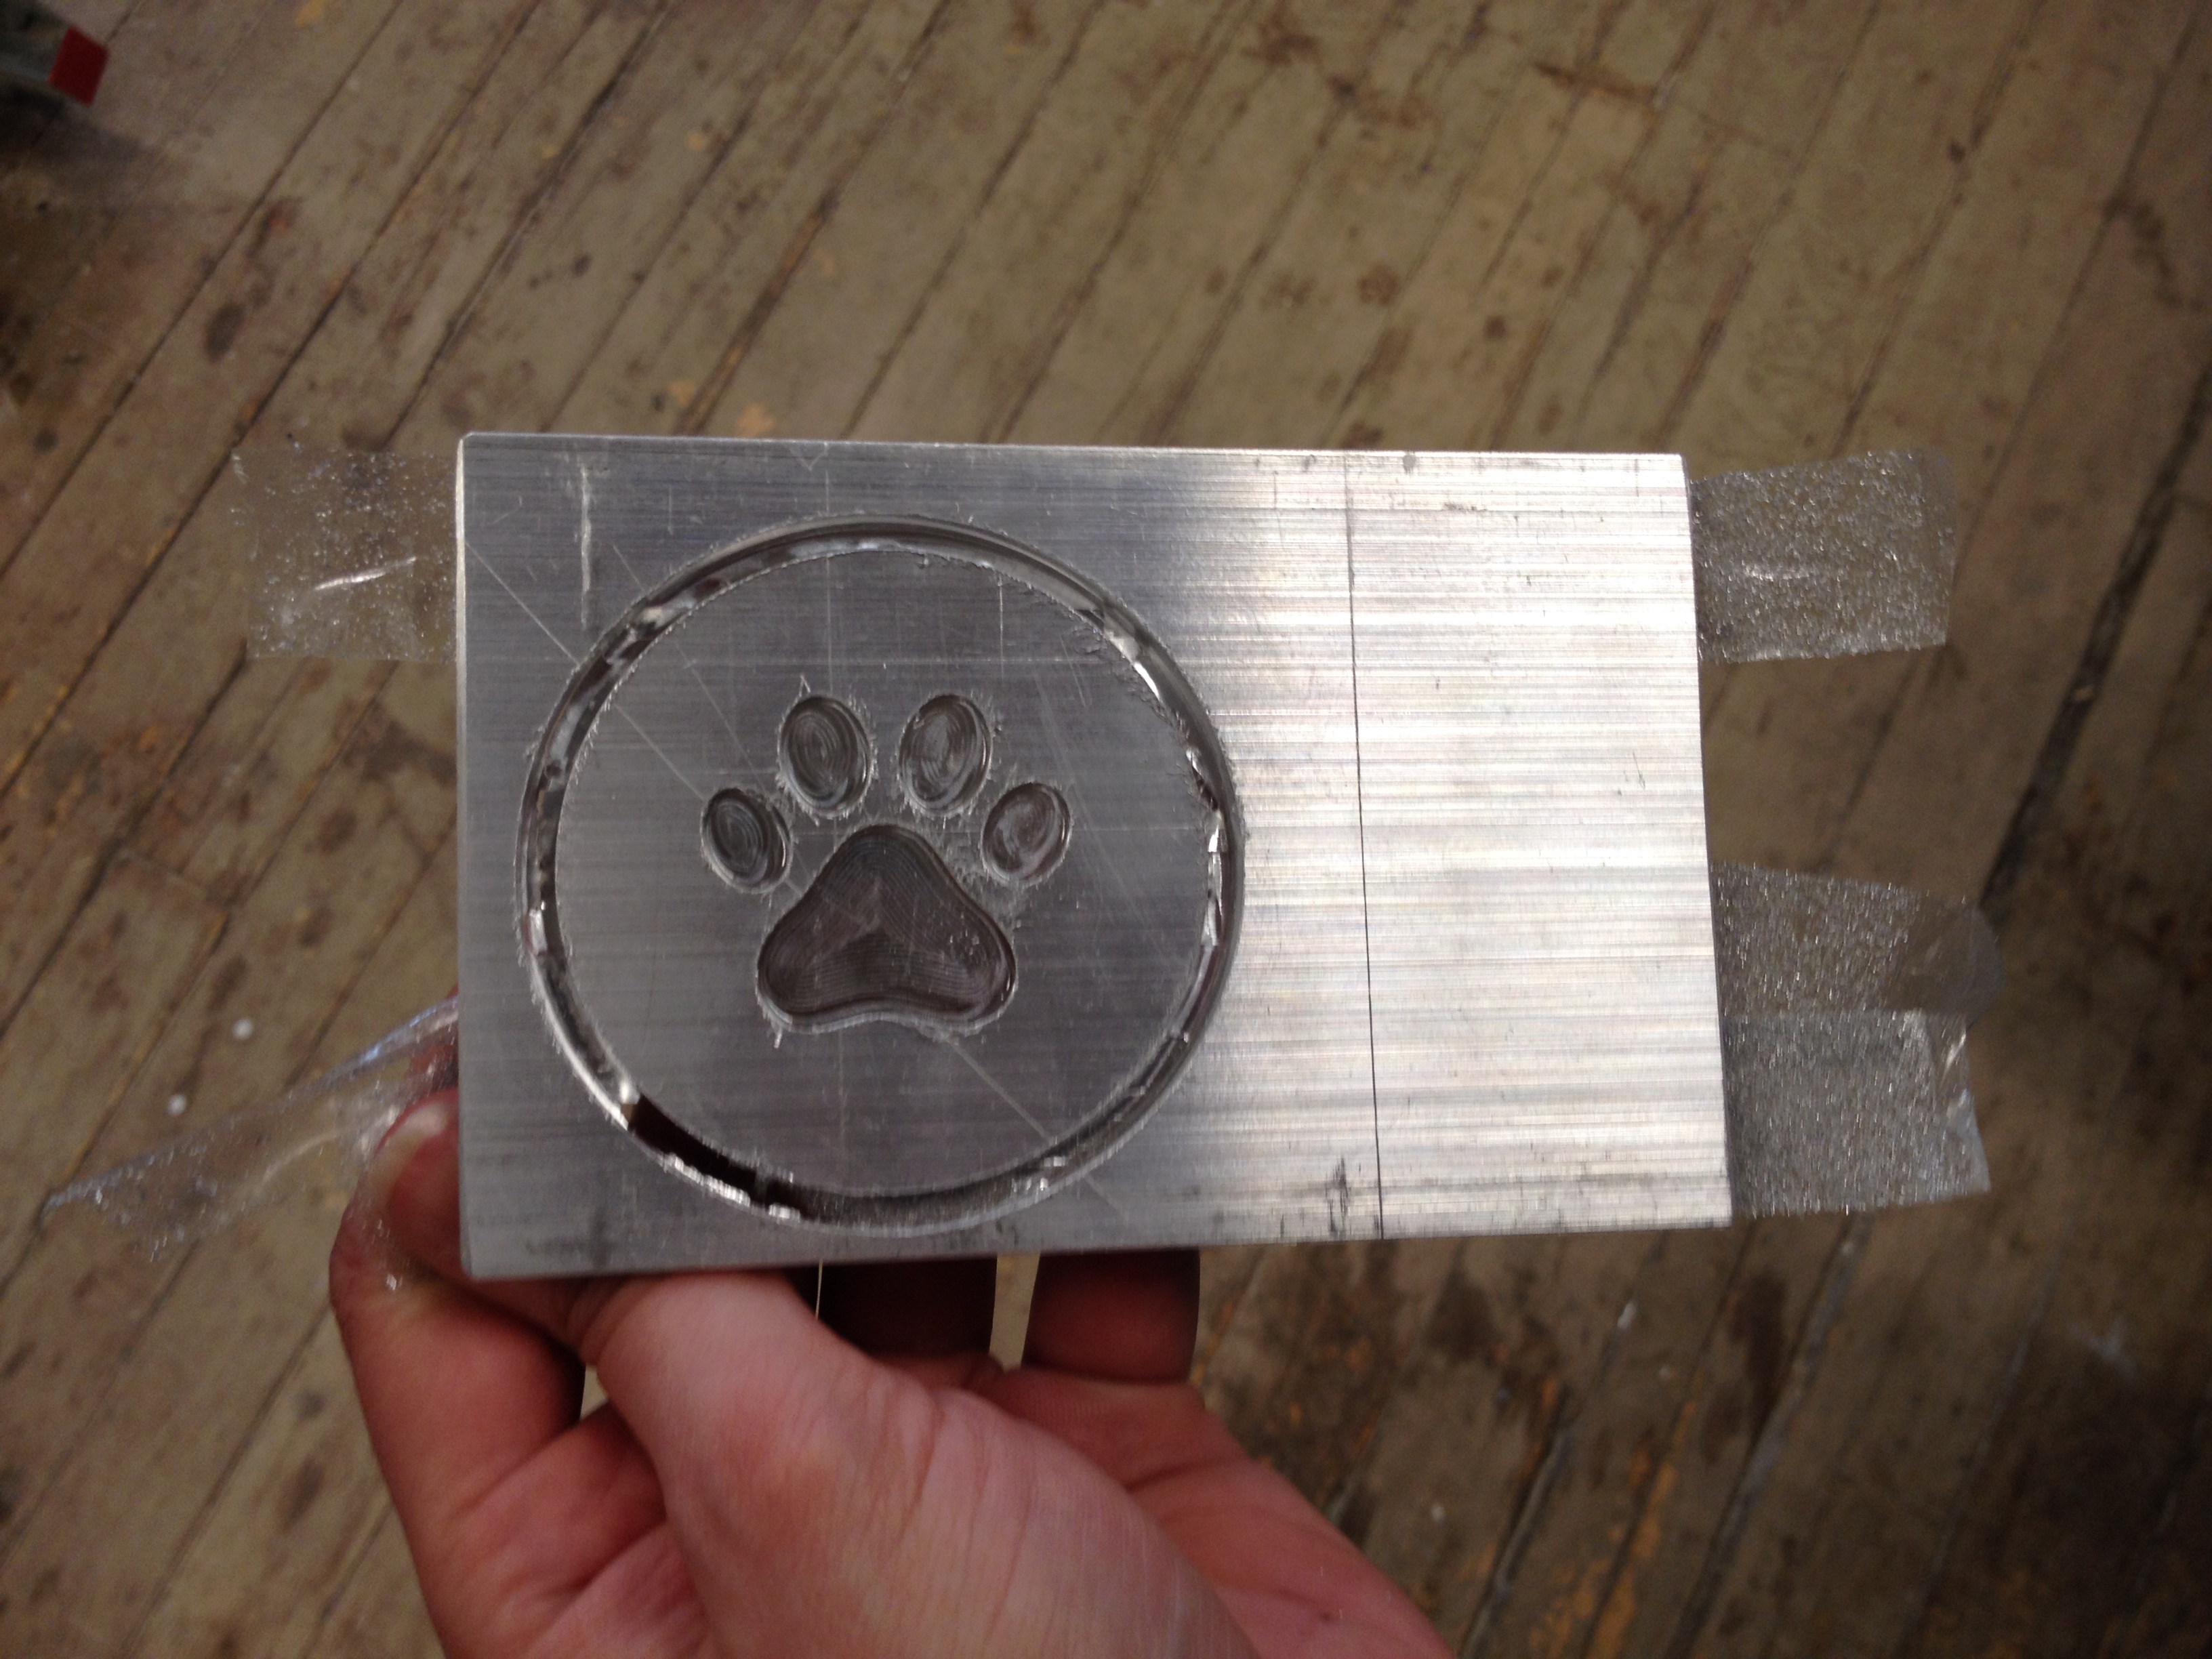
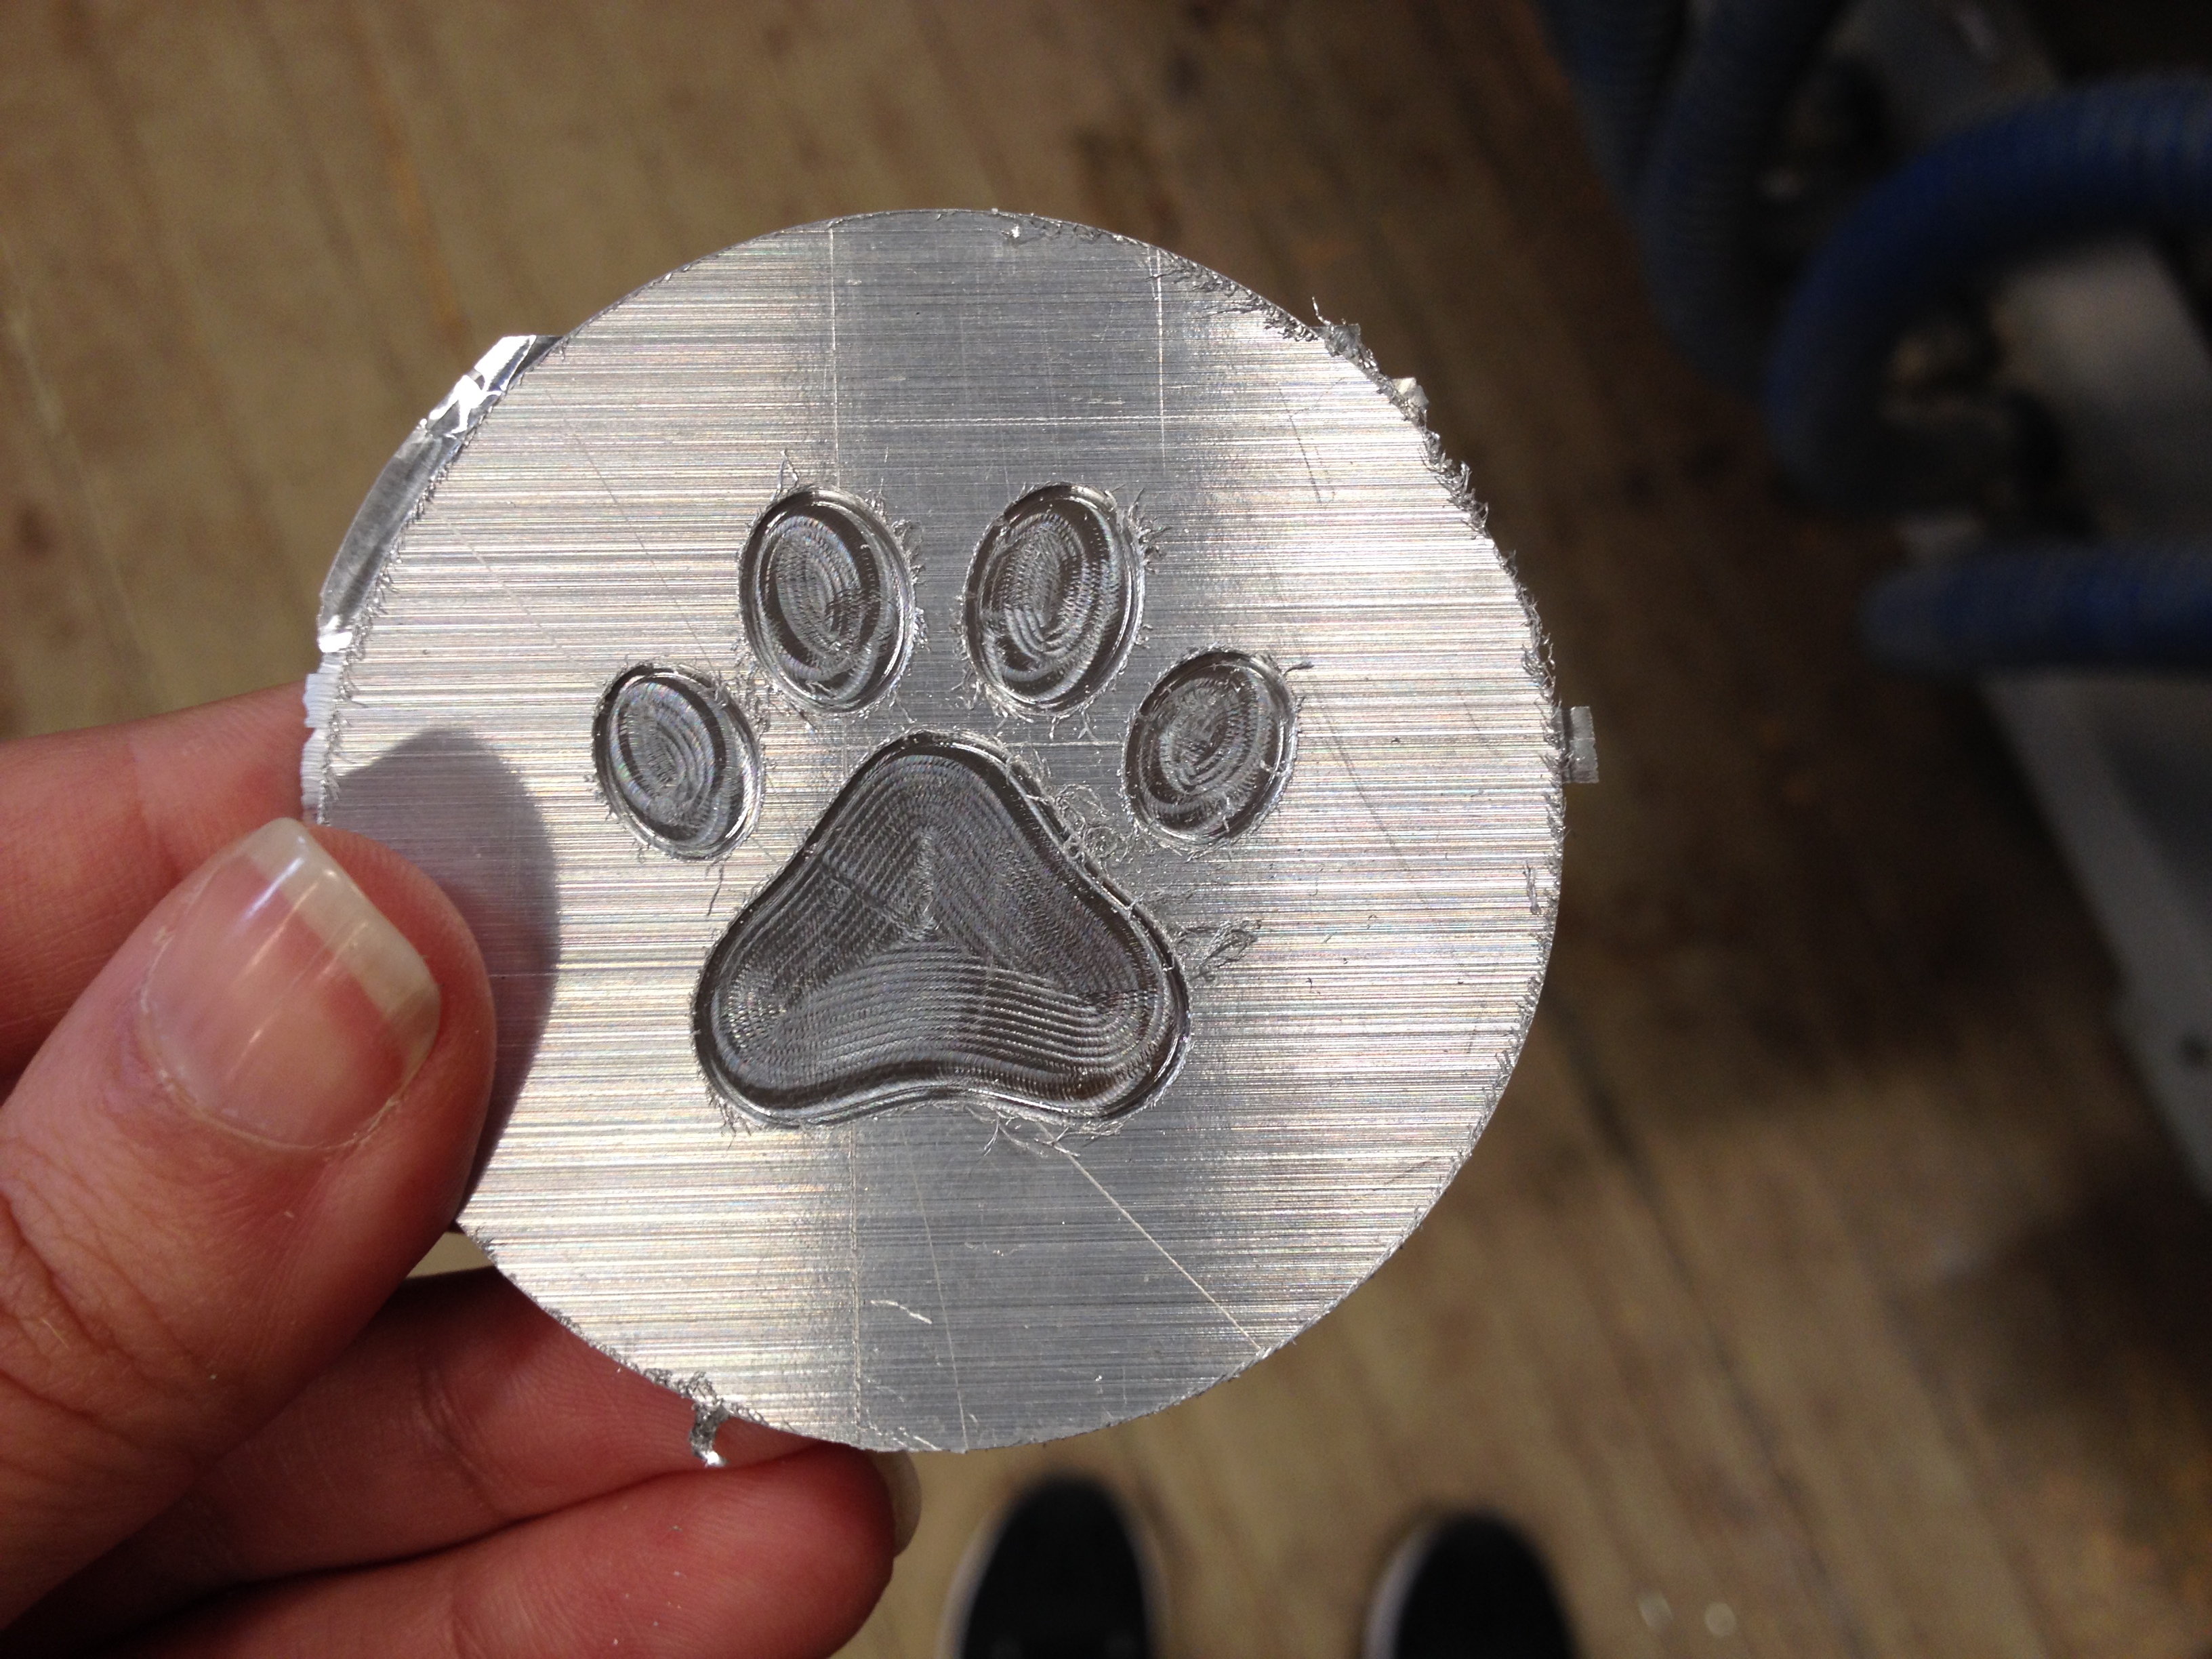
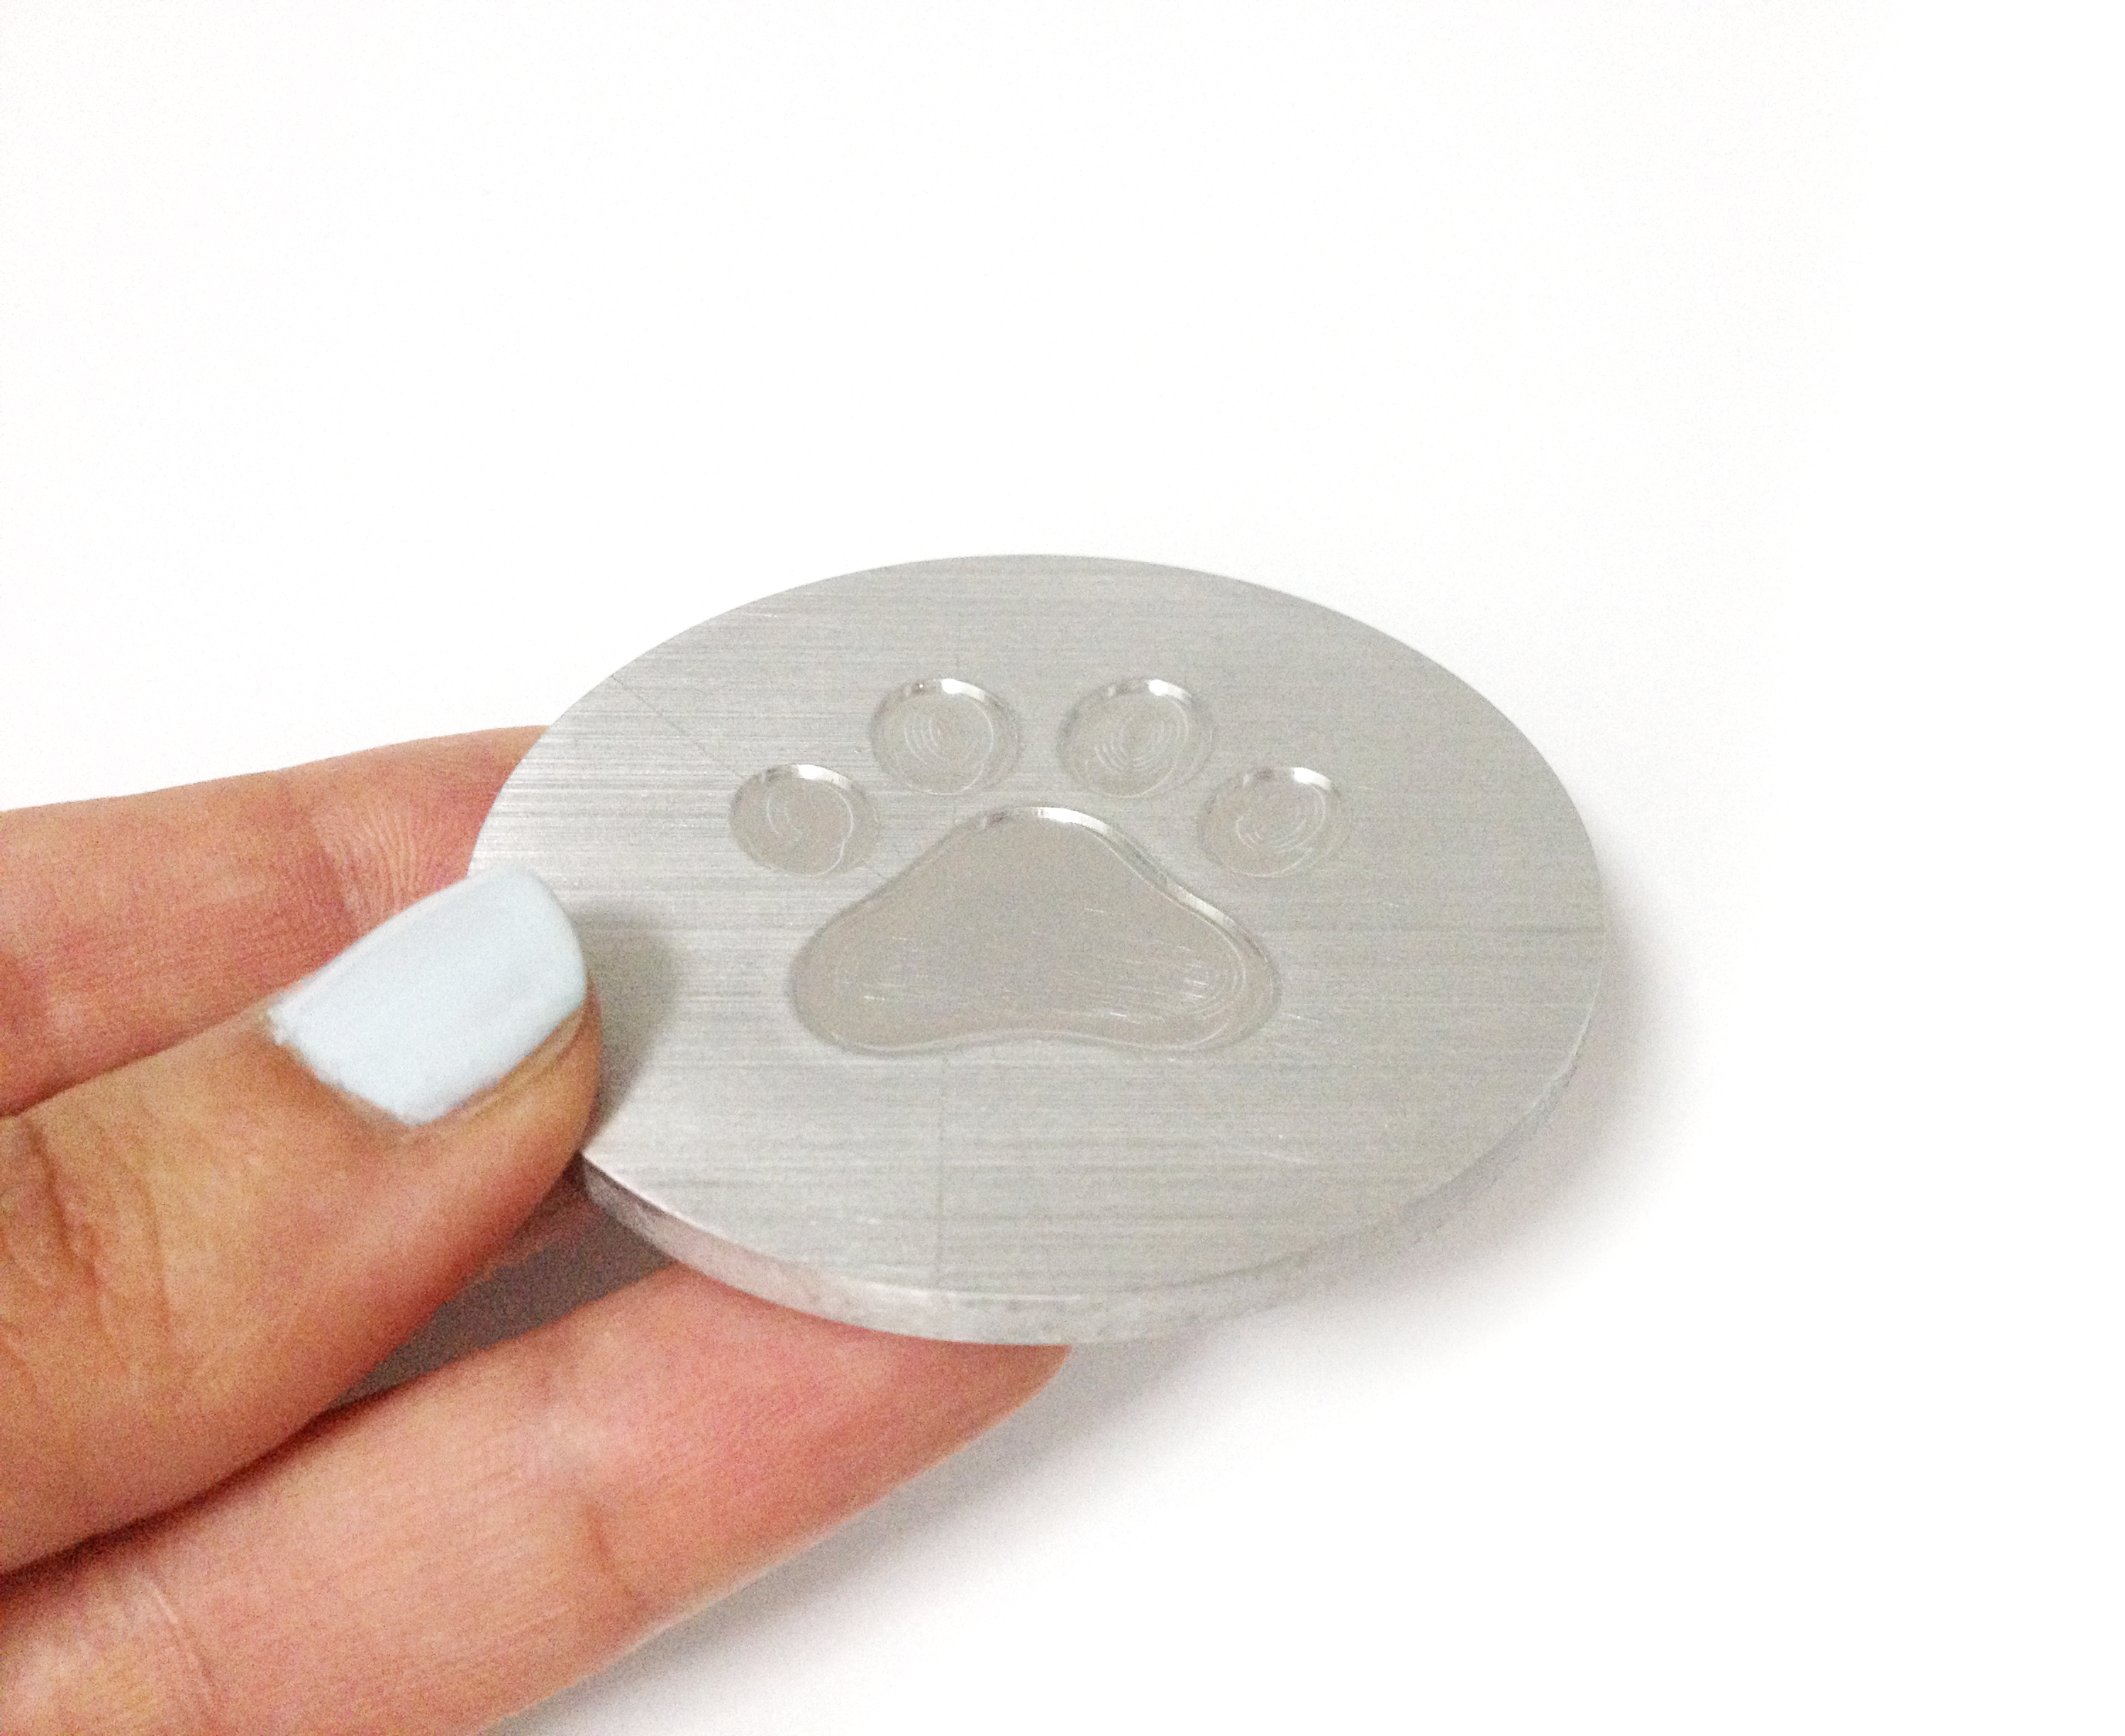
Once you pop the shape out of the aluminium, it’s recommended to sand all the sharp edges down. See you next week — with CNC and CAD!
1 Comment