
This week we dedicated our time to working on the final fabrications of the Silophon. We were a bit OCD with our measurements (to the millimeter!) so assembling the pieces at the end kind of felt like assembling furniture from Ikea. We learned to use a lot of scary tools and how to avoid cutting fingers. Here’s a glimpse at our process in the Shop:
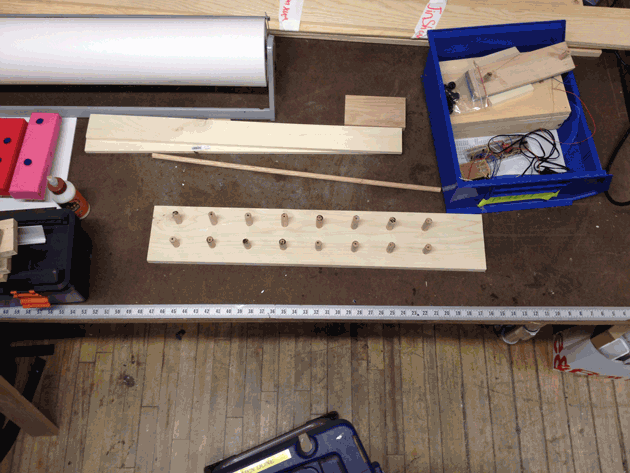
We started out by cutting the base of our Silophon. Here you can see Louis using the Circular Saw Machine (yikes!)

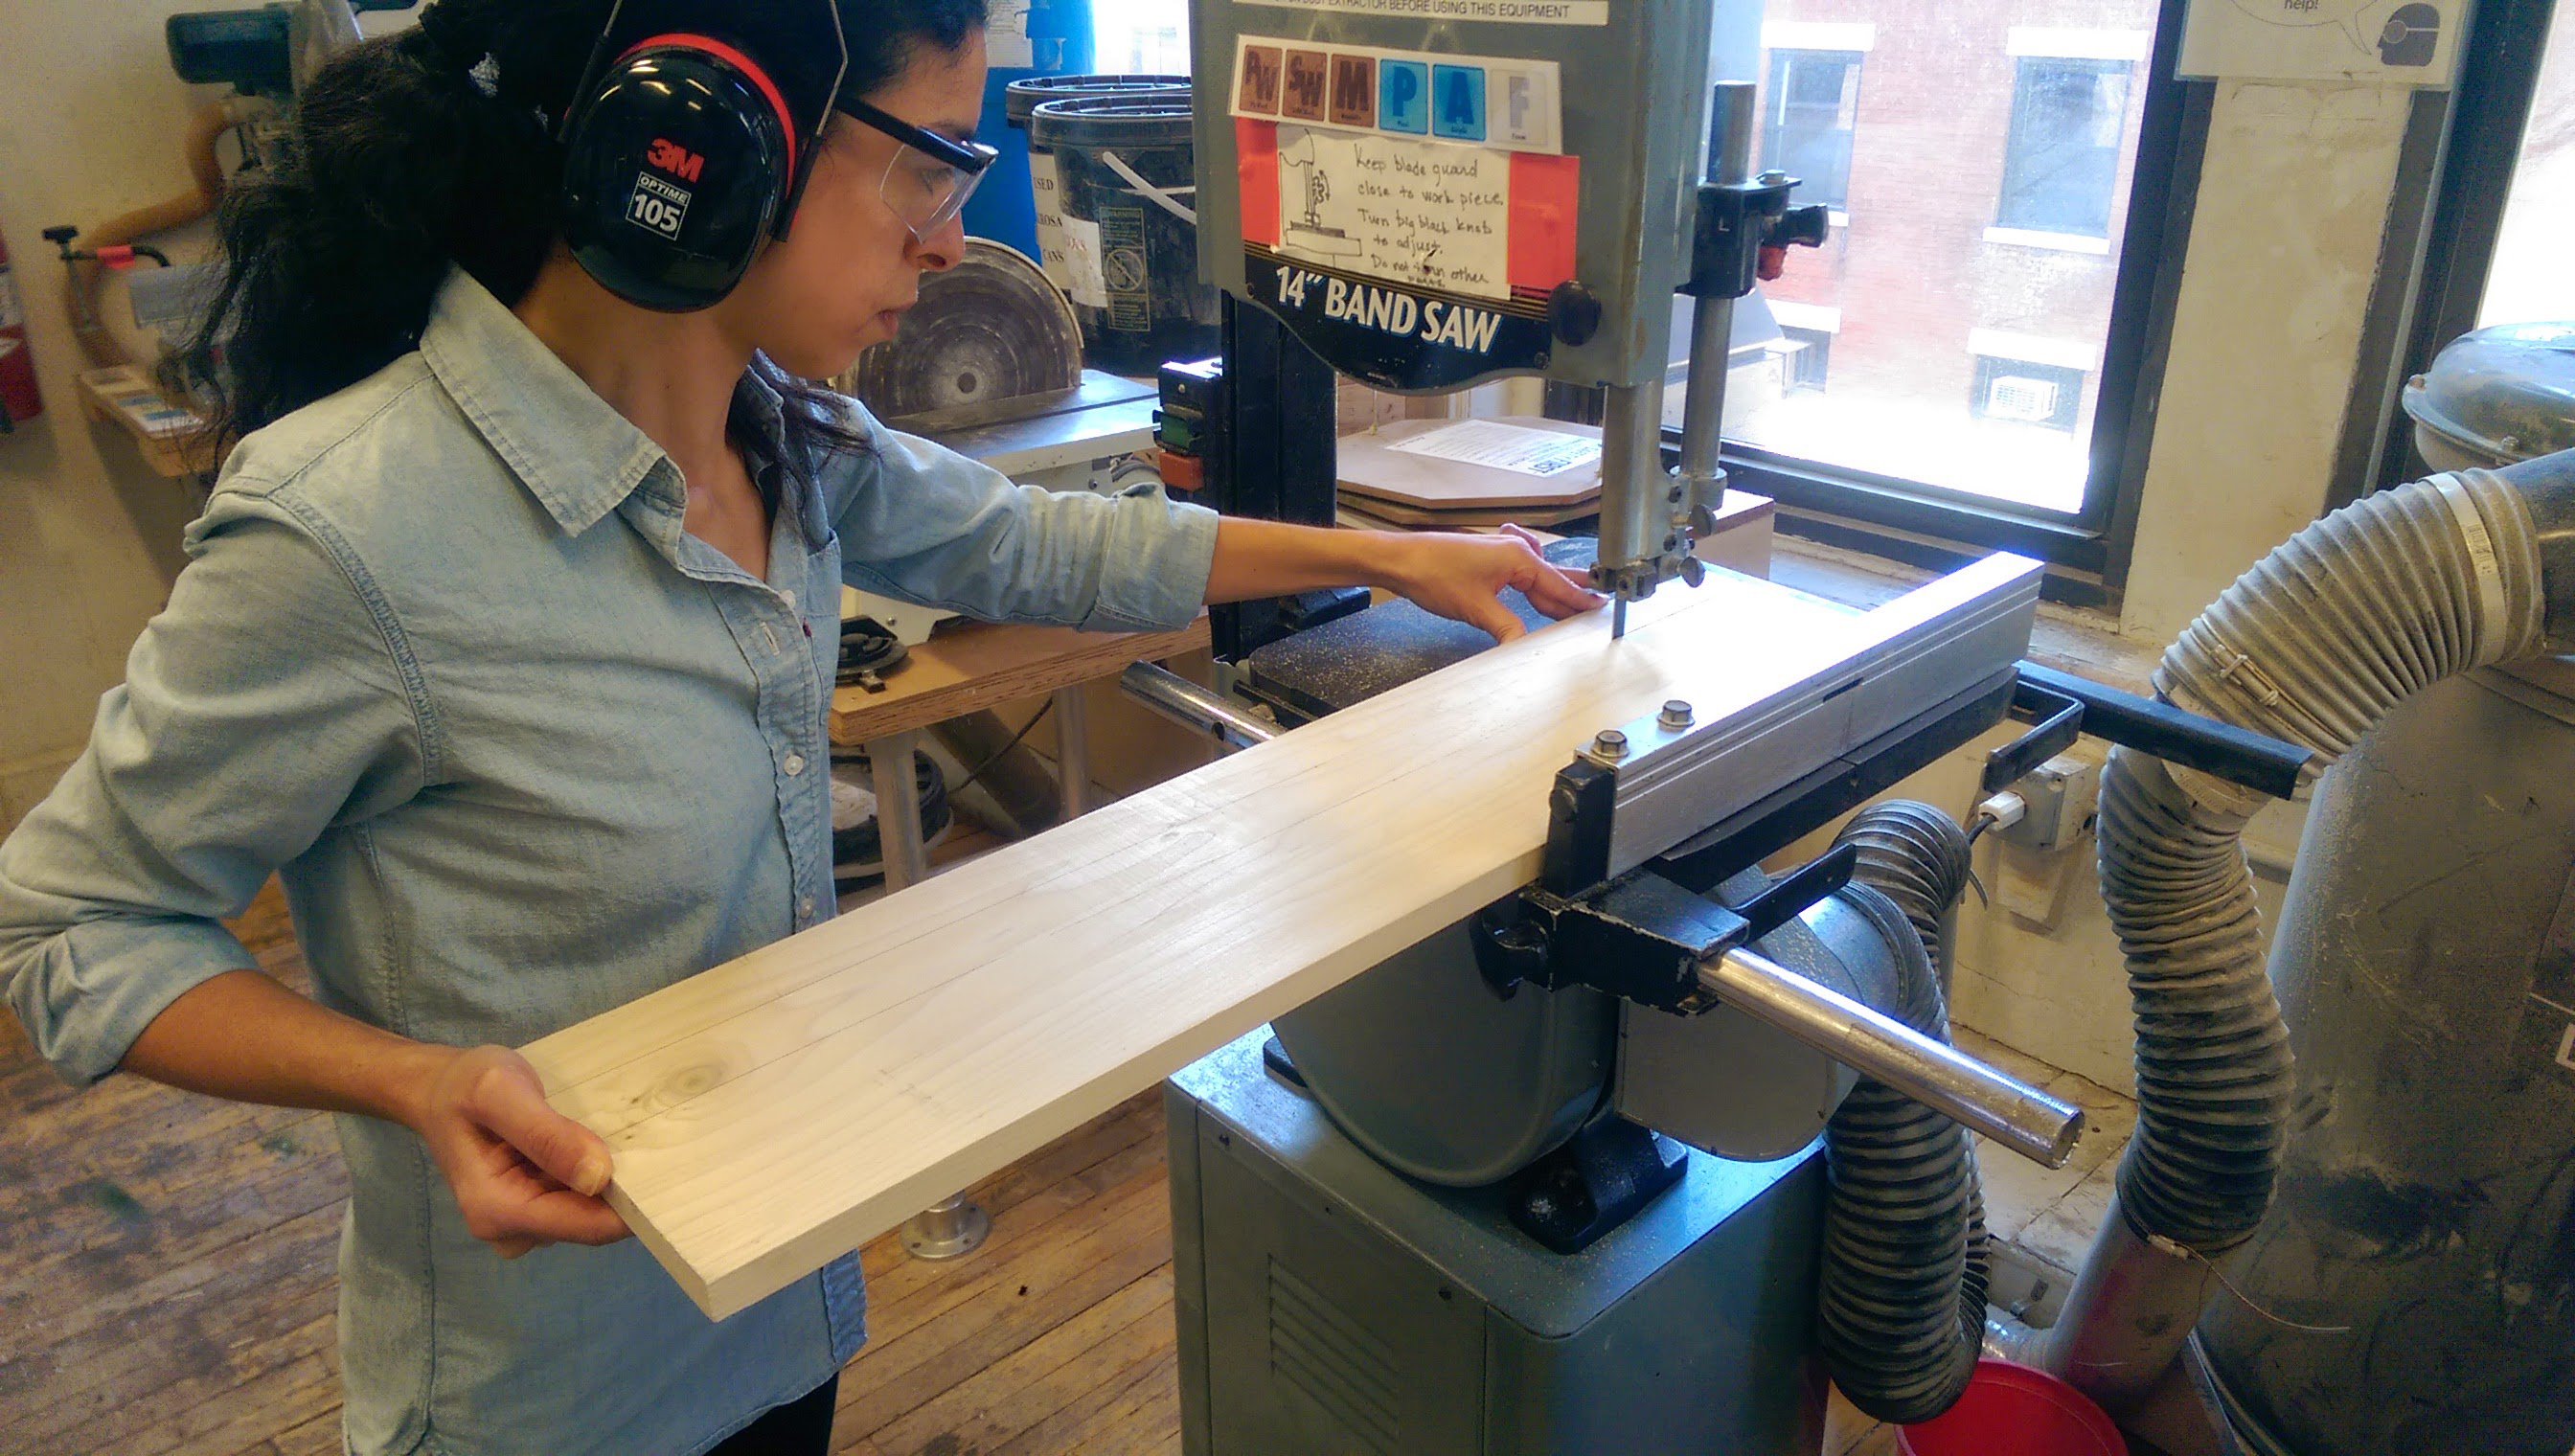
I used the Bandsaw to cut the keys for the Silophon.

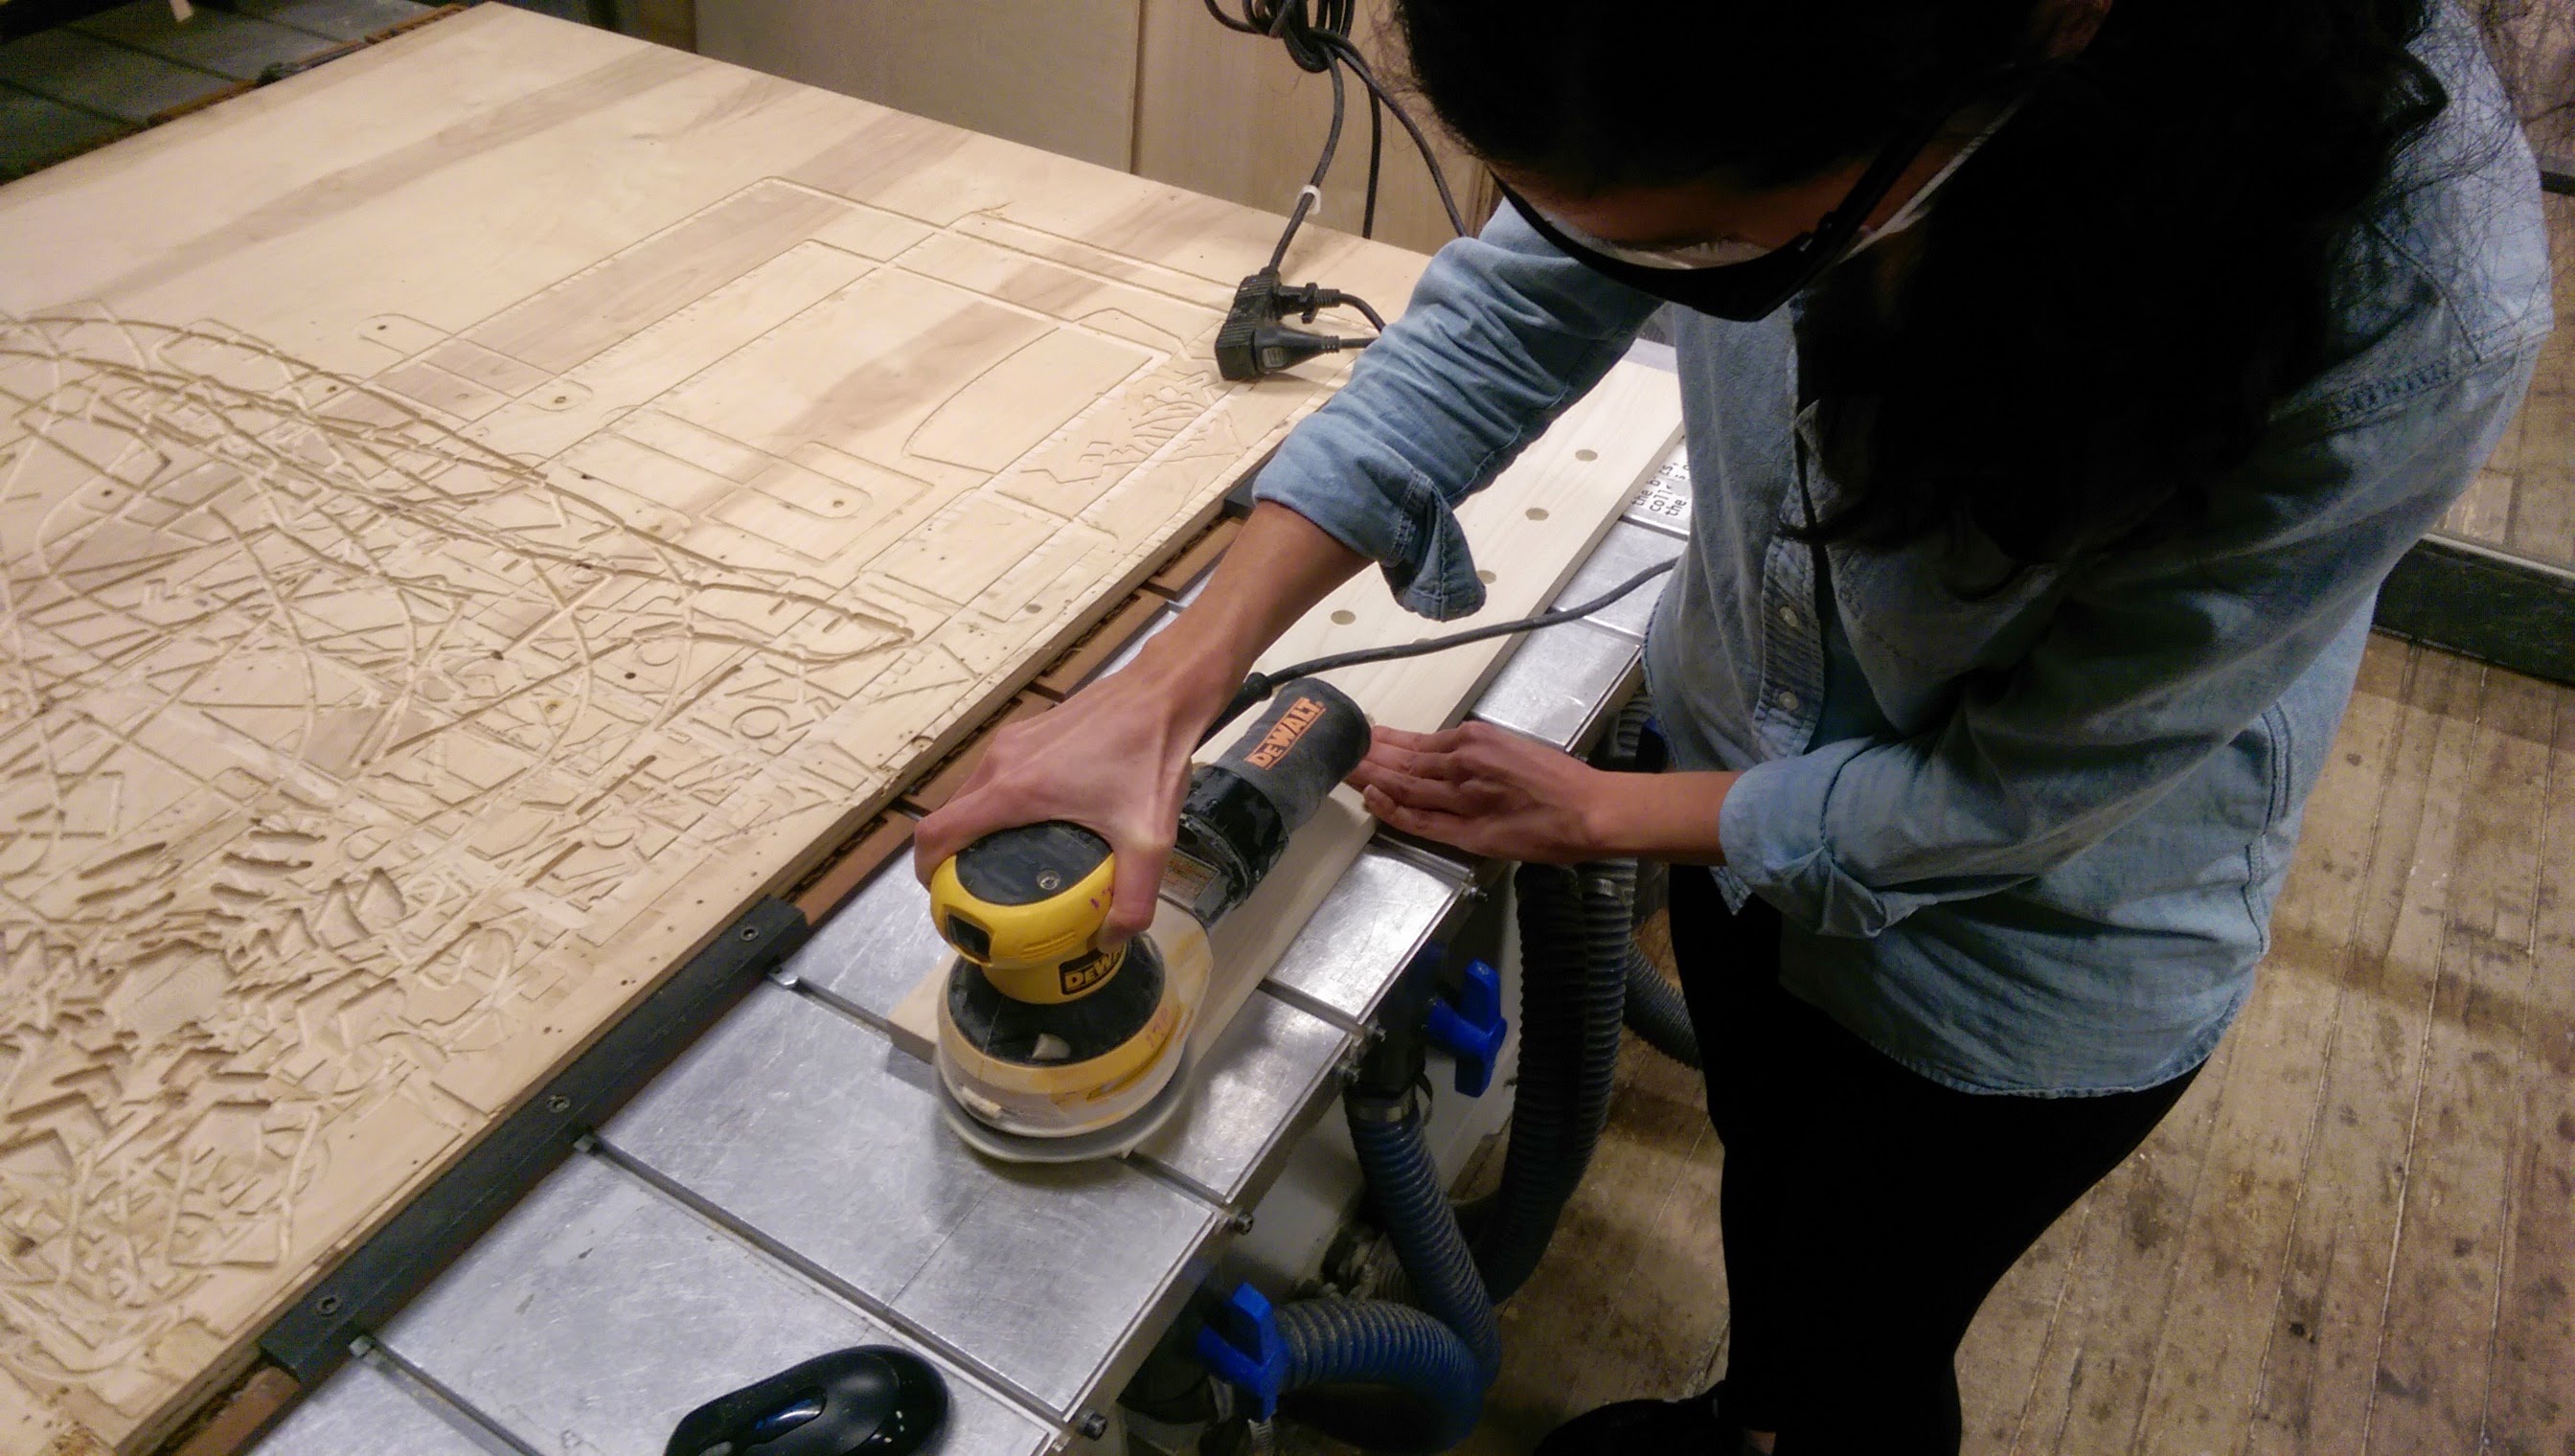
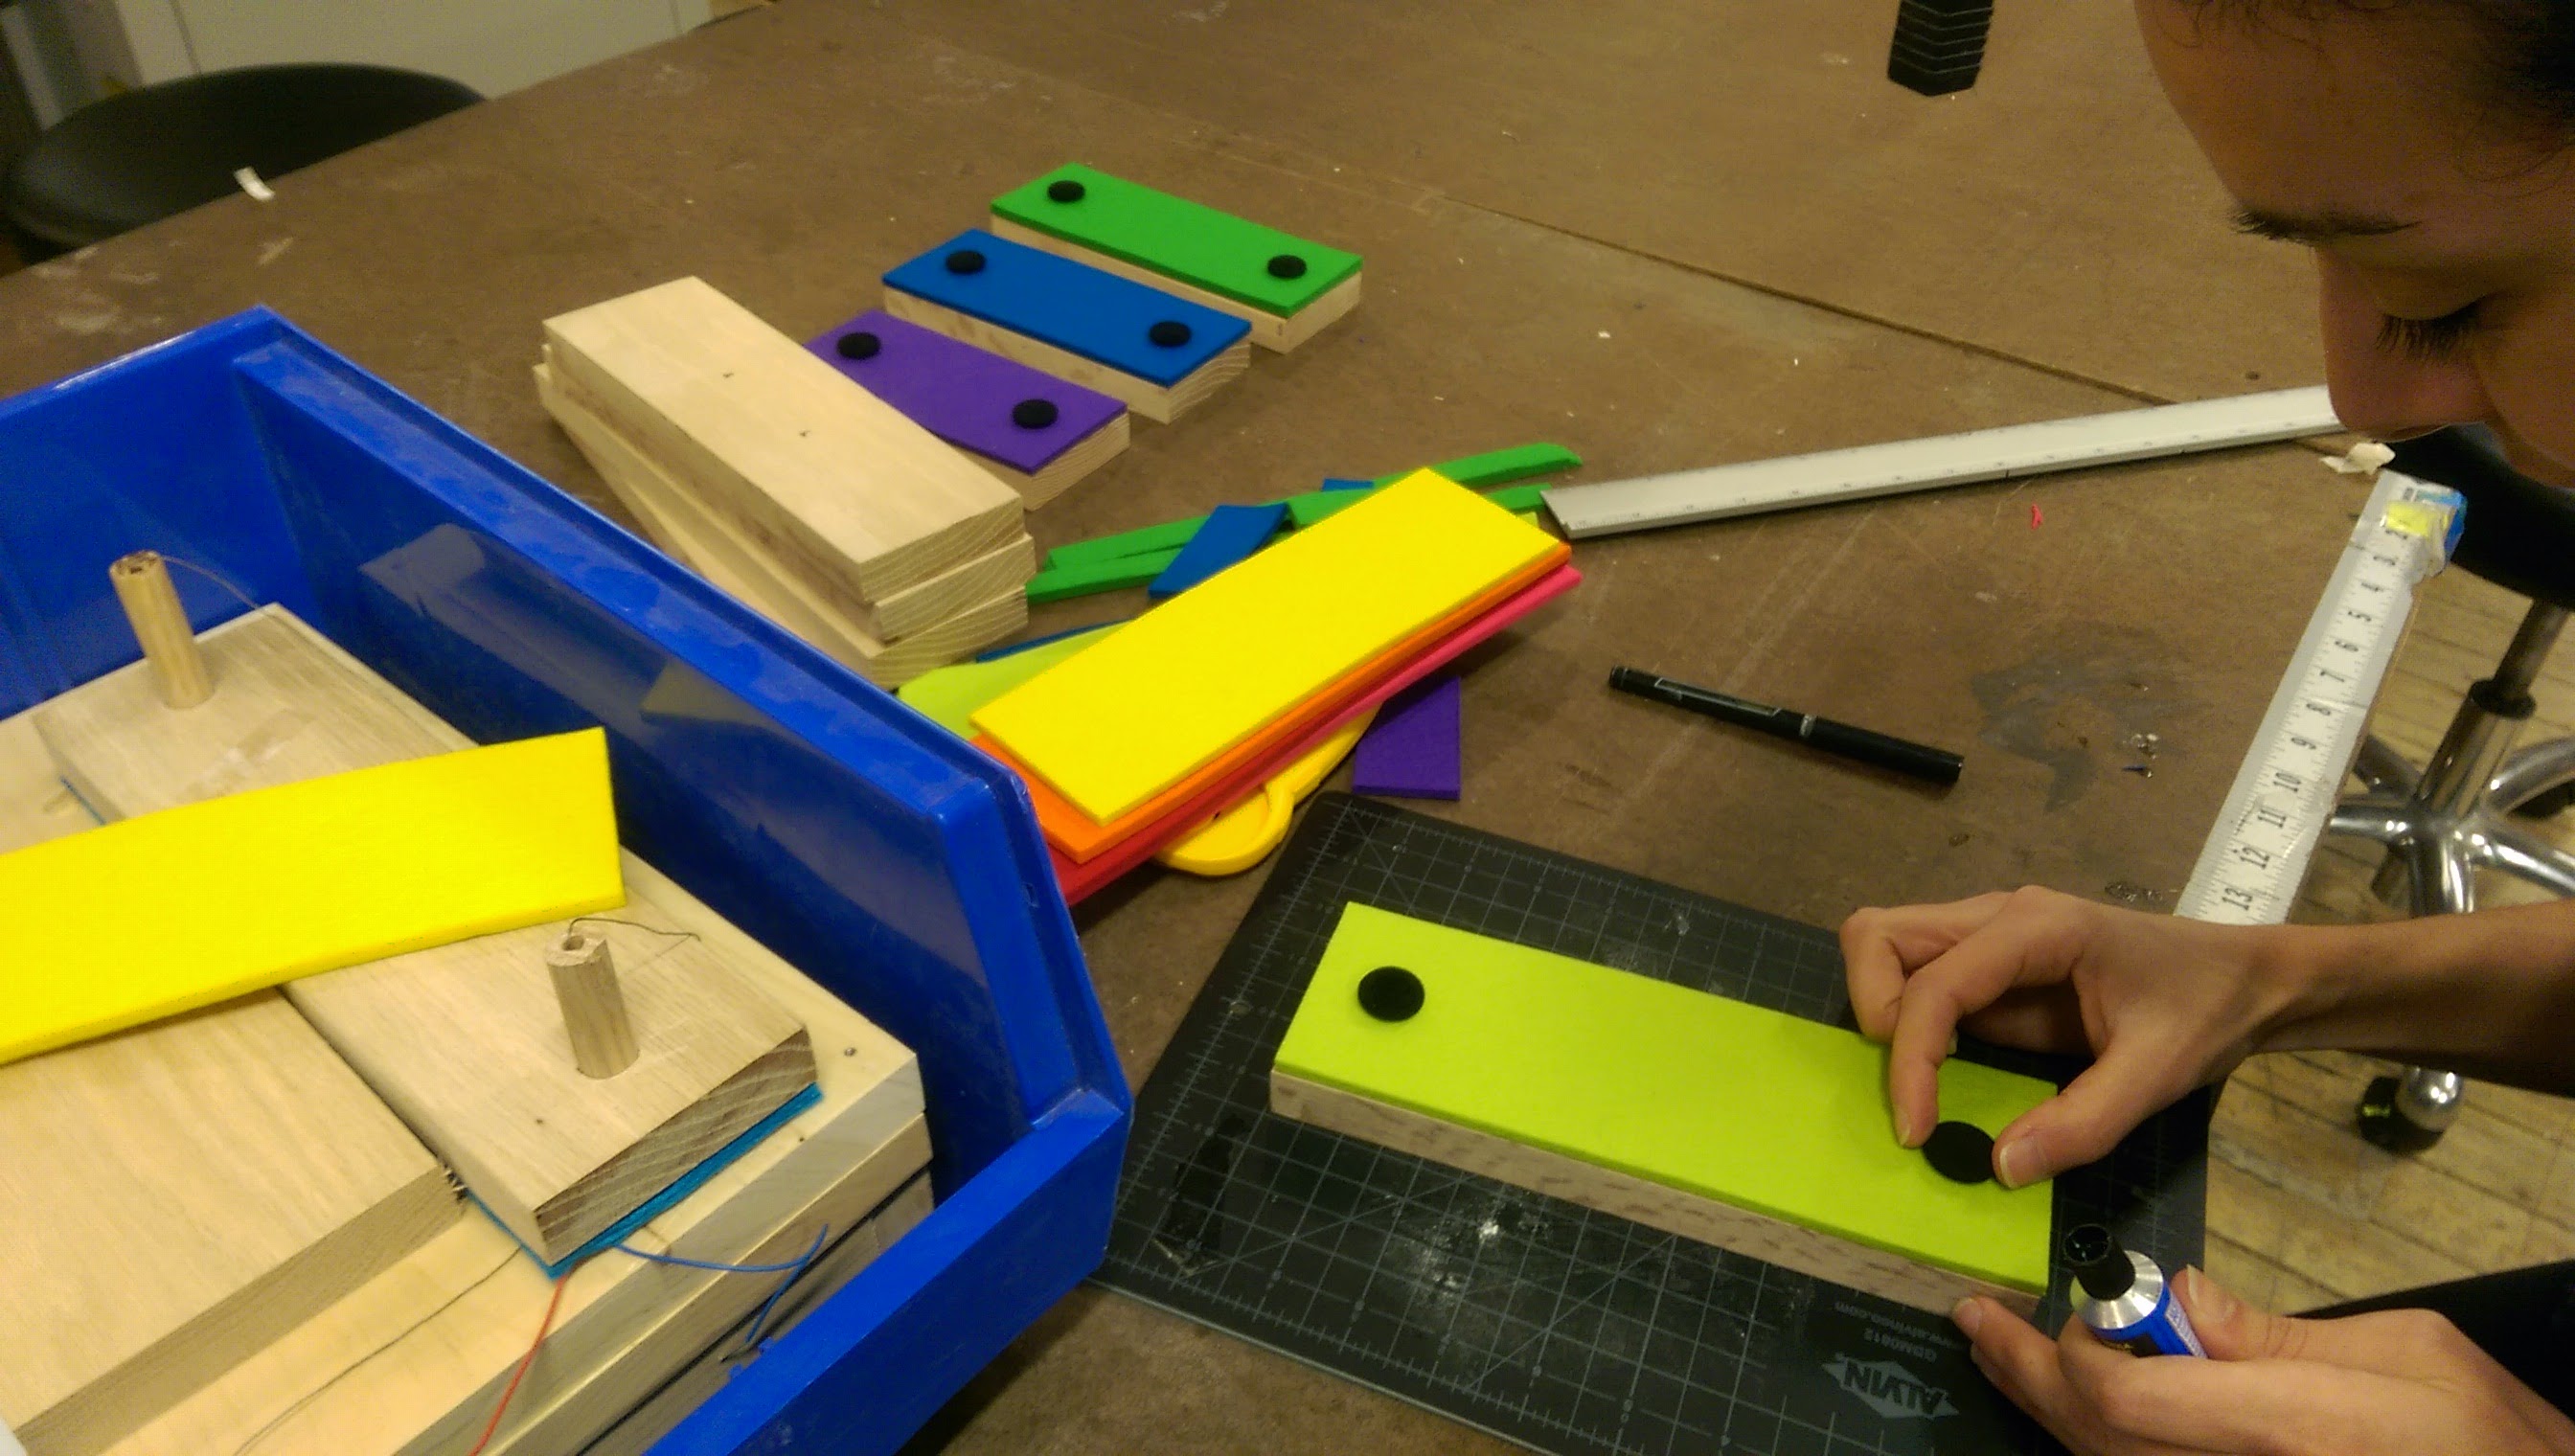
After using the Drill Press to drill sockets for the pegs (that will soon hold the keys), we sanded the wood in order to get a smooth finish.
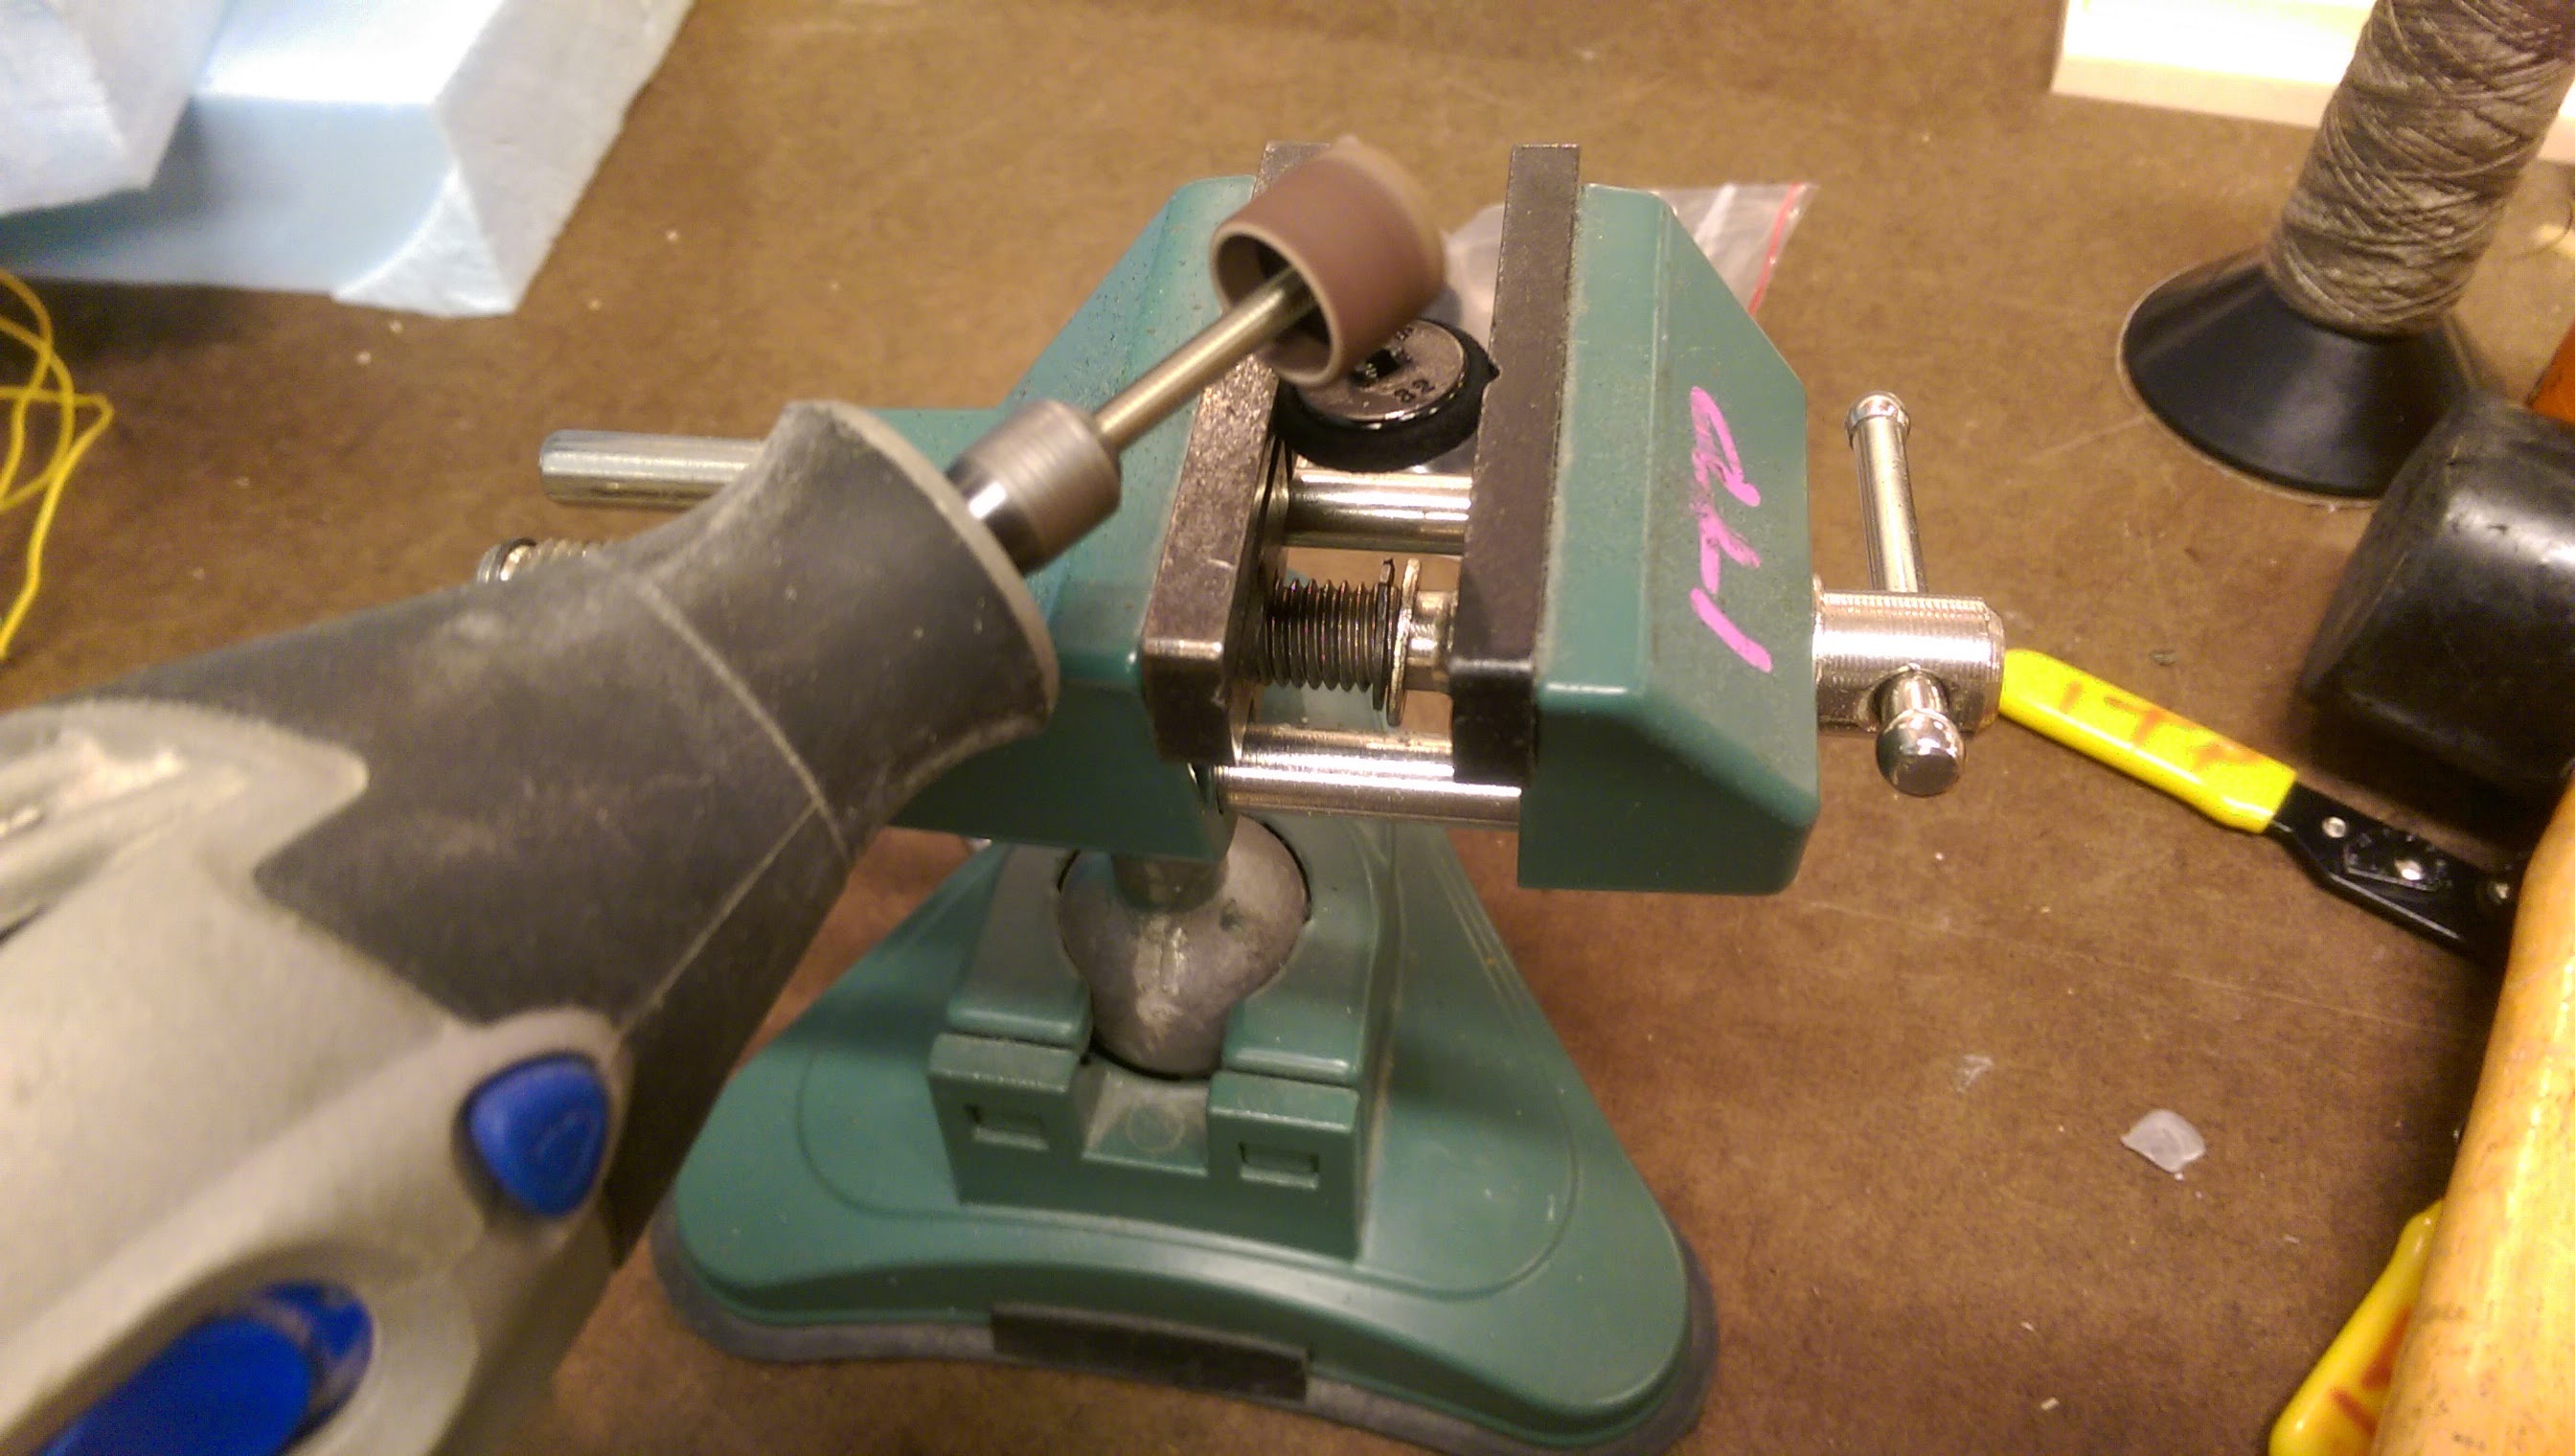
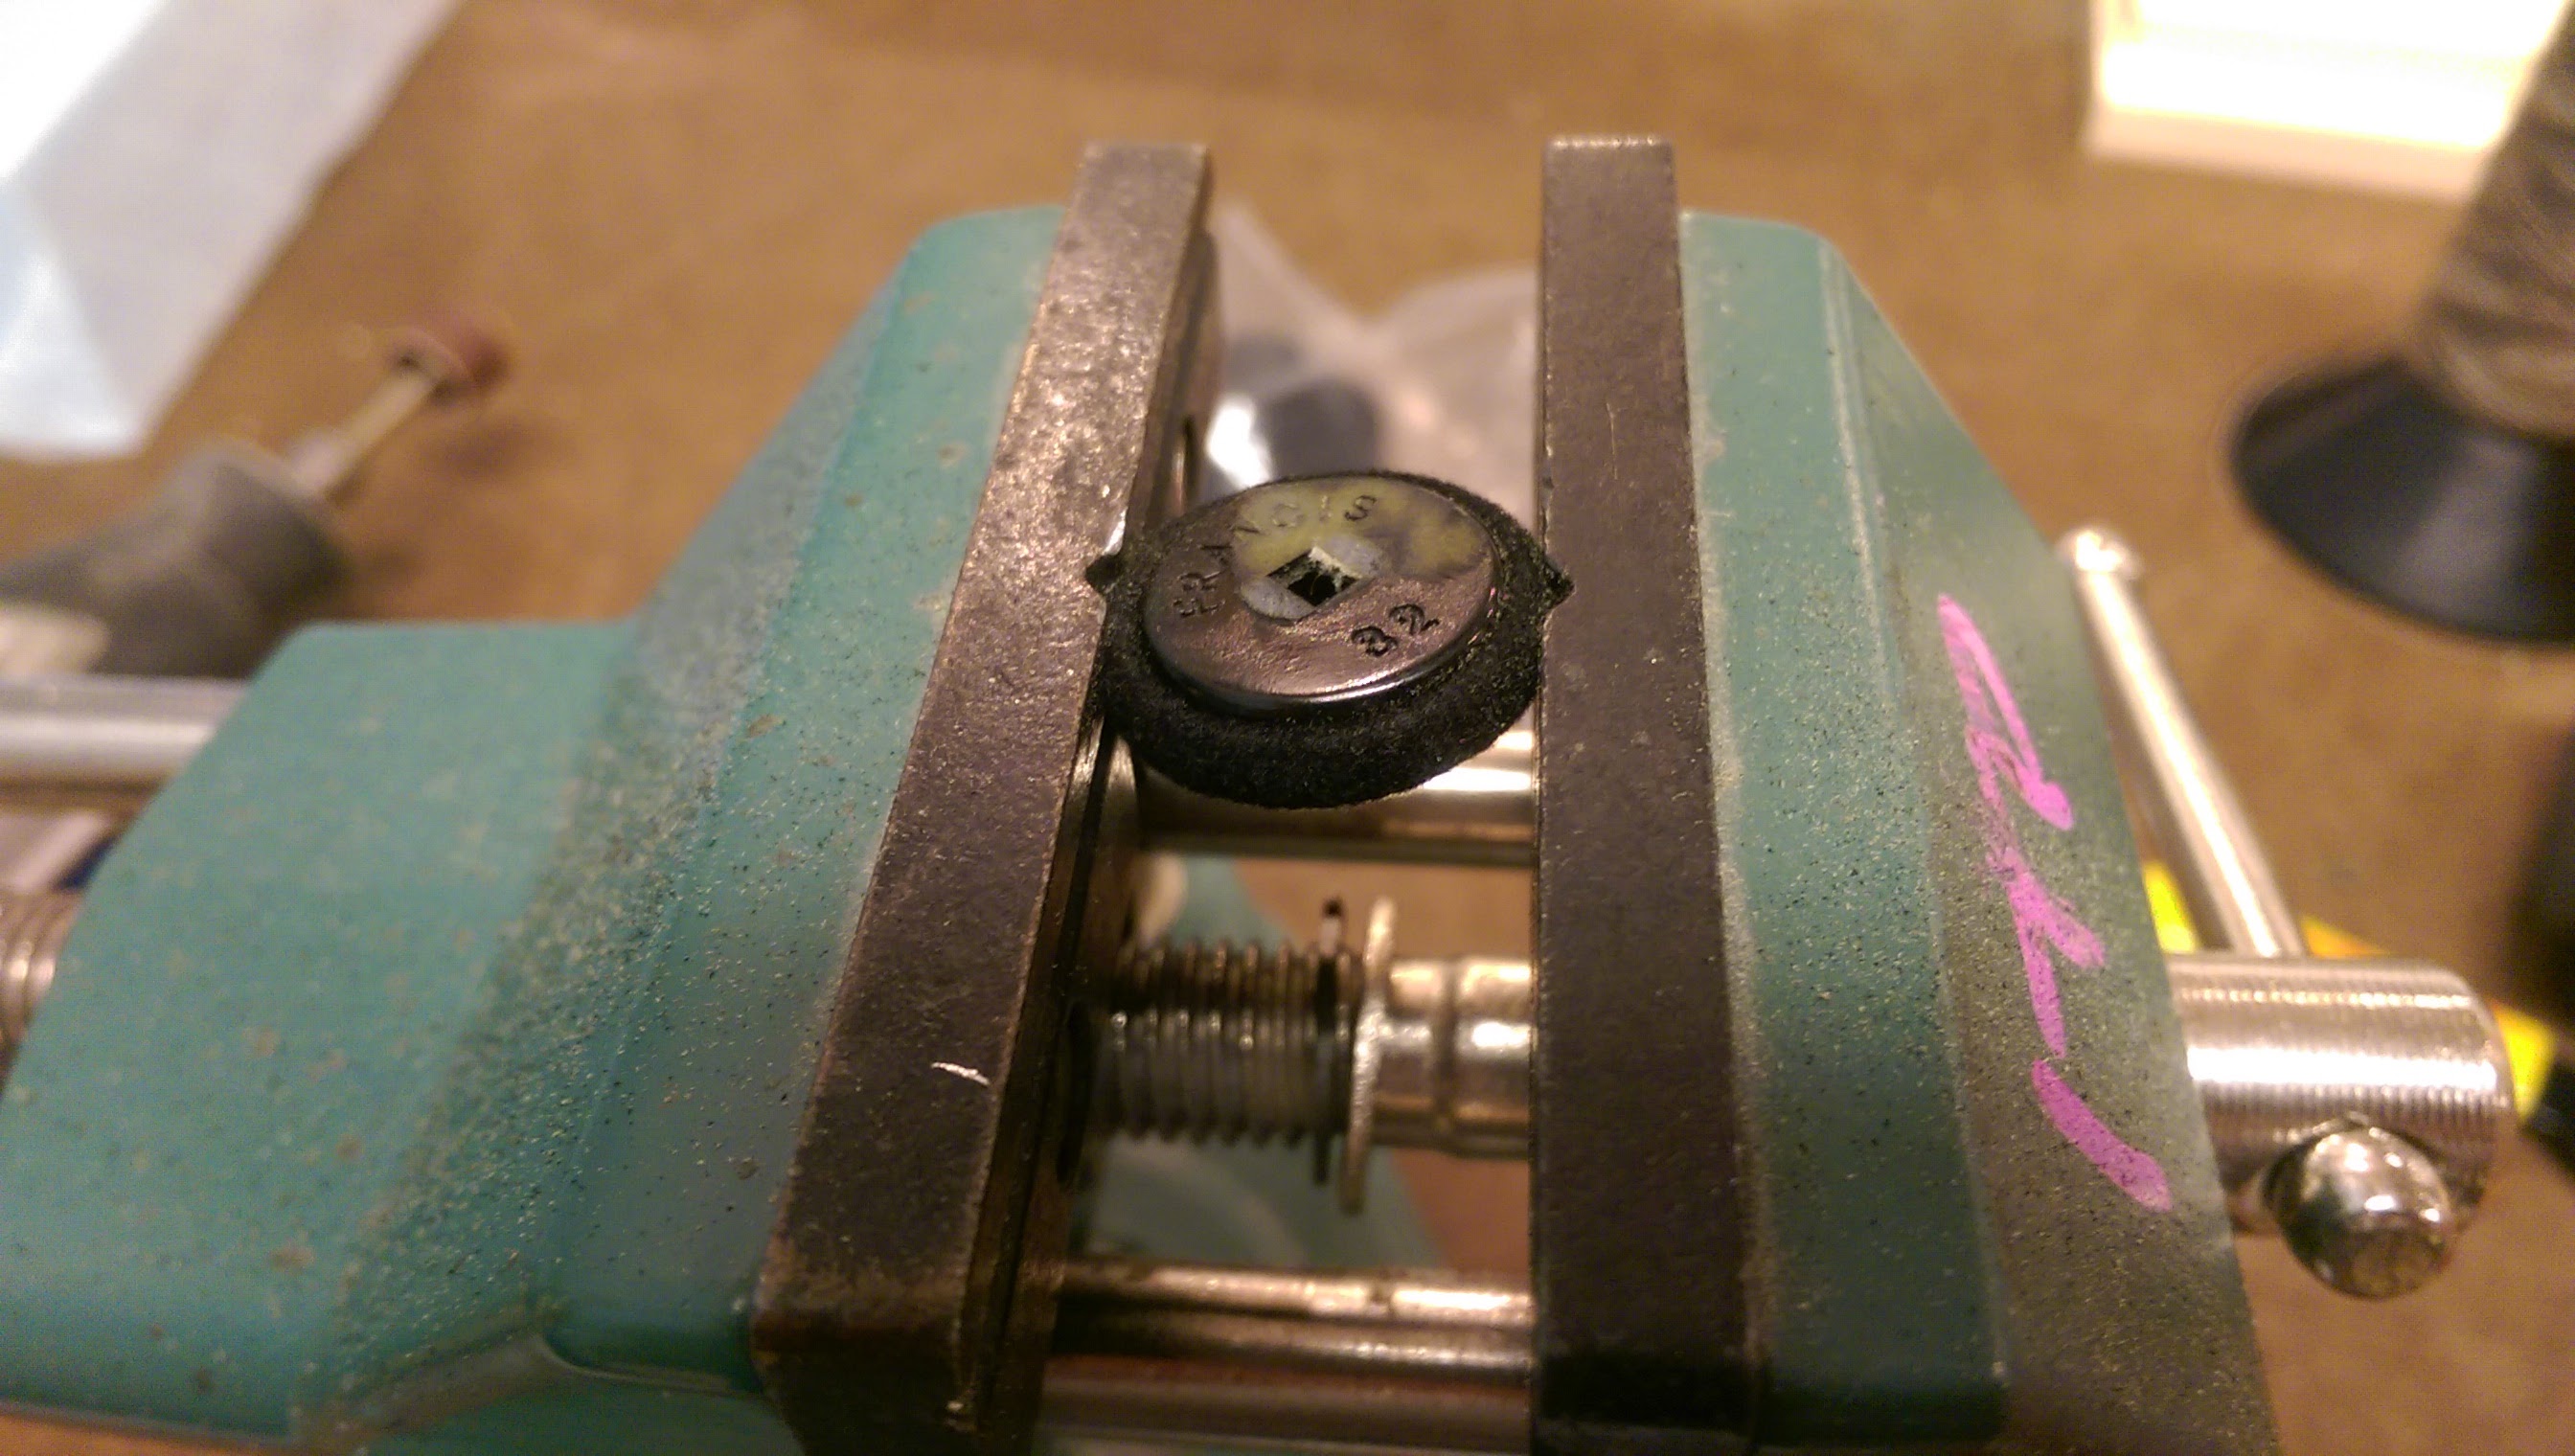
Remember those buttons we bought last week? Well, we had to figure out a way to sand the back of the in order to glue them firmly on the felt keys. We did this by using a Dremel Sanding Tool.
It was then time to cut the felt. Over the weekend I had tried a few techniques on how to layer felt. We needed to find a solution since thick felt is pretty inaccessible if you just need a bit. So, we used an iron-on adhesive and layered 4 sheets of felt together. We then used a fabric rotary cutter to slice the pieces according to the size of each key.
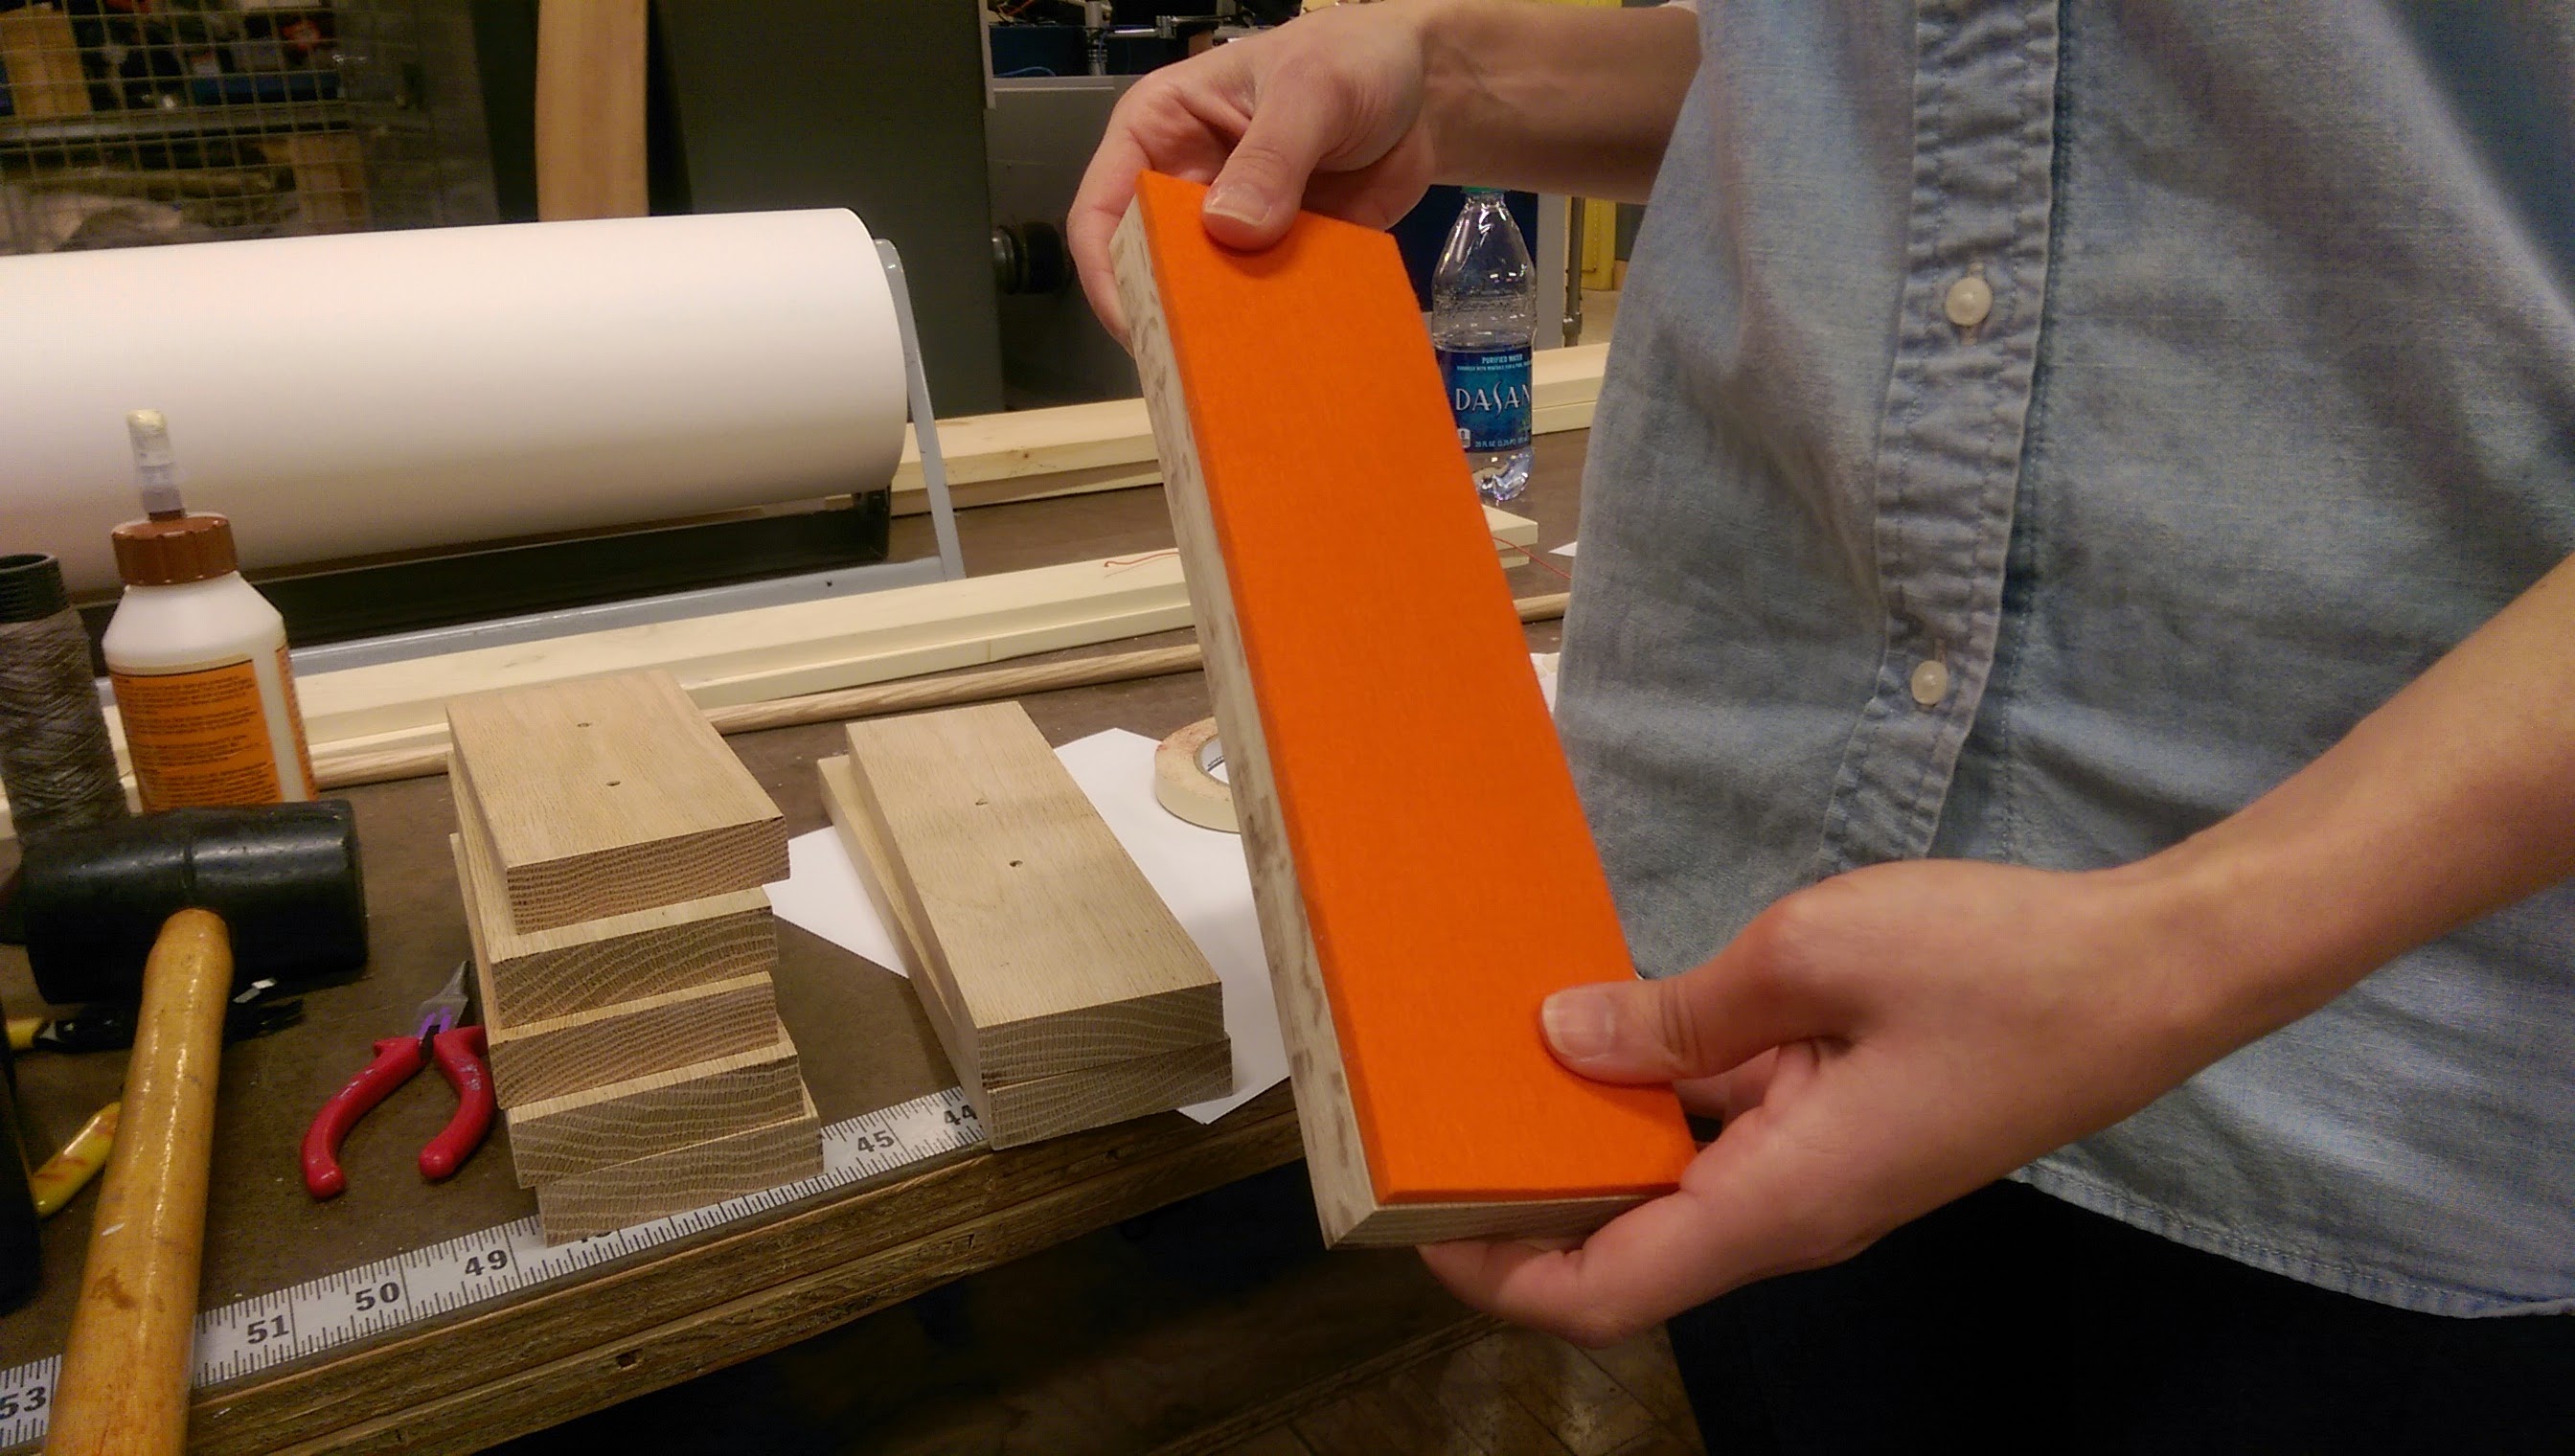
Just a bit of Superglue…
… and Viola! We have our Silophon!
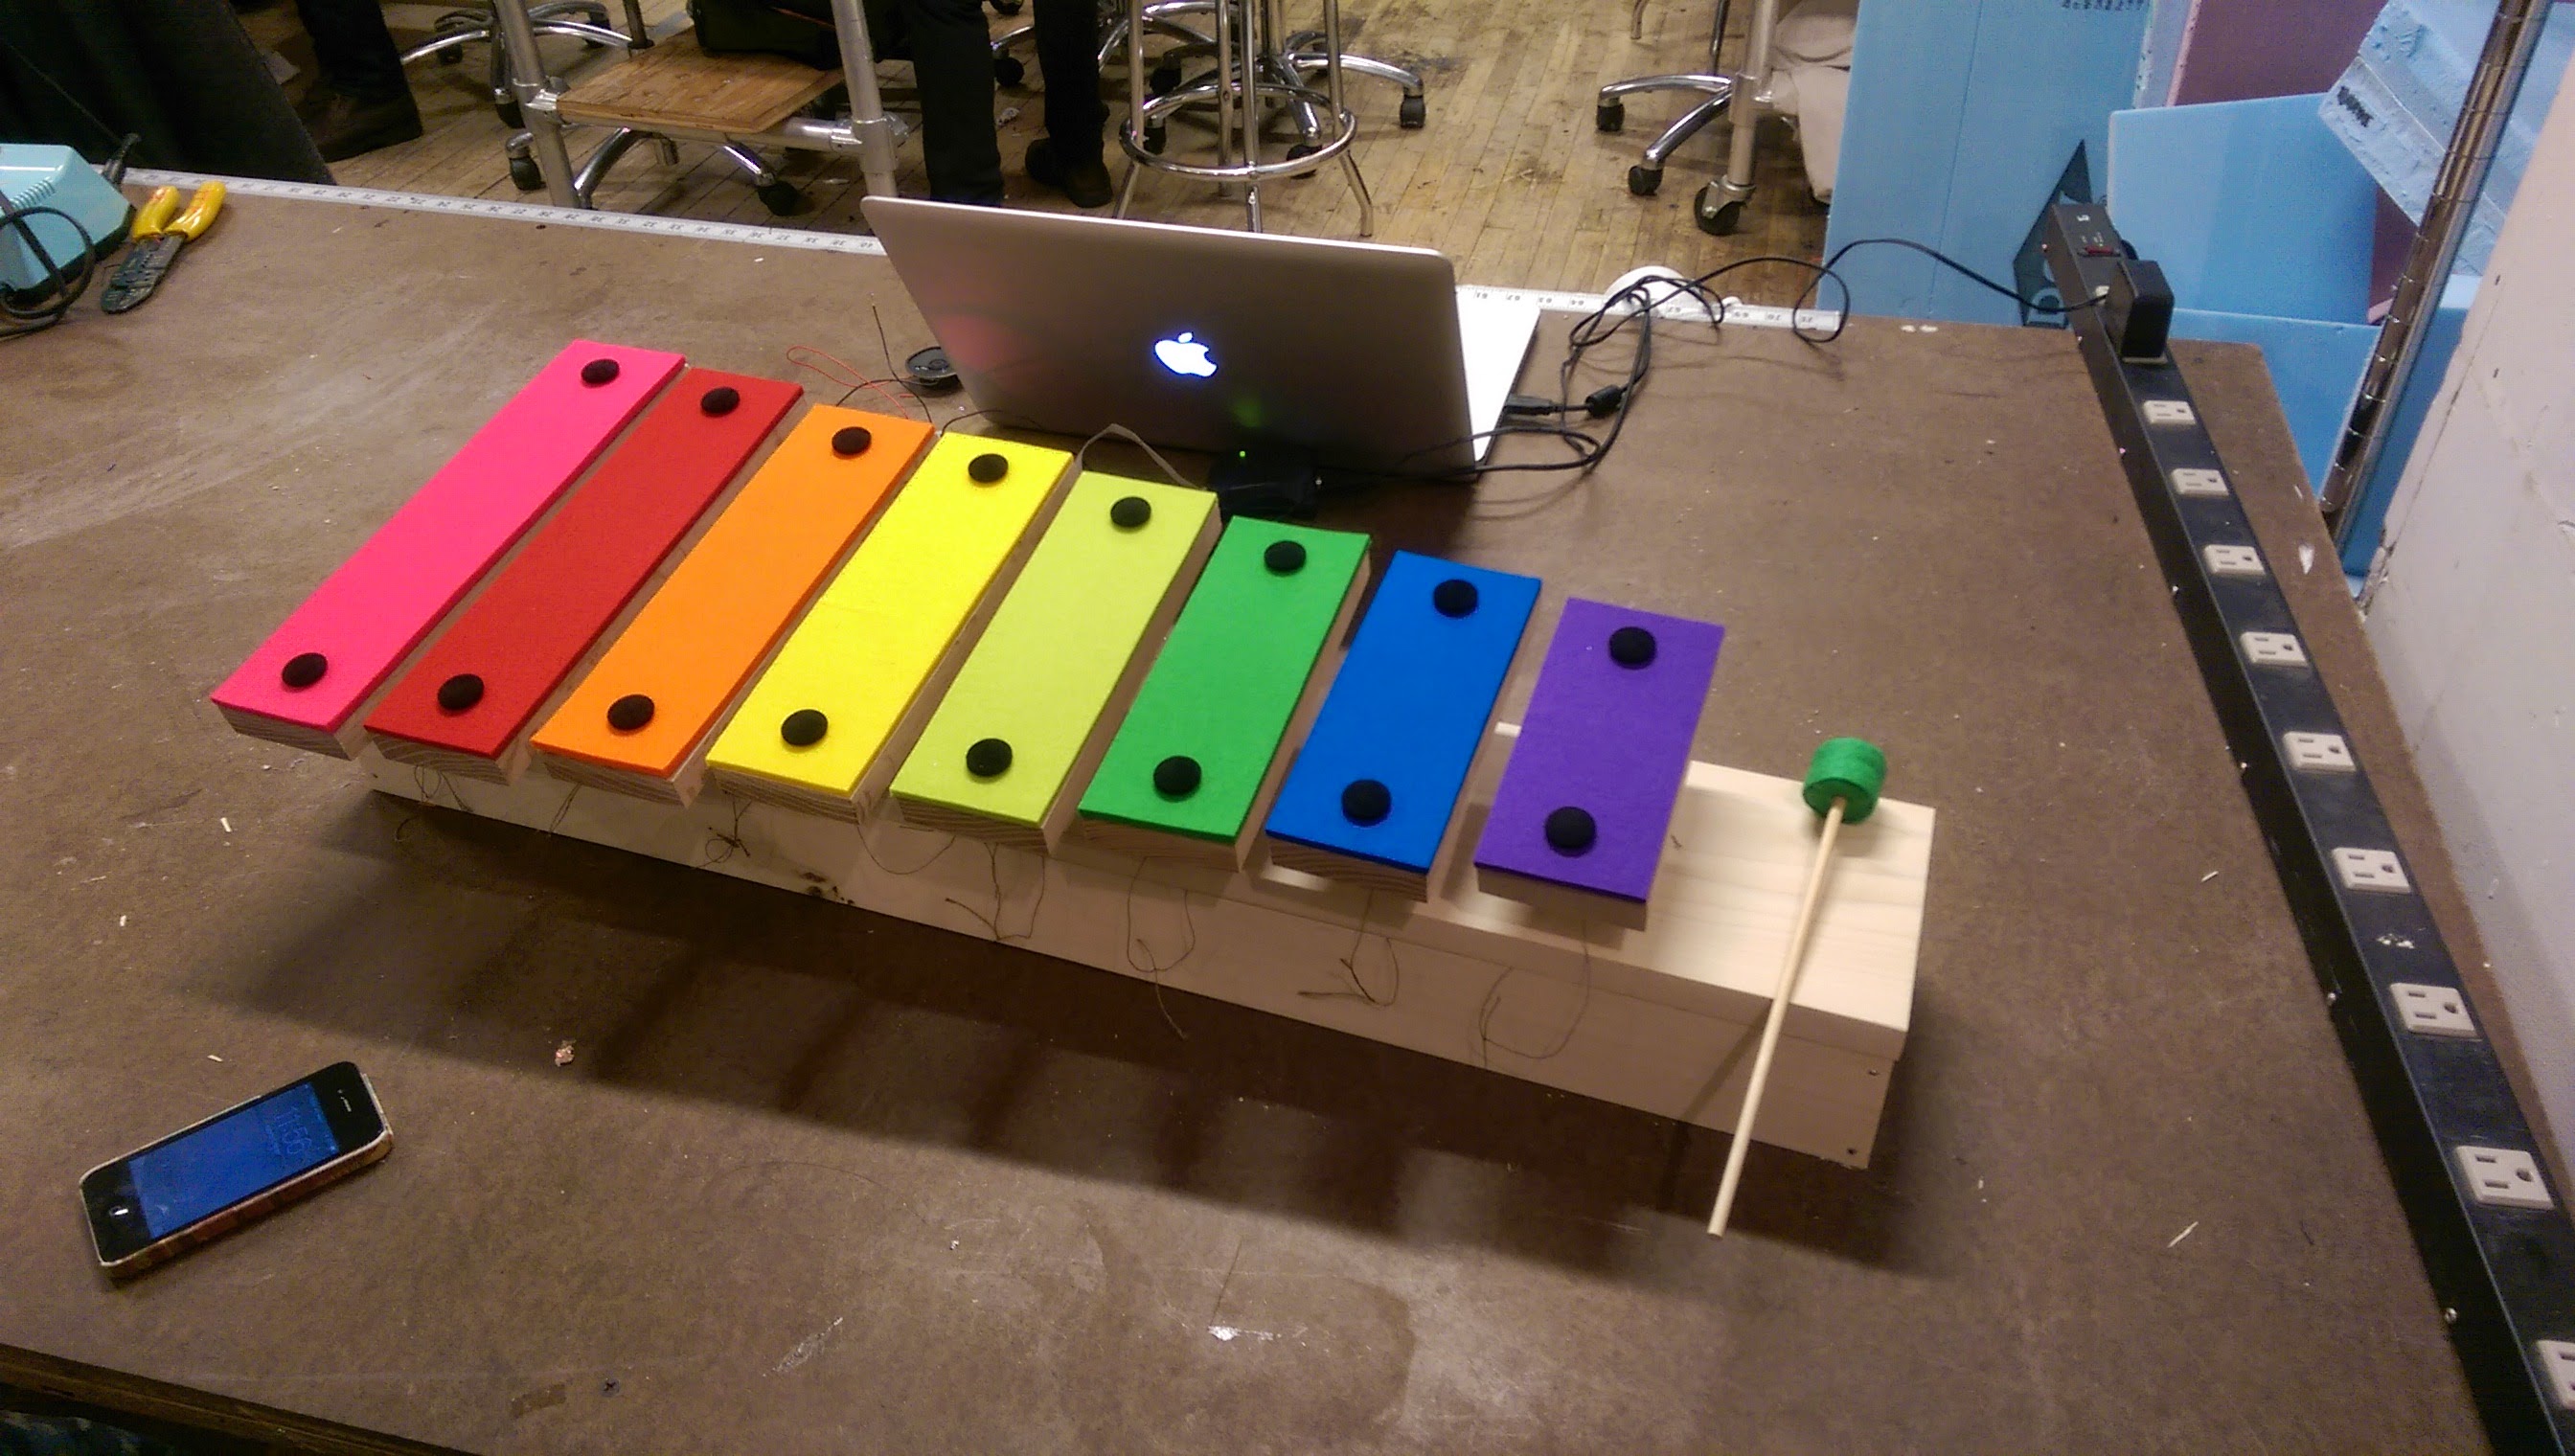
Check back with us next week when we show how we setup our functionality and sound in to what we built today.